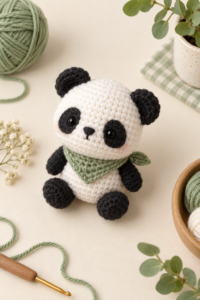
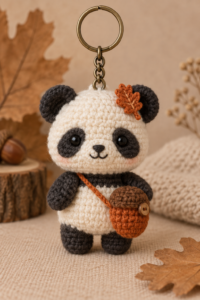
How to Crochet a Pocket Panda Amigurumi: Beginner-Friendly Step-by-Step Pattern

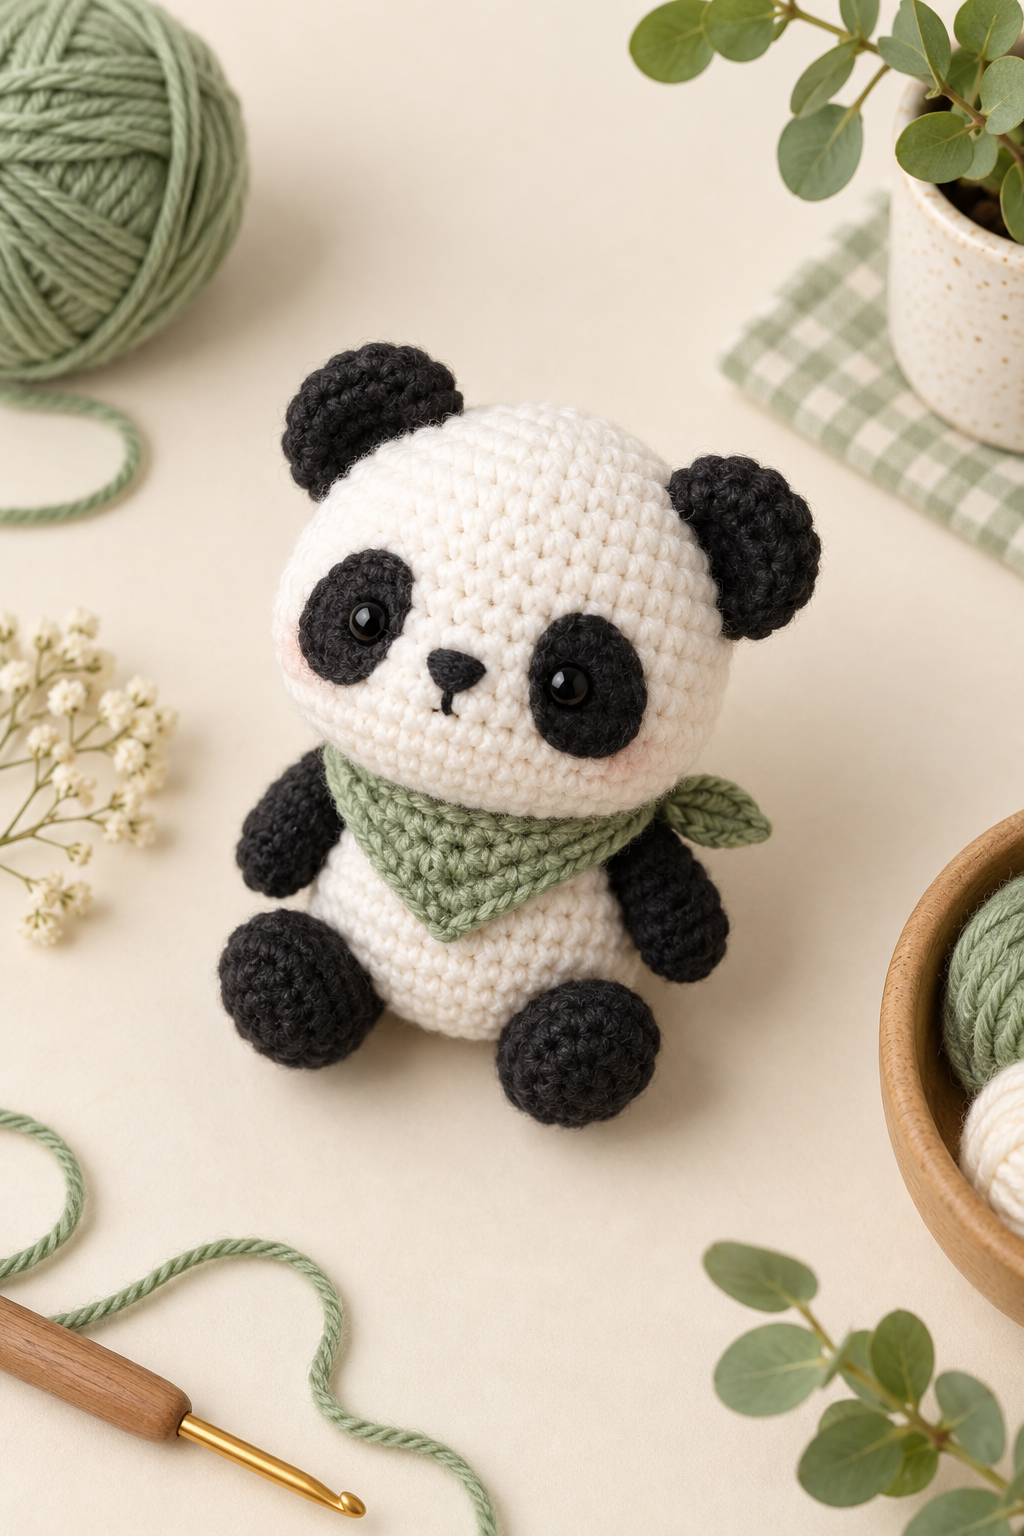
Make a small handmade friend with this original Pocket Meadow Panda amigurumi tutorial. The design uses simple single crochet spirals, compact shaping, separate ears and limbs, and a tiny sage-green neckerchief. It is written as a learning project: you will not only make the panda, but also practise counting rounds, shaping a sphere, placing facial pieces evenly, and sewing small parts neatly.
The finished panda is approximately 4.5 in / 11.5 cm tall when made with sport or DK cotton yarn and a 2.75 mm hook. A close fabric matters more than matching the exact height. The panda should feel firm, with stuffing contained inside rather than visible between stitches. Save this tutorial before starting: the checkpoints and assembly notes will help you correct a small issue while it is still easy to fix.
Quick facts
- Skill level: confident beginner
- Terms: US crochet terminology
- Construction: head and body worked separately in continuous spirals; ears, limbs, eye patches, and neckerchief added afterward
- Core techniques: magic ring, single crochet, increase, invisible decrease, working in rounds, light stuffing, and sewing pieces on
- Finished size: about 4.5 in / 11.5 cm tall
Materials
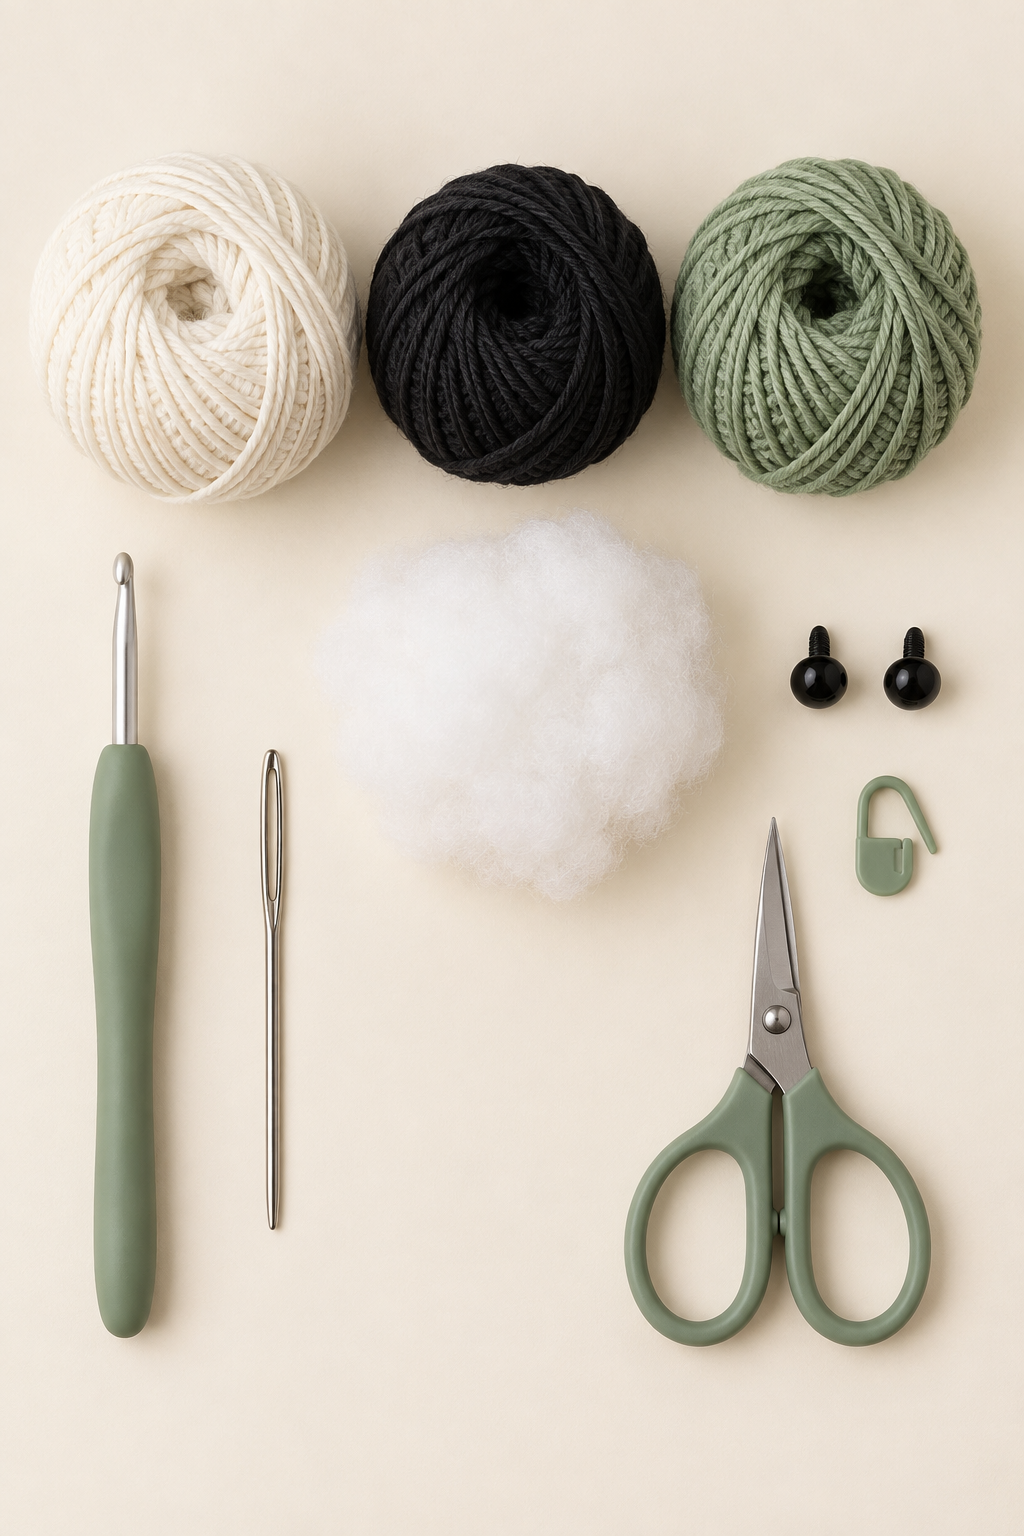
- Sport or DK cotton yarn: ivory, charcoal black, and a small amount of sage green
- 2.75 mm crochet hook, or a size that gives a dense fabric
- Polyester toy stuffing
- Two 8 mm safety eyes or black embroidery yarn for a child-safe face
- Yarn needle, scissors, removable stitch marker, and two pins
Safety note: Safety eyes are not suitable for children under three years old. For a baby or young child, embroider small eyes securely with black yarn instead. Never leave loose buttons, plastic eyes, or unfinished yarn ends on a toy.
Abbreviations
- MR = magic ring
- sc = single crochet
- inc = increase; work 2 sc in the same stitch
- dec = invisible decrease; use the front loops of the next two stitches, then complete 1 sc
- sl st = slip stitch
- ch = chain
- ( ) × 6 = repeat what is inside the brackets six times
Before you start: your three progress checkpoints
Put a marker into the first stitch of every round and move it up as you work. In a spiral, the marker is your beginning-of-round line; it stops the count from drifting.
- Head width: after Round 6, your flat circle has 36 stitches and should lie flat at roughly 1.75–2 in / 4.5–5 cm across. A cup shape is normal only after the next straight rounds begin.
- Body count: the widest body round is 24 stitches. If you reach 25 or 23, undo the last round immediately; a one-stitch error changes the shape and the seam position.
- Before closing: fill the head and body until they spring back when pressed, but can still compress slightly. Overstuffing creates stretched holes; understuffing makes the neck collapse.
Part 1: Crochet the head in ivory
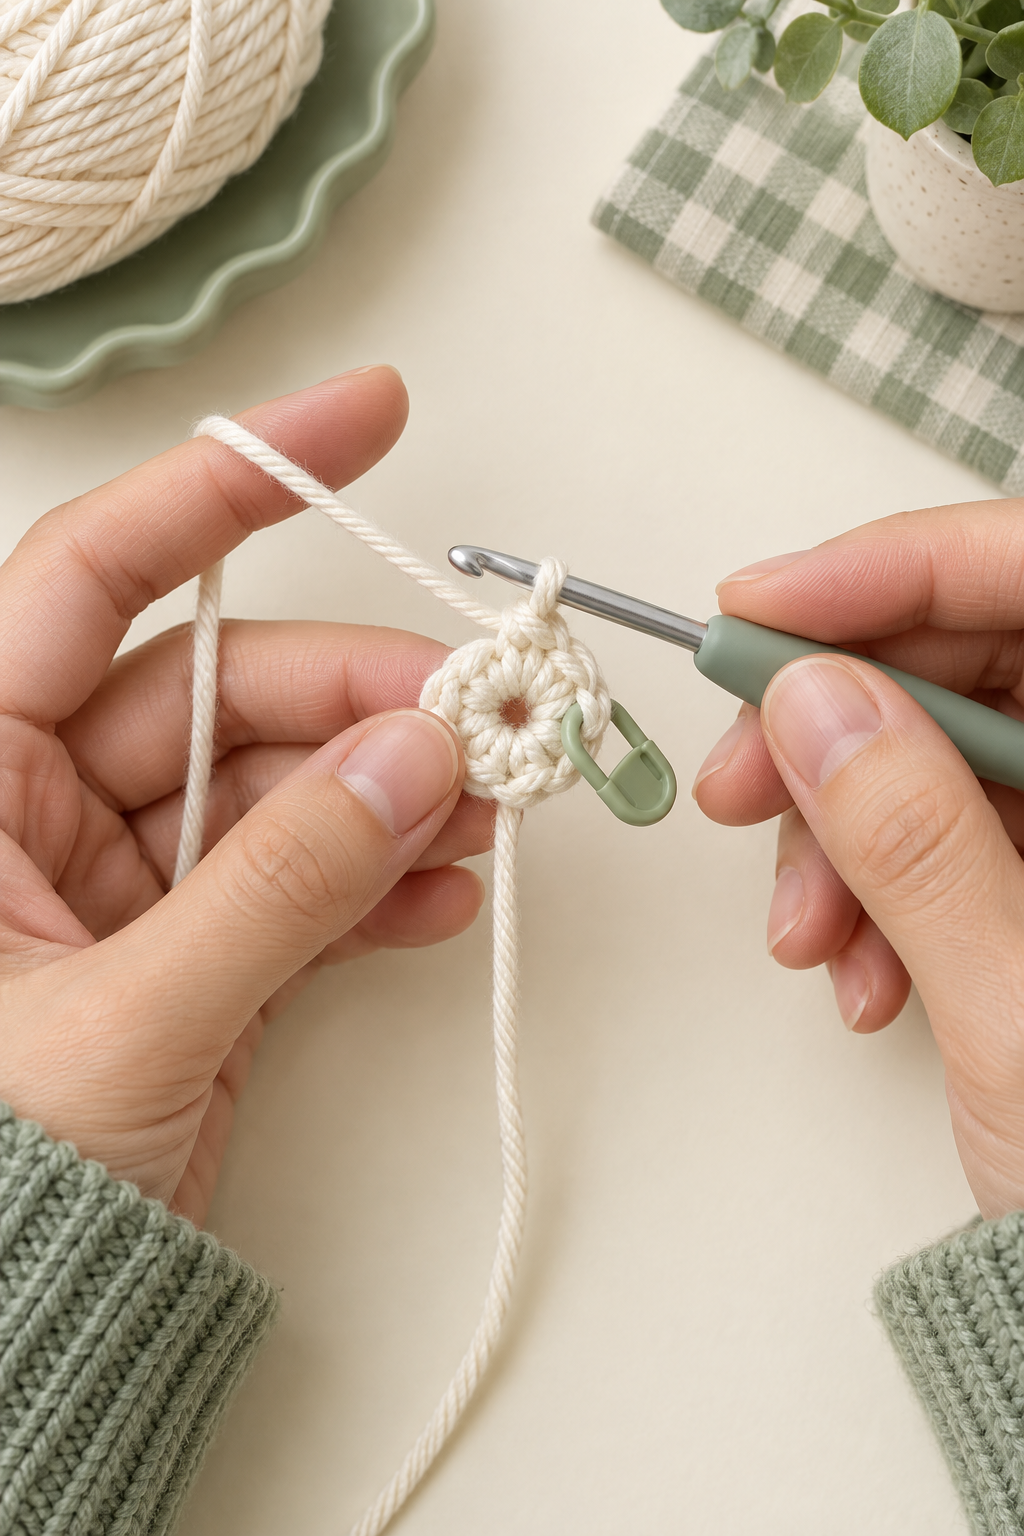
Work in continuous spirals. Do not join rounds unless the instruction says so.
- Round 1: 6 sc in MR. Pull the ring closed firmly; the centre should not show a hole. Total: 6.
- Round 2: inc in every stitch around. Total: 12.
- Round 3: (sc, inc) × 6. Total: 18.
- Round 4: (2 sc, inc) × 6. Total: 24.
- Round 5: (3 sc, inc) × 6. Total: 30.
- Round 6: (4 sc, inc) × 6. Total: 36.
- Rounds 7–12: sc in every stitch around. Total: 36 for each round. The circle now turns into a soft bowl and then a rounded head.
- Round 13: (4 sc, dec) × 6. Total: 30.
- Round 14: (3 sc, dec) × 6. Total: 24.
Pause here. Turn the head so the marker seam is at the back. This makes facial placement easier. Add stuffing gradually, pushing a little toward the far side with the blunt end of the hook. Do not pack the centre as one hard ball.
- Round 15: (2 sc, dec) × 6. Total: 18.
- Round 16: (sc, dec) × 6. Total: 12. Add the final small amount of stuffing.
- Round 17: dec × 6. Total: 6. Cut the yarn with a 6 in / 15 cm tail. Thread it through the front loops of the final six stitches, pull gently closed, and weave the tail through the head.
Part 2: Crochet the body in ivory
The body is shorter and narrower than the head. Its small waist makes the panda look like it is sitting rather than like a second ball.
- Round 1: 6 sc in MR. Total: 6.
- Round 2: inc around. Total: 12.
- Round 3: (sc, inc) × 6. Total: 18.
- Round 4: (2 sc, inc) × 6. Total: 24.
- Rounds 5–7: sc around. Total: 24 for each round.
- Round 8: (2 sc, dec) × 6. Total: 18.
- Round 9: sc around. Total: 18.
- Round 10: (sc, dec) × 6. Total: 12. Stuff firmly but leave the top edge soft enough to sew.
- Round 11: dec × 6. Total: 6. Fasten off, close the opening as for the head, and leave a long tail for sewing.
Part 3: Crochet the black pieces
Ears — make 2
- Round 1: 6 sc in MR. Total: 6.
- Round 2: inc around. Total: 12.
- Round 3: (sc, inc) × 6. Total: 18.
- Round 4: sc around. Total: 18.
Fasten off with a long tail. Do not stuff the ears. Flatten each circle gently; the slight curve is enough to make it sit naturally against the head.
Arms and legs — make 4
- Round 1: 6 sc in MR. Total: 6.
- Rounds 2–4: sc around. Total: 6 for each round.
Fasten off with a long tail. Stuff each limb only with a tiny pinch of filling, or leave it unstuffed for a floppy finish. Two pieces become arms; two become legs.
Eye patches — make 2
- Round 1: 6 sc in MR. Total: 6.
- Round 2: inc around. Total: 12.
- Round 3: (sc, inc) × 6. Total: 18.
- Sl st in the next stitch, then fasten off with a long tail.
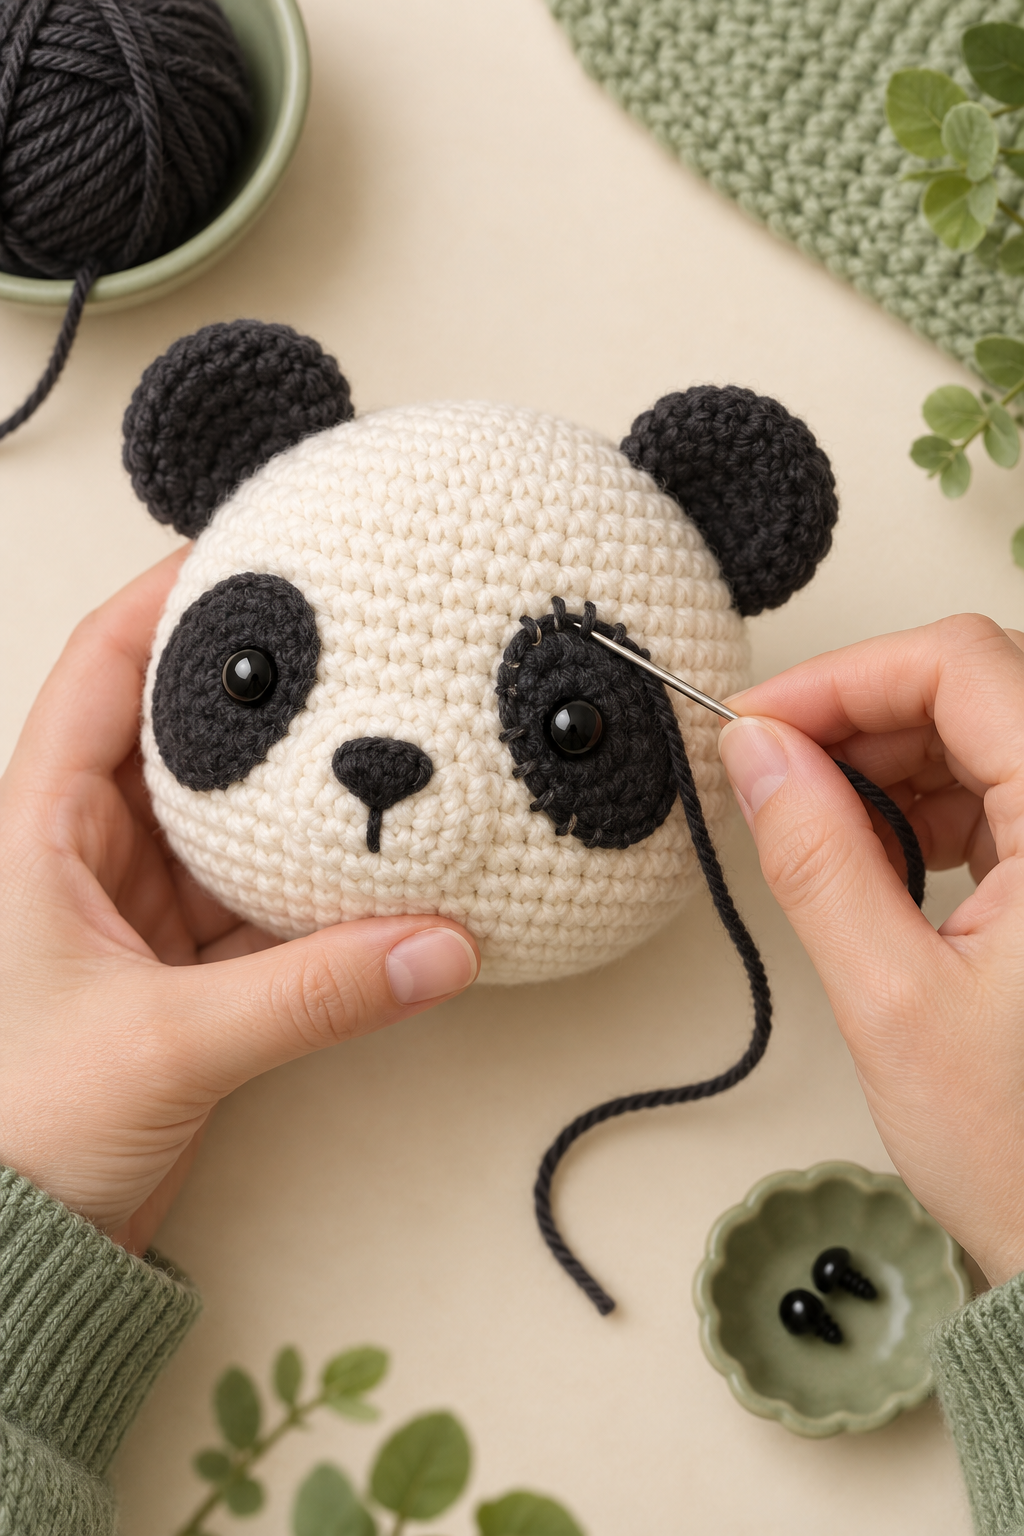
Pin the two patches to the face before sewing. Set their inside edges about two stitches apart. If using safety eyes, install them through the centre of the patches before the patches are sewn down; the washers must sit inside the head. Embroidered eyes may be added after assembly.
Part 4: Make the sage green neckerchief
Ch 20. In the second chain from the hook, sc; sc across. 19 stitches. Ch 1, turn, and sc across for two more rows. On the next row, work 1 sc, then a decrease; repeat until one stitch remains. This makes a shallow triangle. Fasten off and weave in the starting tail, leaving the final tail long enough to tie or sew a small knot behind the neck. The neckerchief should be a removable-looking accent, not a copy of another designer’s clothing piece.
Part 5: Assemble Pocket Meadow Panda
- Join head to body. Pin the head centred over the body’s closed top. Sew around the join twice with small stitches, pulling only enough to remove gaps. Check from the front and side before securing the tail.
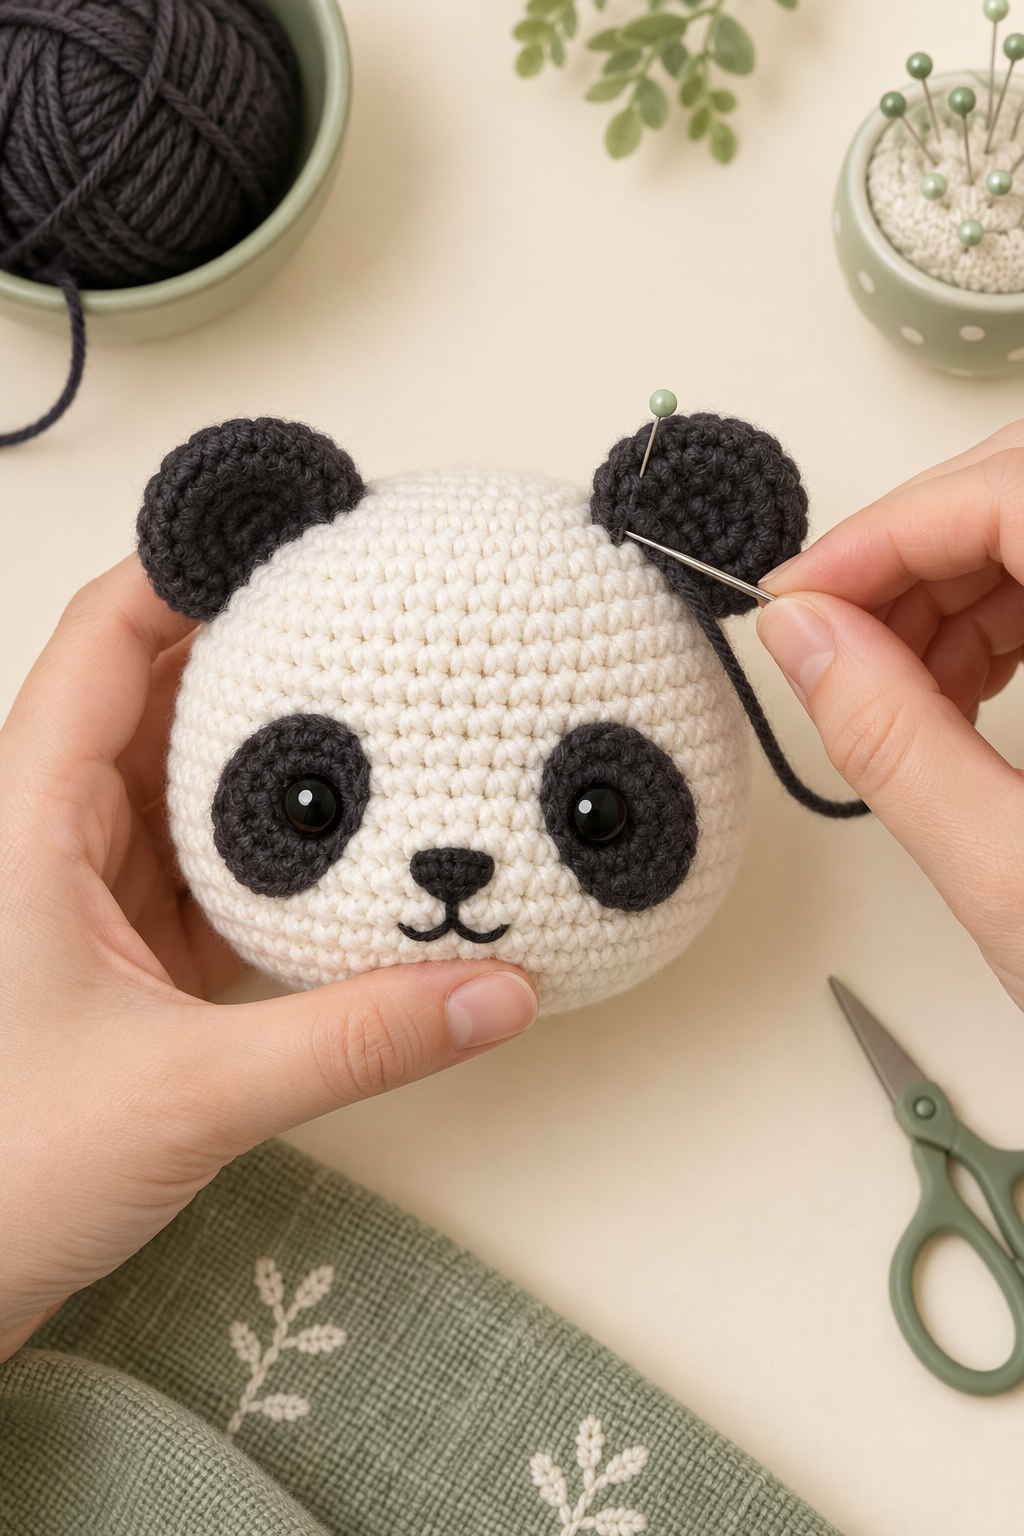
- Attach ears. Pin one ear on each side of the head, about one round above the eye-patch line. Look at the panda straight on: the ears should mirror one another before you stitch.
- Attach patches and face. Sew each patch around its outer edge with tiny stitches. Embroider a small triangle nose centred below them, then make a short line down and a small curved mouth if desired.
- Attach limbs. Sew the arms at the upper sides of the body and the legs low on the front. Use the same attachment point on both sides rather than guessing each piece separately.
- Add the neckerchief. Place its point at centre front and tie or sew the ends at the back. Keep it loose enough that it does not pull the head forward.
Technique Lab: the small details that make the panda look polished
- Invisible decreases: use only the front loops of the next two stitches. This keeps the decrease line smooth and prevents dark stuffing shadows from appearing.
- Match the tension of the parts: ears and limbs should use the same hook and tension as the head. A looser black yarn can make parts look larger even when their stitch counts match.
- Pin before sewing: pins create a rehearsal. View the toy from the front, side, and slightly above; only sew when the face still looks balanced from all three angles.
- Anchor a long seam twice: for the head-to-body join, make one complete pass, then a second partial pass through the areas that will carry the toy’s weight. This is sturdier than one tight pass that dents the body.
- Hide tails inside the stuffing: weave each tail through several stitches, bring it out away from the seam, trim close, and massage the fabric. The trimmed end retreats into the stuffing instead of poking out.
Troubleshooting
- The head looks pointy: increases may be stacked in the same position or the stuffing may be packed into the centre. Massage the fabric and redistribute the filling; on the next project, shift your increases naturally by following the written sequence.
- I can see stuffing: switch to a smaller hook or pull each loop a little shorter. Do not compensate by overstuffing; that makes the gaps more visible.
- One eye patch is lower: remove only the first few stitches of that patch, reposition with pins, and resew. Correcting it now is faster than accepting an expression you do not like.
- The head wobbles: add a second pass of sewing around the neck join. A small amount of extra stuffing at the base of the head can also support it.
- The ears lean forward: move the lower attachment point one stitch toward the back of the head. That tiny change rotates the ear backward.
Frequently asked questions
Can I use bulky yarn?
Yes, but use a hook smaller than the yarn label suggests and expect a larger panda. Recalculate nothing in the stitch counts; simply judge the stuffing and safety-eye size by the finished fabric.
Can I skip safety eyes?
Absolutely. A few small satin stitches or embroidered French knots make a safer face for young children. Place them through the patches before sewing the patches down.
Can I make the neckerchief another colour?
Yes. It is intentionally simple and separate, so you can use any accent colour or omit it entirely without changing the construction.
How do I keep my rounds from slanting?
Continuous spirals naturally shift a little. Keep the marker at the first stitch, count each completed round, and treat the marker line as the back of the toy where it will not distract from the face.
Finish and enjoy your original panda
Your Pocket Meadow Panda is complete when the head is centred, the face is level, each limb is secure, and no yarn tail can be pulled loose. Take a moment to press the stuffing into an even shape and turn the panda in your hands; those last small adjustments make handmade toys feel intentional.
Save this tutorial for your next small amigurumi project. The same skills — spiral counting, gradual stuffing, pinned placement, and secure sewing — transfer directly to original animals, dolls, and tiny plush gifts.
More in Amigurumi