How to Crochet a Magic Ring: A Visual Beginner Guide That Closes Neatly

A magic ring is the adjustable beginning that lets many crochet circles close without a permanent hole in the middle. You will see it in amigurumi, coasters, granny-square centers, small flowers, hats, and any project that begins “work stitches into a ring.” It can look mysterious because the first few stitches are made around loose yarn rather than into a familiar chain. Once you understand which strand is the tail, which strand feeds the yarn ball, and when to pull each one, the motion becomes reliable. This visual lesson teaches one six-single-crochet magic ring in US terms, then shows how to check, close, secure, and repair it.
Quick facts
- Level: beginner, with a little patience
- Time: 10–20 minutes for a first successful practice ring
- Technique: adjustable loop, six single crochet stitches, then a secure close
- Terms: US crochet terminology
- Best use: projects worked in the round where a closed center matters
Materials, vocabulary, and a useful mindset
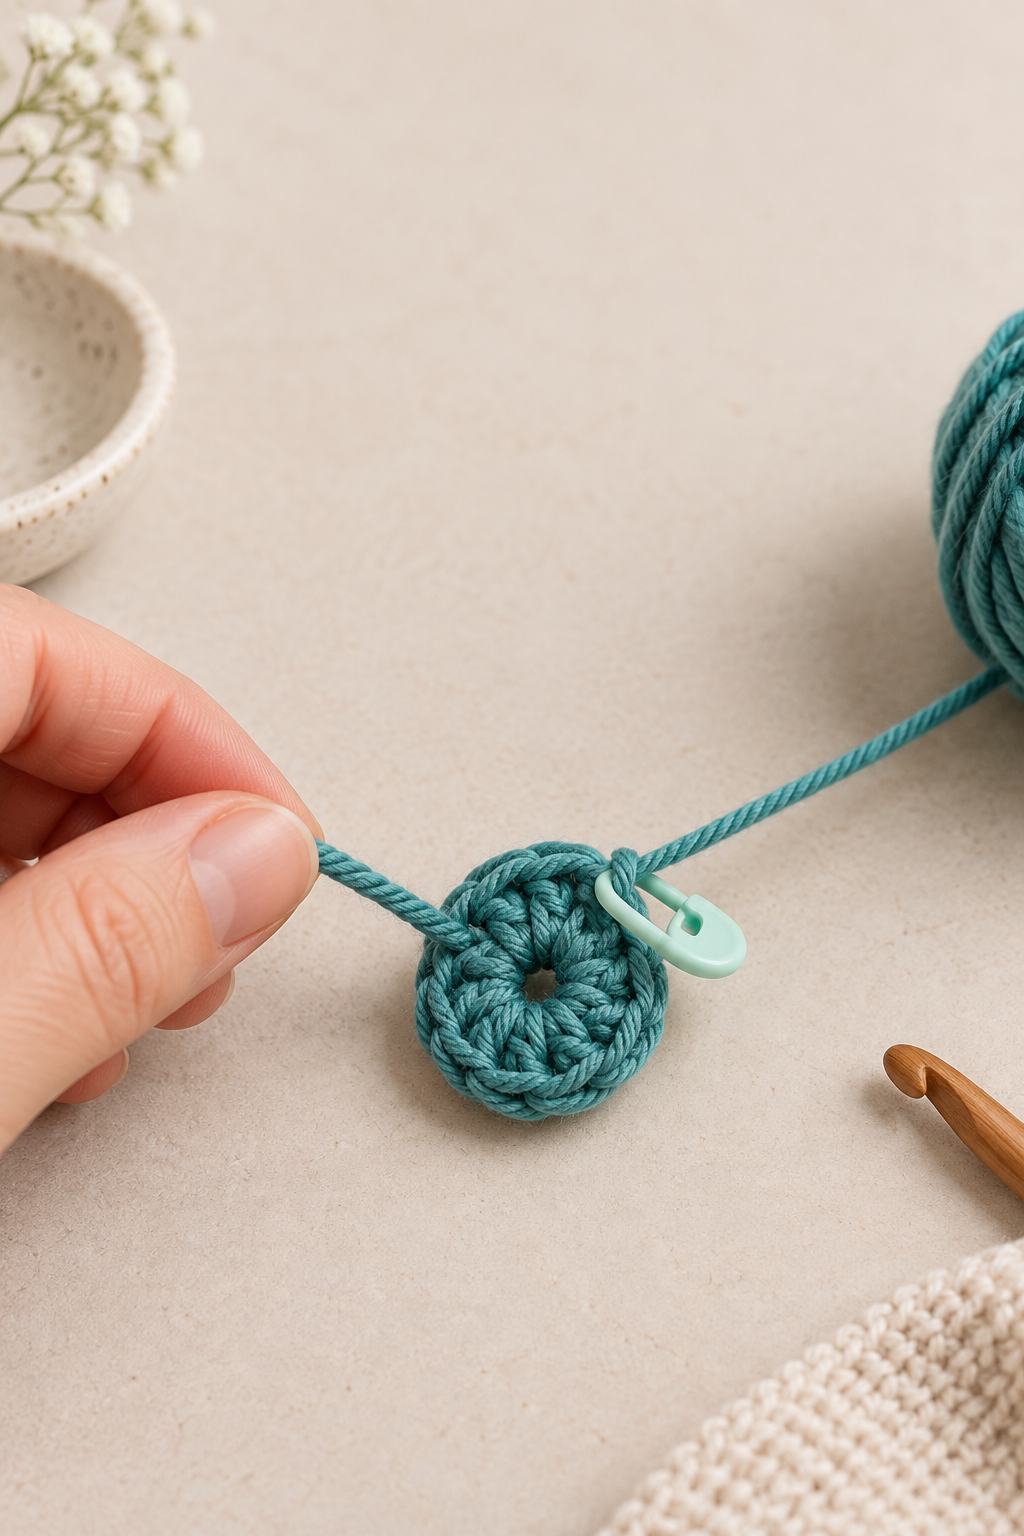
Use smooth, light-coloured worsted-weight yarn and a comfortable hook, such as 4 mm to 5 mm. You also need a locking stitch marker and scissors. Avoid very dark, fluffy, splitty, or velvet yarn while learning; a magic ring asks you to identify individual strands, so visual clarity matters more than making a finished object today.
Tail means the short loose end cut from the yarn. Working yarn is the strand leading back to the yarn ball. MR means magic ring. sc means single crochet. ch means chain. In this tutorial, the ch 1 that stabilizes the loop does not count as one of the six single crochet stitches. Say the count aloud as you work: “one, two, three…” This is a small habit that prevents the common mistake of accidentally starting a circle with seven stitches.
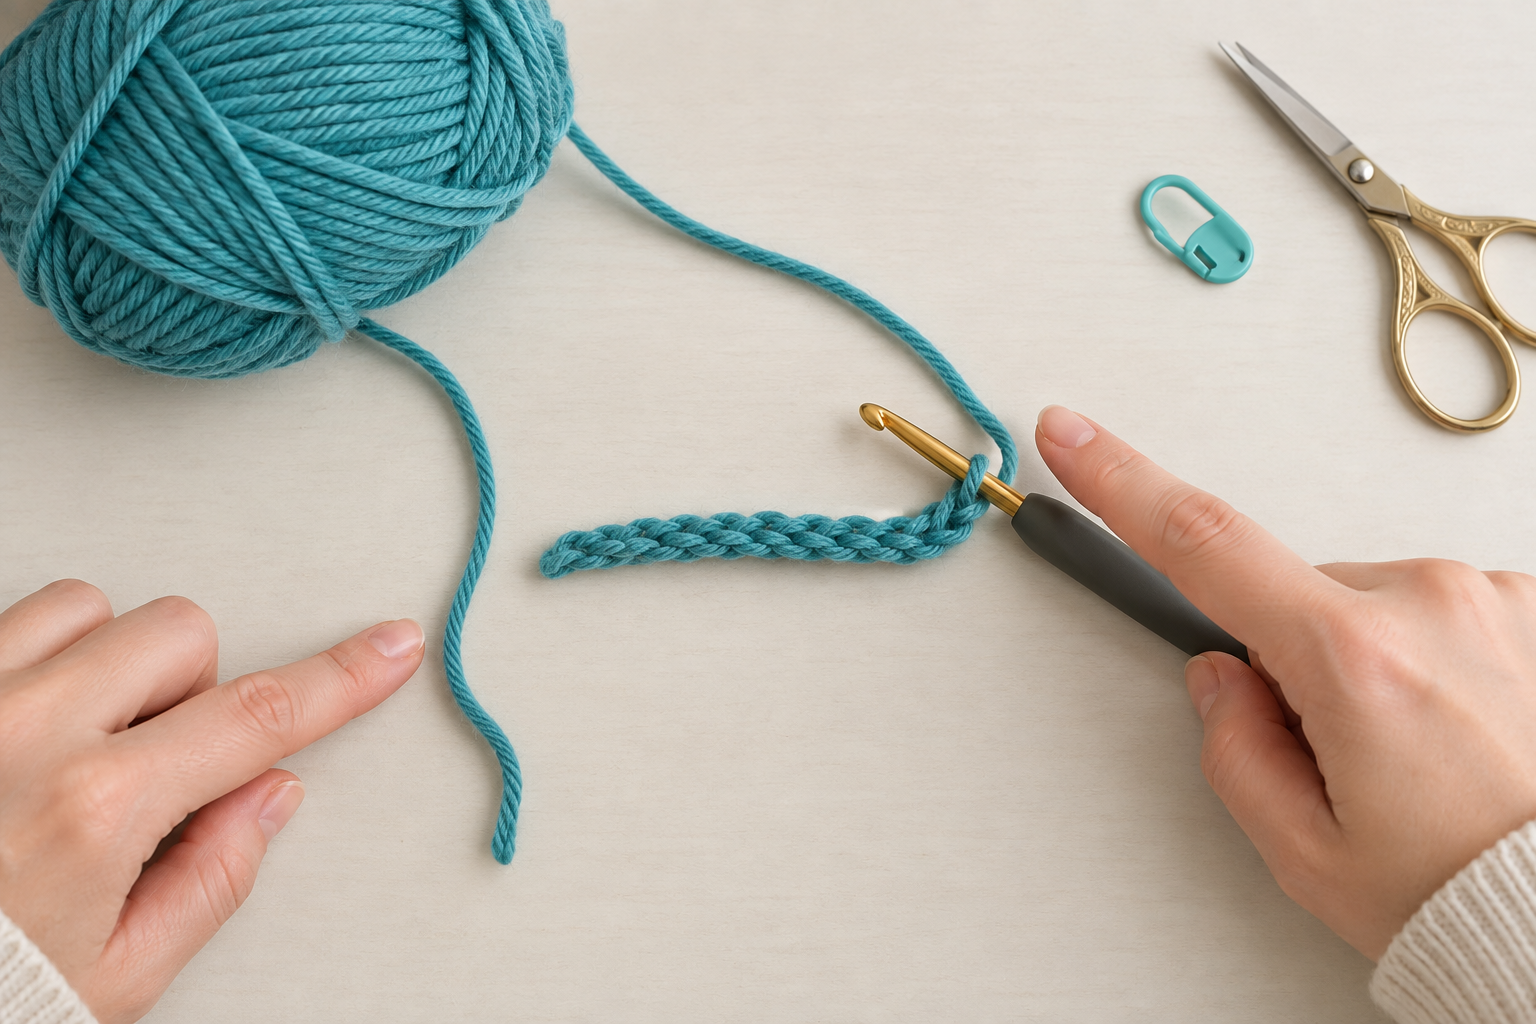
Think of a magic ring as two jobs performed in order. First, you make a large temporary loop that gives your hook room to work. Second, after your stitches are safely in place, you pull the correct tail to make that loop disappear. Do not try to tighten it at the beginning. A loose starting loop is helpful, not wrong.
Step 1: Leave a generous tail and wrap the yarn
Pull out a tail about 6 in / 15 cm long. Hold your non-hook hand palm-up. Lay the tail across your palm, then bring the working yarn over the front of your index and middle fingers, around the back, and back across the front. The two strands should cross on the front of your fingers. Keep the tail hanging toward your palm and the working yarn leading away toward the ball. Hold the crossing point lightly with your thumb.
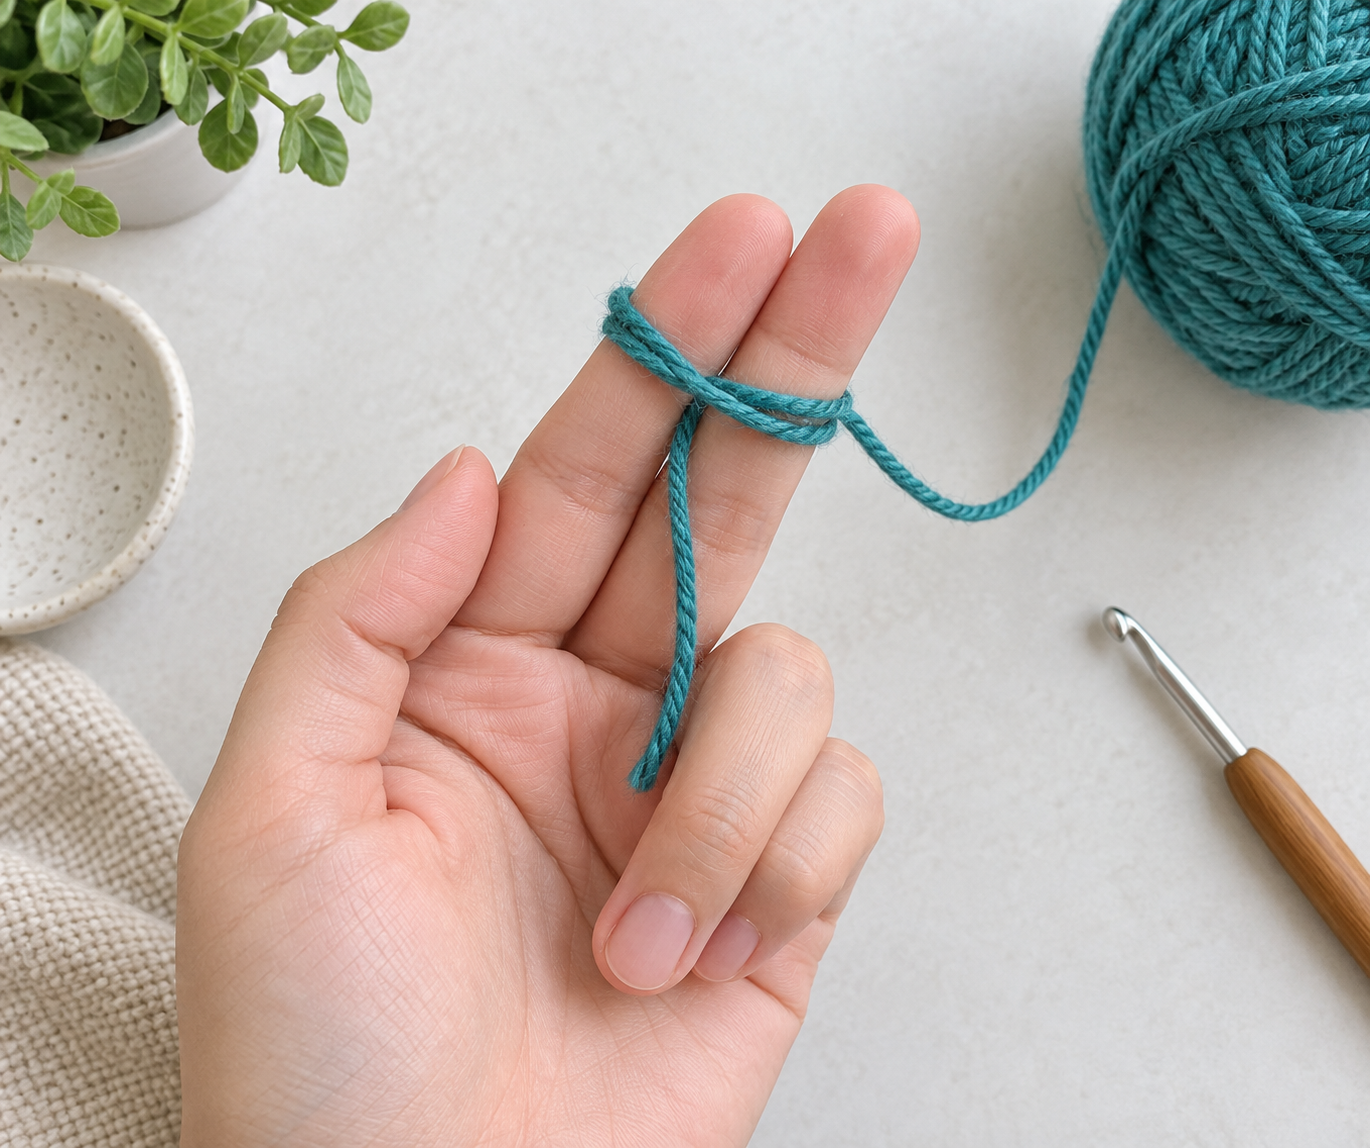
Expected result: the loop is loose enough to slide a hook under it, but the two strands stay crossed when you turn your hand slightly. If the yarn slides off your fingers, you are not holding the crossing point. Pinch that point with your thumb and ring finger; do not tighten the whole loop. If you are left-handed, mirror the hand positions. The important relationship is not right versus left, but tail toward the palm and working yarn feeding freely from the ball.
Step 2: Pull up the first loop
Insert the hook from right to left under the front strand lying across your fingers. Rotate the hook to catch the working yarn behind the loop, then pull that working yarn under the front strand and toward you. You now have one loop on your hook. This is not a stitch yet; it is the loop that lets you begin working around both strands of the ring.
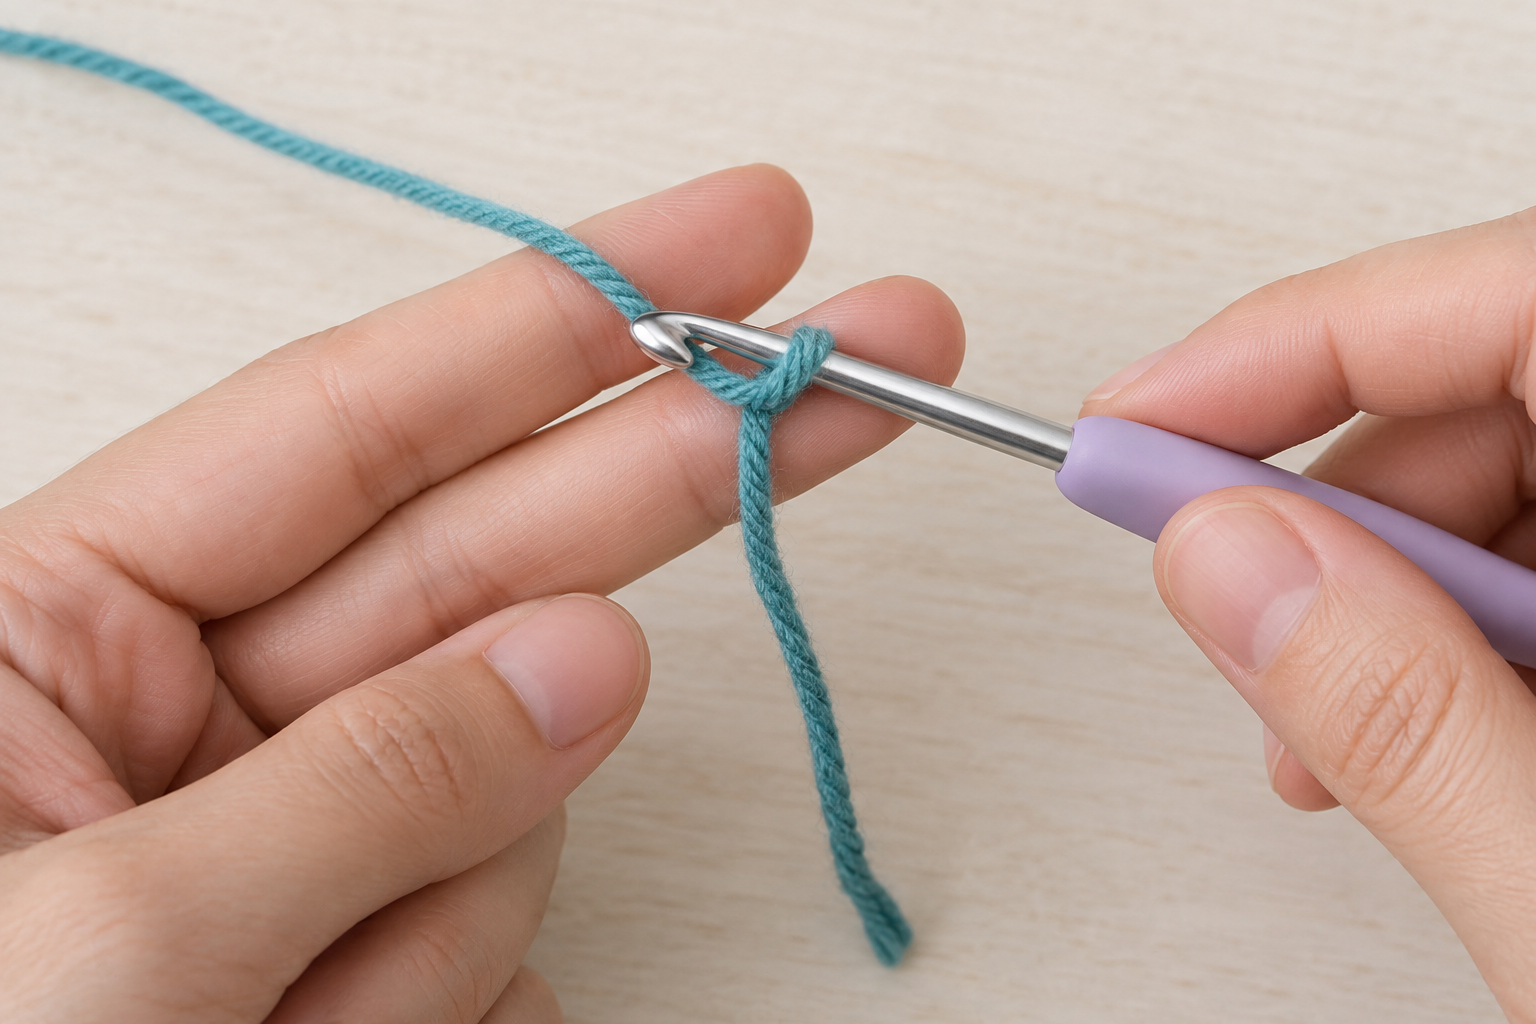
Yarn over with the working yarn and pull through the loop on the hook to make ch 1. This chain steadies the ring but is not included in the six-stitch count. Slip the loop off your fingers while keeping the ring open with your thumb and forefinger. You should now see a large circular opening made of two parallel yarn strands: one is the tail and one is the working yarn. Both are held together while you make the next stitches.
Mini scenario: if your loop vanishes when you remove your fingers, you probably pulled the tail by accident. Start again and make the initial loop larger. If the loop on the hook feels tight, pull upward on the hook shaft a little before the first single crochet. You are allowed to give yourself working room.
Step 3: Work six single crochet stitches into the open ring
Insert the hook through the large center opening, going under both strands that form the ring. Yarn over with the working yarn and pull up a loop: two loops are now on the hook. Yarn over once more and pull through both loops to complete 1 sc. Repeat into the same large opening until you have 6 sc in total. Keep the tail and working-yarn strand together under your hook each time; the stitches must encase both of them so the tail can close the center.
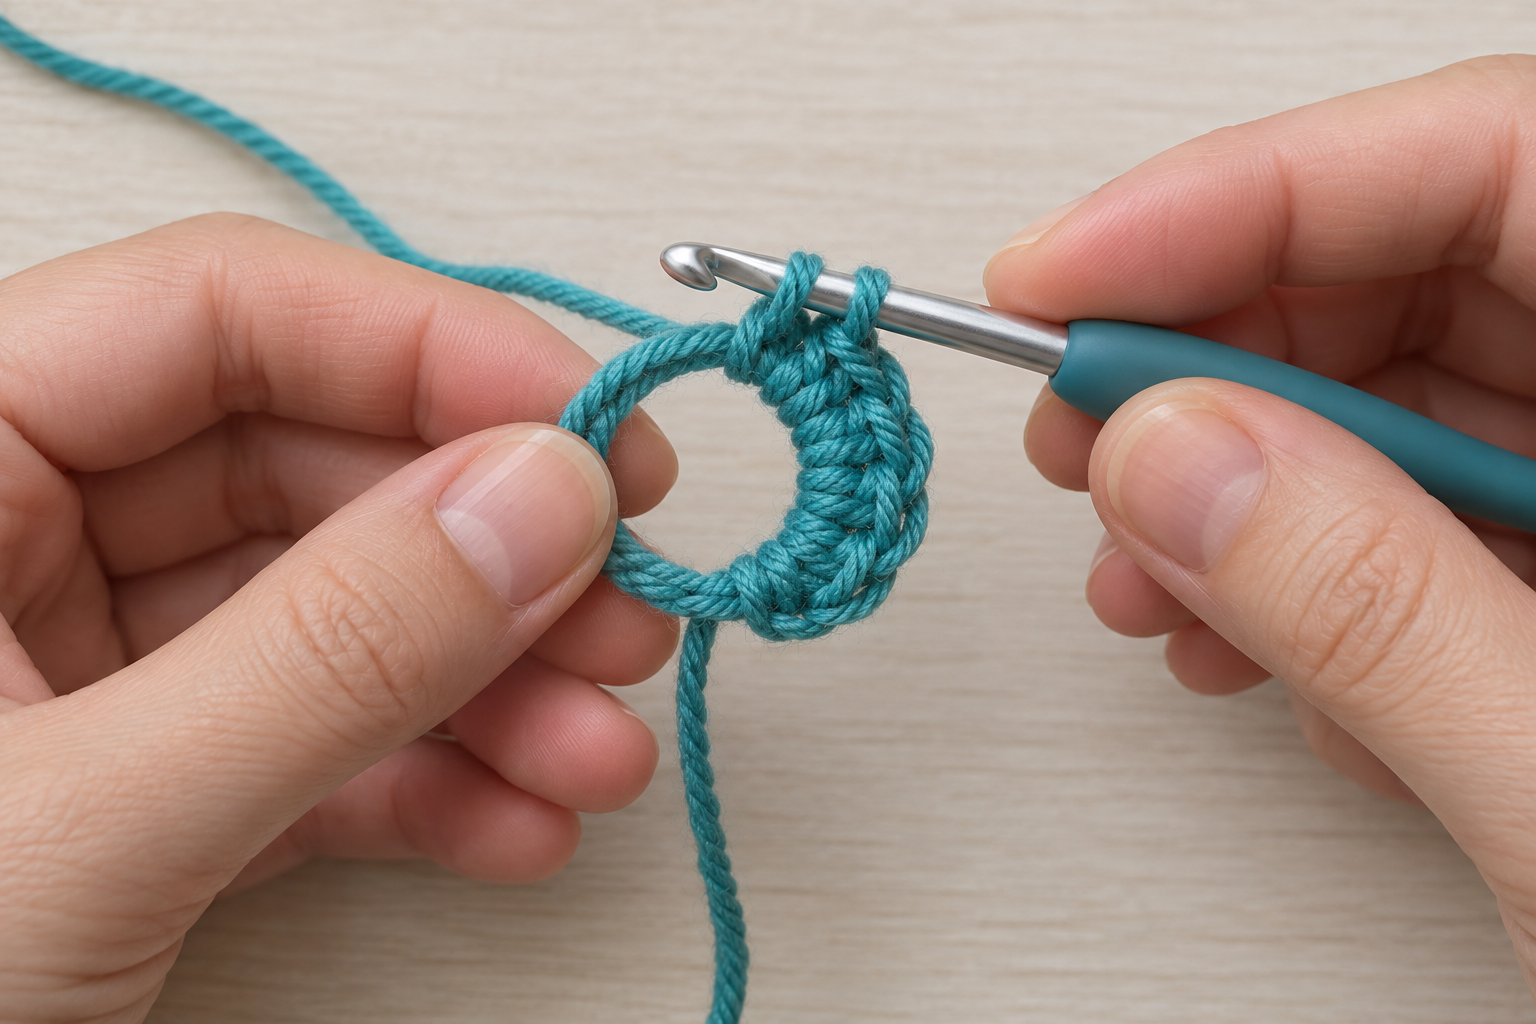
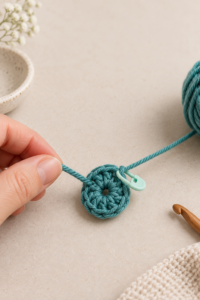
After the sixth stitch, pause. The ring should still have a visible center opening, and you should be able to separate six V-shaped stitch tops around its edge. Place the marker under the top V of your sixth sc. The marker identifies the end of Round 1; it does not close the round. Most amigurumi patterns continue in a spiral, so you would begin the next stitch directly in the first sc rather than joining with a slip stitch unless the pattern says otherwise.
Count checkpoint: touch each stitch top with your hook and count six. Do not count the ch 1. If you find five, add one sc before closing. If you find seven, undo the final sc. A round with the wrong count can make later increases drift, even if the ring initially looks round.
Step 4: Close the center without trapping the working yarn
Find the two loose strands beneath the first stitches. Pull the shorter tail first. The center hole should begin to shrink. If nothing moves, gently pull the other strand once; one strand closes the adjustable loop while the other may simply shorten part of the initial wrap. Once you see which strand closes the circle, pull it steadily until the hole is nearly gone. Do not yank hard enough to distort the six stitches. The goal is a closed center with stitches still lying in a relaxed circle.
For a practice sample, stop here and fasten off. For a real project, leave the tail until the object is finished, then weave it back and forth through the center stitches with a yarn needle. On slippery yarn, weave through at least three changes of direction. A magic ring is adjustable, but it is not automatically permanent; securing the tail is the finishing step that protects your work from reopening after use.
Technique Lab: when to choose a magic ring
A magic ring is most useful when the center will remain visible or stuffed. It removes the little open hole that a chain-and-slip-stitch start can leave in an amigurumi head, a tight coaster, or a flat flower. It is not mandatory in every circular project. If you are working with very slippery yarn, a traditional ring may loosen unless the tail is woven securely; a chain-2 or chain-3 start can be a better practical choice when a pattern allows it. Good crochet is not about using the fanciest technique. It is about choosing a method that suits the yarn and the finished use.
Try the same six-stitch ring three times with scrap yarn. The first ring teaches the finger wrap. The second teaches the hook motion. The third is usually where your hands stop feeling rushed. Keep all three samples. Comparing them shows exactly how a looser beginning, clearer stitch count, and gentler final pull change the result.
Troubleshooting common magic-ring problems
- I cannot pull the ring closed: you may have crocheted around only one strand. Restart and make sure the hook travels under both tail and working-yarn strands for every sc.
- My ring closes before I have six stitches: the tail was pulled too soon. Keep the ring large until your count is correct.
- There is still a hole: find the closing tail, pull it gradually, and then weave it securely after finishing the project.
- My stitches are too tight to enter: make the starting loop larger and hold the ring lower on the hook shaft, where the hook is thicker.
- The ring looks like a spiral rather than a circle: recount. One extra or missing single crochet changes the spacing immediately.
Frequently asked questions
Is a magic ring the same as a magic circle?
Yes. You may also see “adjustable ring” or “adjustable loop.” The names vary, but the goal is the same: create a circle that can be pulled closed after the first round is worked.
Do I always start with six single crochet stitches?
No. Six is common for amigurumi using single crochet, but a pattern may ask for a different number or for taller stitches. Follow the pattern’s stated count and treat any starting chain exactly as the pattern instructs.
Can a left-handed crocheter use these instructions?
Yes. Mirror the hand positions and hook direction. Keep the functional relationships the same: separate tail from working yarn, work over both ring strands, count the stitches, then pull the strand that closes the loop.
One small circle, many future projects
You can now form, stitch into, close, and check a magic ring. That is a complete skill, not just a first line in a pattern. Before moving to a larger project, make sure your final sample has six clearly countable stitch tops, a nearly invisible center, and a tail you can weave in securely. Save this guide for the next time a pattern begins with “MR,” then return to Mini Fun Box when you are ready to use that small circle in a flower, coaster, ornament, or amigurumi project.
More in Crochet for Beginners