How to Crochet the Moss Stitch: A Complete Beginner Guide to Even, Woven Fabric

The moss stitch is one of the best places to slow down and learn how crochet fabric is built. It uses only a single crochet and a chain, yet it creates a calm woven texture that looks equally good on both sides. In this complete beginner lesson, you will make a small square washcloth-sized practice piece while learning the exact placement that keeps the texture even and the edges straight.
You do not need to memorize a complicated pattern. You only need to notice two things: the open chain-one space and the single crochet beside it. By the end, you will know how to recognise both, fix a missed space, and turn the same repeat into a scarf, blanket panel, or simple home accessory.
Quick facts
- Skill level: beginner, after learning chain and US single crochet
- Also called: linen stitch, granite stitch, woven stitch
- Best first project: a small cotton washcloth or practice swatch
- Construction: flat rows, turned after every row
- Texture: light, flexible, subtly woven, and reversible
Materials
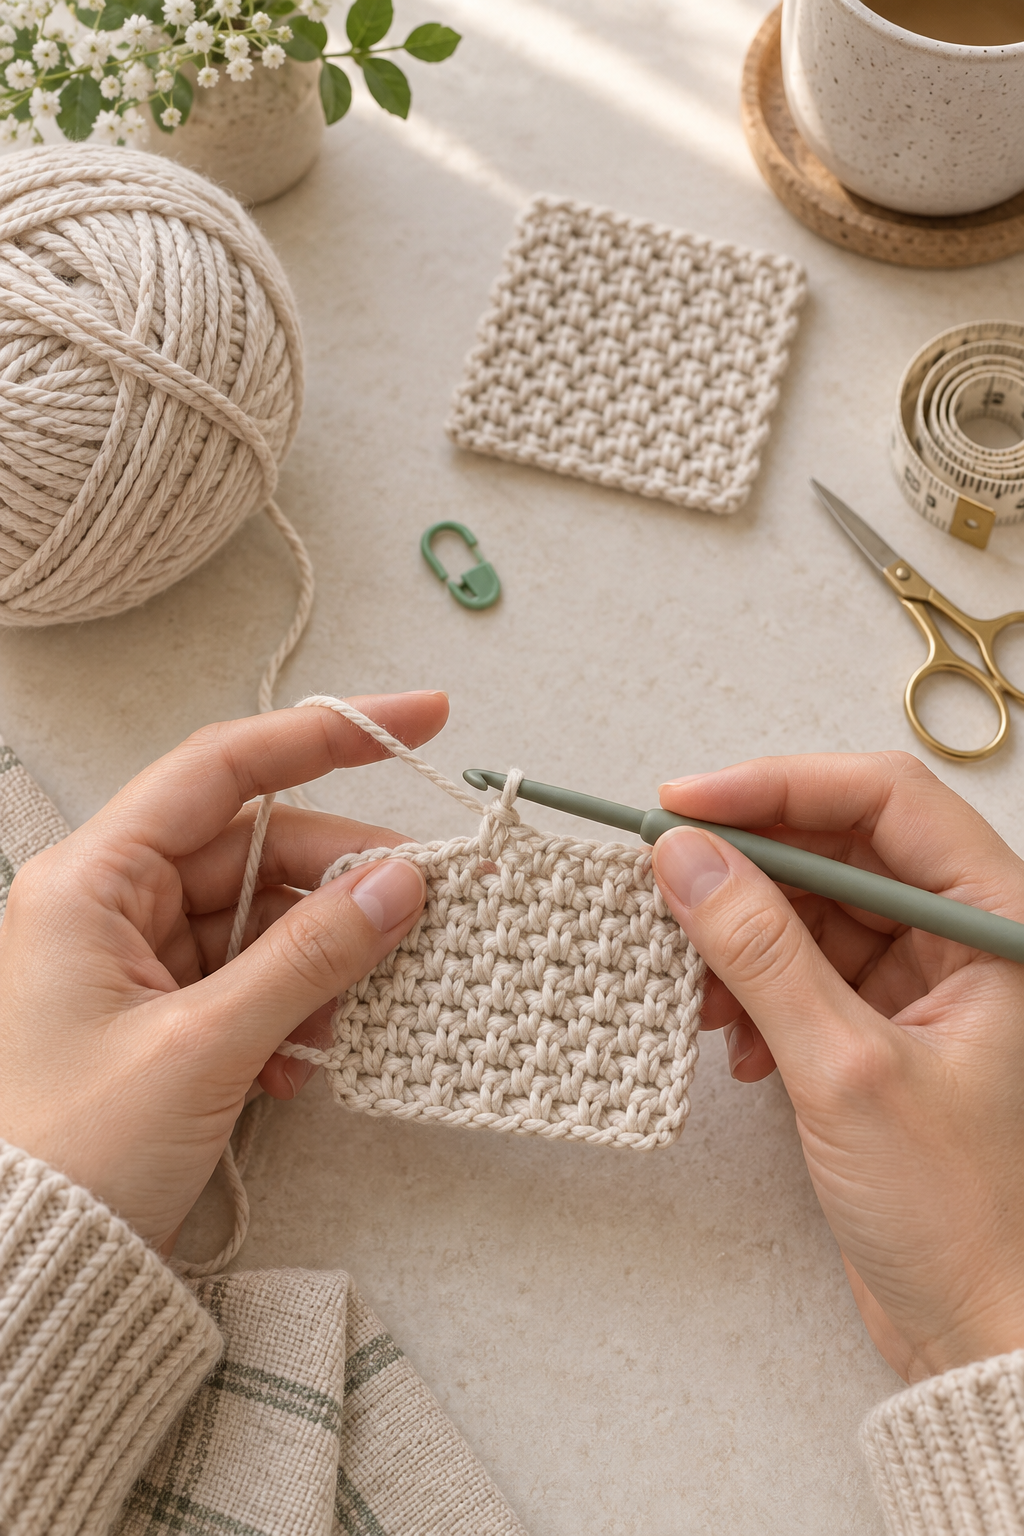
- Light-coloured smooth cotton or cotton-blend yarn. Cotton makes a useful washcloth; smooth yarn makes the spaces visible.
- A hook size suggested by the yarn label. Choose a hook that lets the yarn slide without forcing it.
- One removable stitch marker, scissors, and a tapestry needle.
- An optional tape measure for checking a square shape.
Terms used in this lesson
- ch = chain
- sc = single crochet, using US terms
- ch-1 sp = the open space made by a chain one
- sk = skip
- st = stitch
A chain-one space is not the same thing as a tight stitch top. It is the little window between two single crochets. In moss stitch, that window is your target on later rows. Saying “work into the space” means slide the hook under the chain itself, through the open gap, rather than stabbing into the top V of a single crochet.
The one rule that makes moss stitch work
Every repeat is single crochet, chain one, skip one. On the next row, each new single crochet goes into the previous row’s chain-one space. The small chain makes room for the next row. If you work into the single crochet instead, the fabric becomes denser and the woven rhythm disappears.
For this sample, begin with an even number of chains. We will use 22 chains. That gives you a manageable practice width and makes the edges follow the same logic from one row to the next.
Before you begin: a 30-second preflight
- Keep your starting chain relaxed. If it bends sharply when laid down, remake it more loosely or use a hook one size larger only for the chain.
- Decide that the turning chain will not count as a stitch in this lesson.
- Place a marker in the final chain-one space of the first row. It will show you where the final single crochet belongs after turning.
Step-by-step moss stitch washcloth sample
Step 1: Make the foundation chain
Make a slip knot and chain 22. Hold the chain near the hook rather than pulling it long and tight. Turn the chain so you can see its top V-shaped loops. Count again from the hook before you begin; the loop already on your hook is never one of the 22 foundation chains.
Correct result: the chain rests in a gentle line and your hook can pass under a loop without a fight. If it curls or feels hard: do not hope the first row will fix it. Start again with looser loops, because a tight foundation can pull the entire washcloth narrower at the bottom.
Step 2: Work the first row
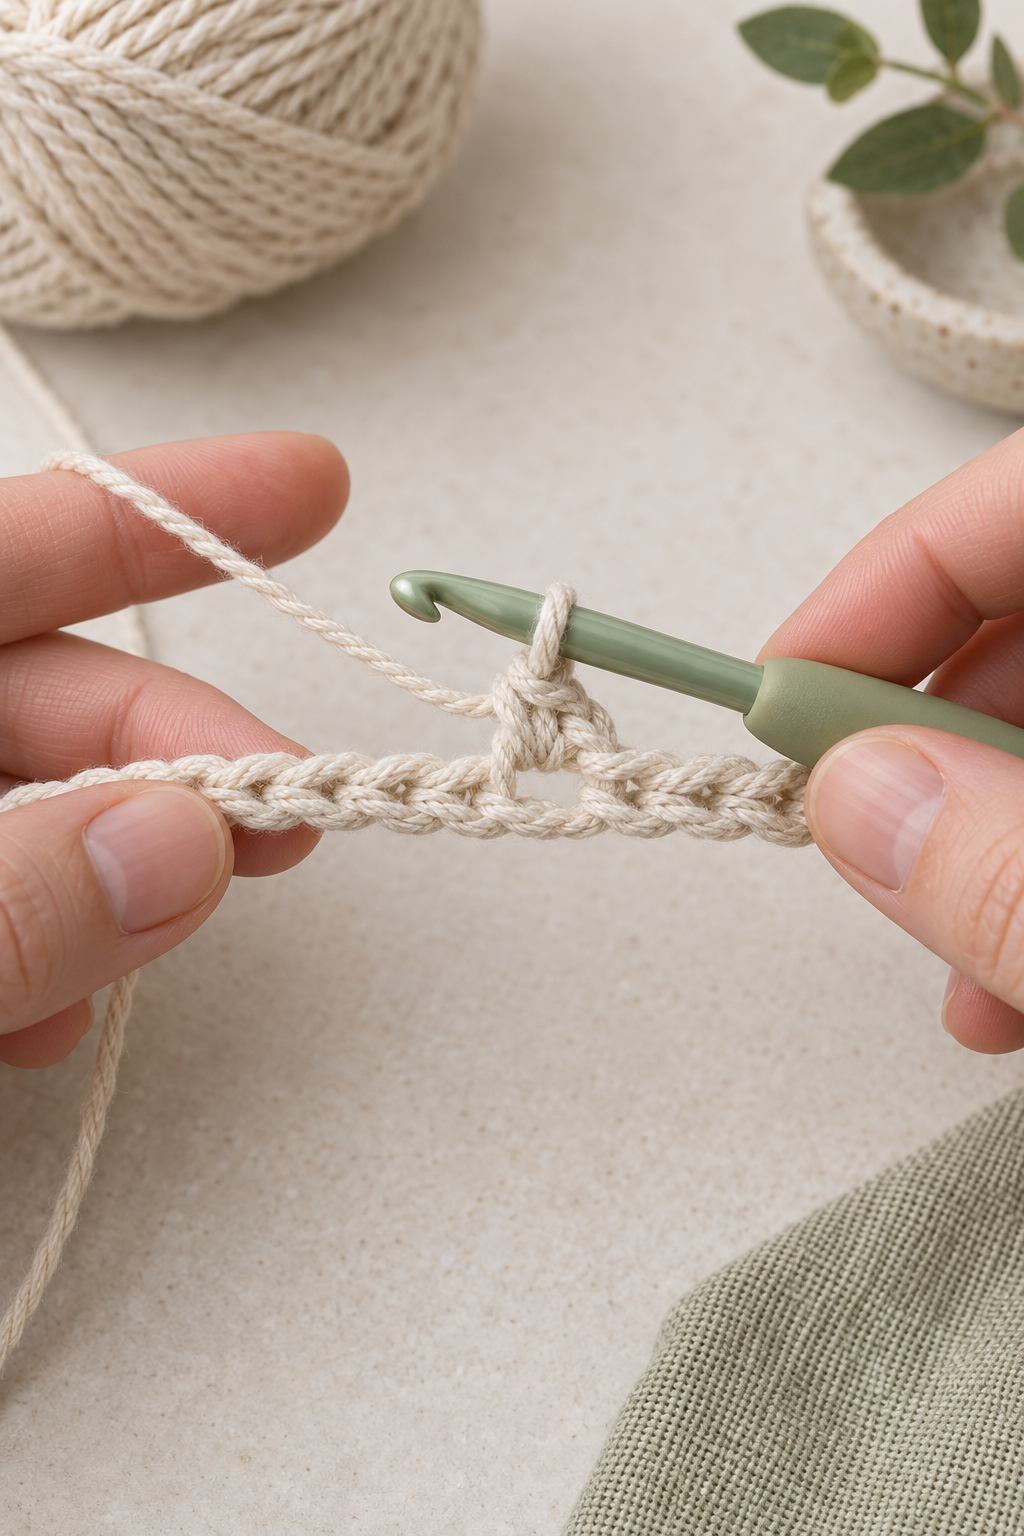
Work sc in the fourth chain from your hook. Then repeat ch 1, sk next chain, sc in next chain across. End with one sc in the final chain. You should have 10 single crochets and 9 chain-one spaces, not counting the turning chains.
The first three chains provide the beginning height and edge space for this version of the stitch. Do not put another single crochet into them. As you repeat, pause after each chain one and point to the foundation chain you will skip. This prevents the classic beginner error of making an accidental extra stitch.
Checkpoint: your row should alternate small solid posts and open windows. If you see two single crochets touching with no window between them, undo to the last correct stitch and add the missing chain one.
Step 3: Turn and find the first open space
Chain 2 and turn your work. The two chains make the turning edge; they do not count as a single crochet. Look immediately beside that turning chain. The first open window from the previous row is your first ch-1 sp. Do not work into the top of the nearby single crochet.
For a useful hand-position scenario, imagine you are opening a tiny doorway. Your hook goes through the doorway beneath the chain, not through the roof of the neighbouring stitch. The hook should meet very little resistance. If you have to push, you are probably in the wrong place.
Step 4: Work Row 2 into the chain-one spaces
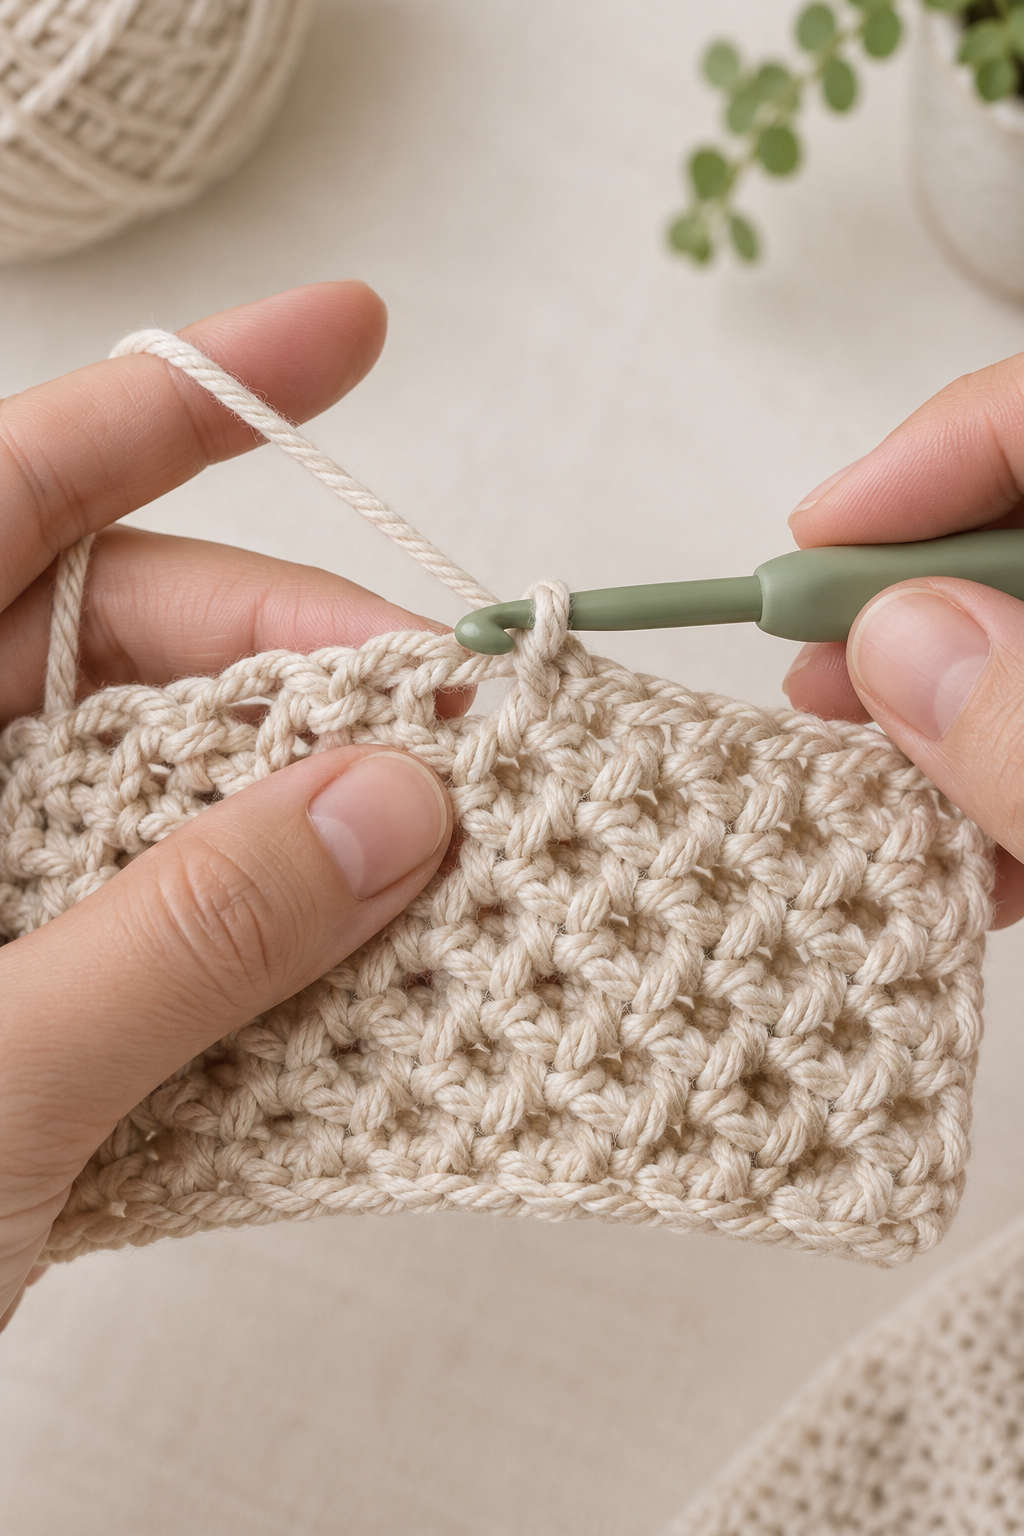
Work sc in the first ch-1 sp, ch 1. Continue sc in next ch-1 sp, ch 1 across the row. At the far edge, make the final sc into the marked last chain-one space. You again have 10 single crochets and 9 chain-one spaces.
The final space can look smaller than the others because it sits beside the turning chain. Your marker is the answer: insert under the marked chain space, make the final sc, then move the marker to the last ch-1 sp you just created. If the edge has grown wider, you likely worked into the turning chain or missed this final space; count before continuing.
Step 5: Repeat until the piece is useful
Repeat Row 2 until the fabric measures approximately 7 to 8 inches tall or looks square beside its foundation edge. Turn after every row, make ch 2, work sc into every ch-1 sp with a ch 1 between, and finish in the last marked space. For a scarf, keep the same width and repeat much longer. For a blanket panel, make a gauge sample first, then calculate the number of even foundation chains needed for your planned width.
Progress checkpoint after five rows: the vertical columns should look gently offset, like woven baskets. Both long edges should have the same number of rows and should not lean inward. If one edge is shrinking, the final chain-one space is being missed. If one edge is flaring, you are probably adding a stitch in the turning chain.
Step 6: Finish the sample
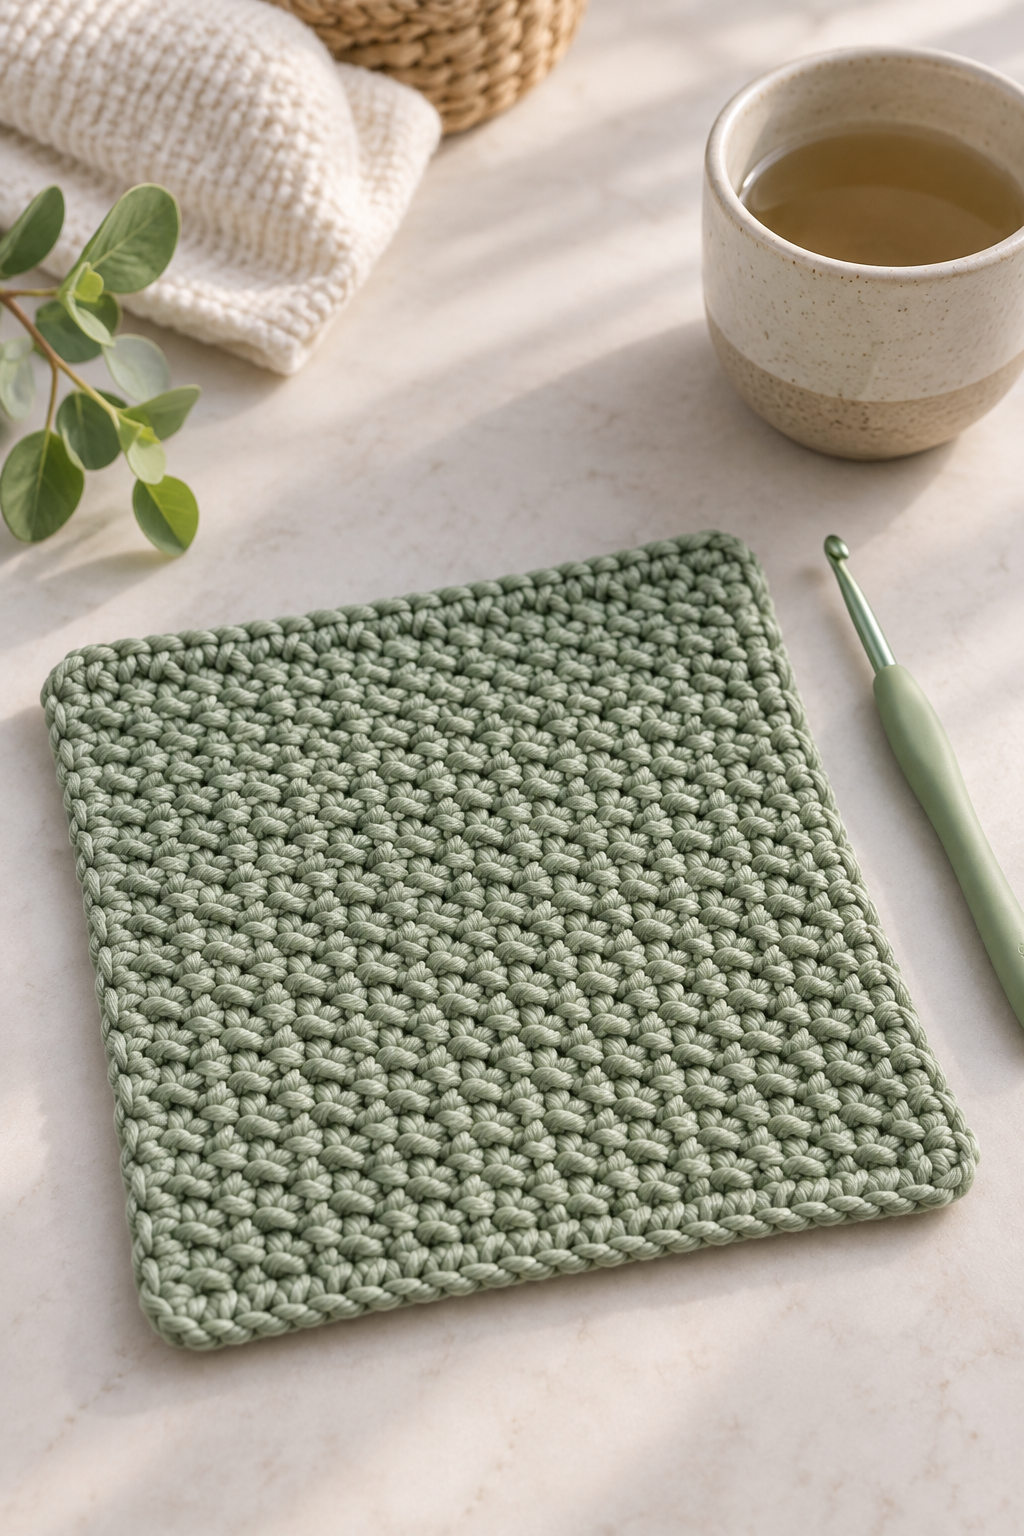
When the piece is the size you want, cut the yarn leaving a 5-inch tail. Pull the tail through the loop on the hook to fasten off. Thread the tail through a tapestry needle and weave through several stitch backs on the wrong side, changing direction once before trimming. Do not pull so tightly that the corner puckers.
Technique Lab: the details that make it look professional
Control the chain-one height. The chain one should be as tall as your single crochet loop, not a loose ladder. After pulling through, let the loop settle on the wider shaft of the hook. A very tall chain creates holes that look larger than the woven texture; a tight chain makes the fabric stiff.
Count spaces, not only stitches. In moss stitch, the open spaces carry the next row. At the end of a row, count the single crochets and then glance across the spaces. If you started with 10 single crochets, you should find 9 working chain-one spaces between them. This double check catches errors before they travel upward.
Choose yarn honestly. Smooth cotton, wool, or acrylic shows this stitch best. Fuzzy eyelash yarn and chenille hide the spaces, which makes a first attempt unnecessarily hard. Once your hands know the movement, you can use a more textured yarn with confidence.
Gauge matters for larger projects. A moss stitch blanket can look beautiful even when the gauge varies slightly, but width and drape change with yarn and hook size. Make at least a 4-inch sample, measure the center instead of the edges, and adjust before committing to a large foundation chain.
Troubleshooting
- The fabric is dense with no open texture. You are likely working into single crochet tops instead of chain-one spaces. Undo one row and look for the visible windows.
- My edges get narrower. The last chain-one space is being missed. Use a marker in that space before turning until your eyes recognise it.
- My edges get wider. An extra sc is probably going into the turning chains. Remember: in this lesson, the turning chain never counts as a working stitch.
- The first row is hard to crochet into. Your foundation chain is too tight. Restart it more loosely or make the foundation chain with a larger hook, then change back for Row 1.
- The rows look uneven. Check chain-one tension. Make each chain with the loop resting on the hook shaft, not pulled tightly against the hook throat.
Frequently asked questions
Is moss stitch good for a first project?
It is an excellent next step after you can chain and single crochet. A small washcloth teaches the repeat without the commitment of a blanket.
Why does my moss stitch have different names?
Linen stitch, granite stitch, woven stitch, and moss stitch often describe the same basic single-crochet-and-chain-space fabric. Always read a pattern’s first row and terminology note, because names are not as reliable as instructions.
Can I change colours?
Yes. Change colour during the final yarn-over of a single crochet at the edge, then begin the next row with the new colour. Practise on a small sample first so you can keep the edge tidy.
Can I use this for a blanket?
Absolutely. Make a larger gauge sample, choose an even foundation-chain count, and repeat the Row 2 rhythm. The same accurate edge method matters even more on a wide blanket.
Your next confident step
Keep this little square. It is not only a washcloth: it is proof that you can read chain spaces, manage a turning edge, and correct your fabric while you work. Save this lesson for the next time a stitch pattern says “work in the ch-1 space.” Once you can see that small doorway, moss stitch becomes a quiet, reliable building block for many projects.
More in Stitches & Techniques
How to Crochet the Moss Stitch: A Complete Beginner Guide to Even, Woven Fabric
How to Change Colors in Crochet: A Clear Beginner Guide to Neat Edges