How to Crochet a Reusable Gift Bow: Easy Christmas Package Topper

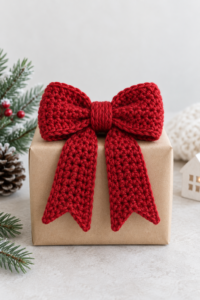
A crochet gift bow is a small project with an unusually big job: it makes an ordinary box look considered before the recipient has opened it. This original reusable bow is made from a soft, structured strip, two separate tails, and a narrow center band. It is beginner-friendly because the crochet itself is mostly half double crochet; the interesting part is learning how a flat strip becomes a balanced bow. Make one in ruby red for Christmas, cream for a wedding shower, or a favourite colour for a birthday. Once the gift has been opened, the bow can be tied onto a wreath, a bag handle, or next year’s package.
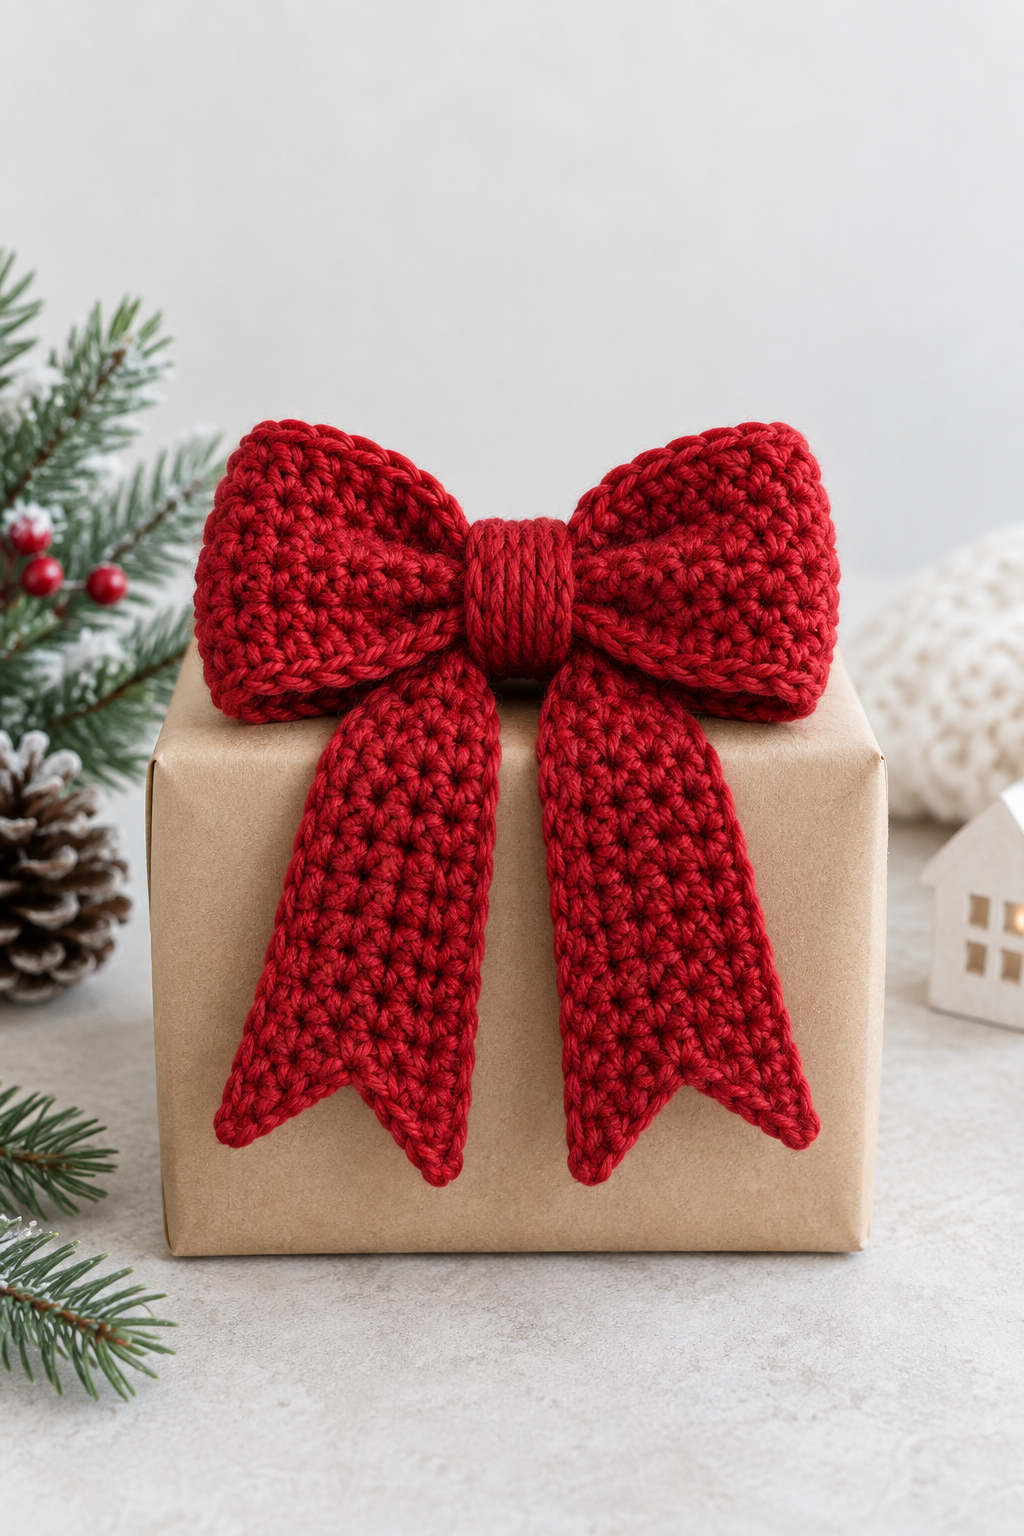
Quick facts
- Level: beginner
- Finished size: about 6 in / 15 cm wide, excluding tails
- Construction: one body strip, two tails, one center band
- Time: about 1½ to 2 hours
- Terminology: US crochet terms
Materials and abbreviations
You need 45–55 g of smooth worsted-weight yarn, a 4.5 mm crochet hook, yarn needle, scissors, two removable stitch markers, and a small piece of removable tape or a gift box for the final test. Smooth yarn matters here: the center wraps and row ends must be easy to see. ch means chain, hdc means half double crochet, sc means single crochet, sl st means slip stitch, and hdc2tog means work two half double crochet stitches together to decrease by one stitch.
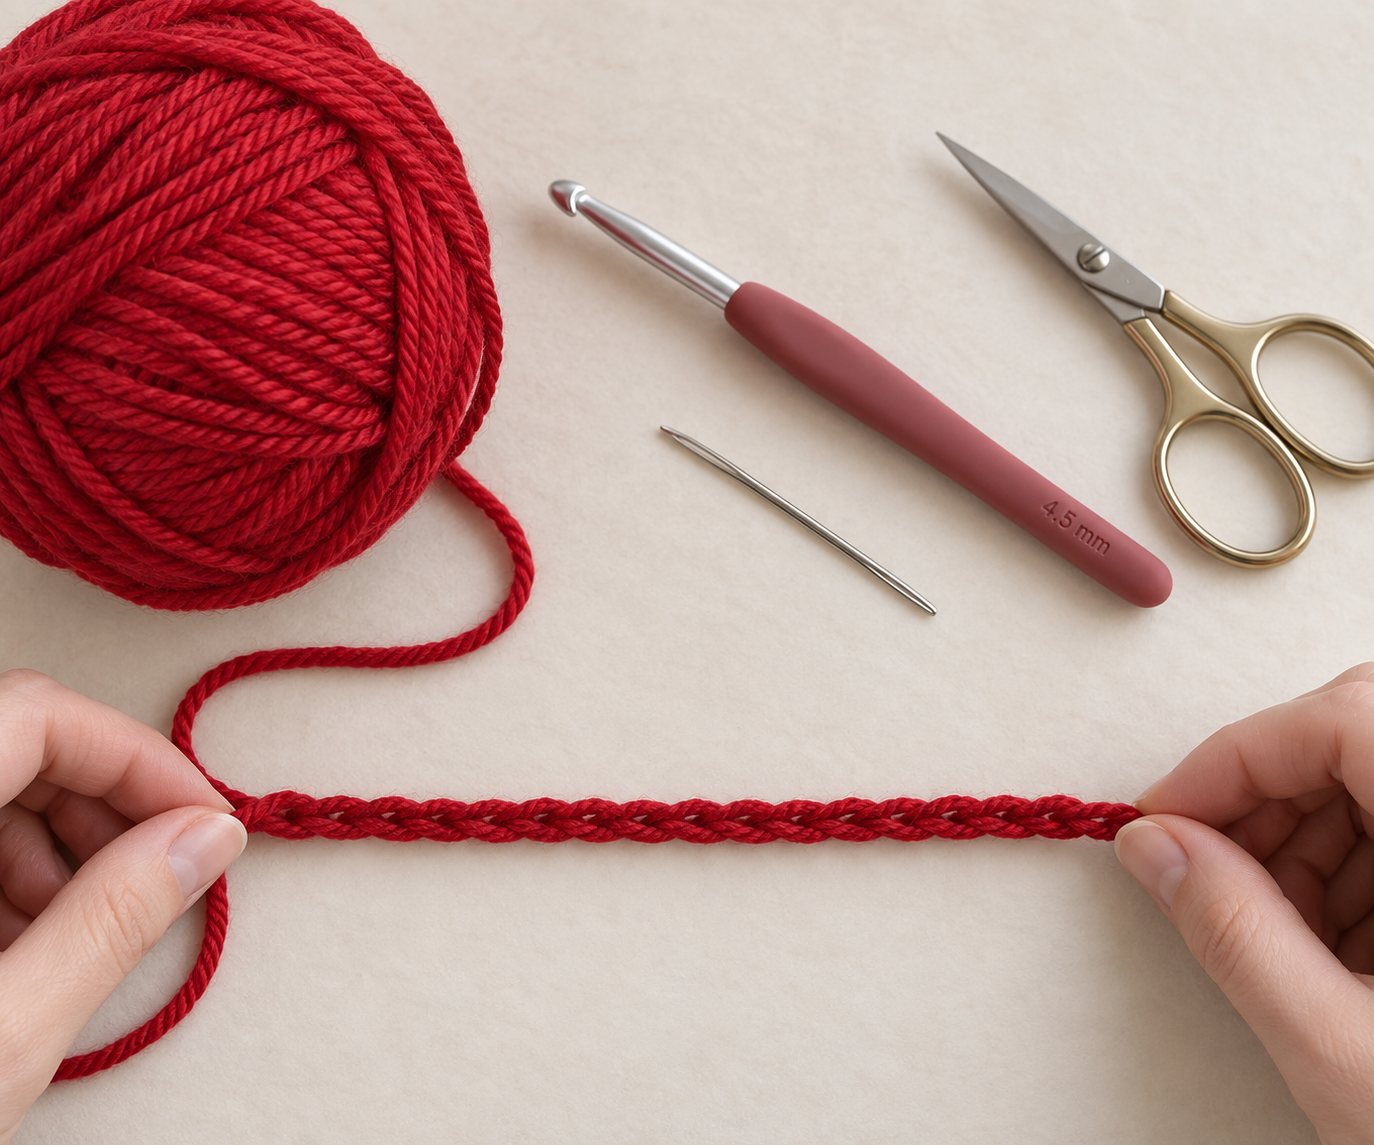
Project roadmap: first crochet a long, even rectangle for the bow body. Next fold it into three aligned sections and secure the center. Then crochet two small tails, wrap the center with a separate band, and finally attach the bow to a package with yarn or removable tape. Read through once before you start. You are not trying to create a perfect bow from the first stitch; you are building flat parts that are easy to adjust before they are permanently joined.
Step 1: Make the bow body strip
Ch 51. Starting in the third chain from the hook, work 1 hdc in each chain across: 49 hdc. Ch 2 and turn. The turning chain does not count as a stitch throughout this project. Work Rows 2–8 with 49 hdc, ch 2, turn. After Row 8, do not fasten off yet. The finished strip should be a little over twice as long as it is wide, with two straight long edges.
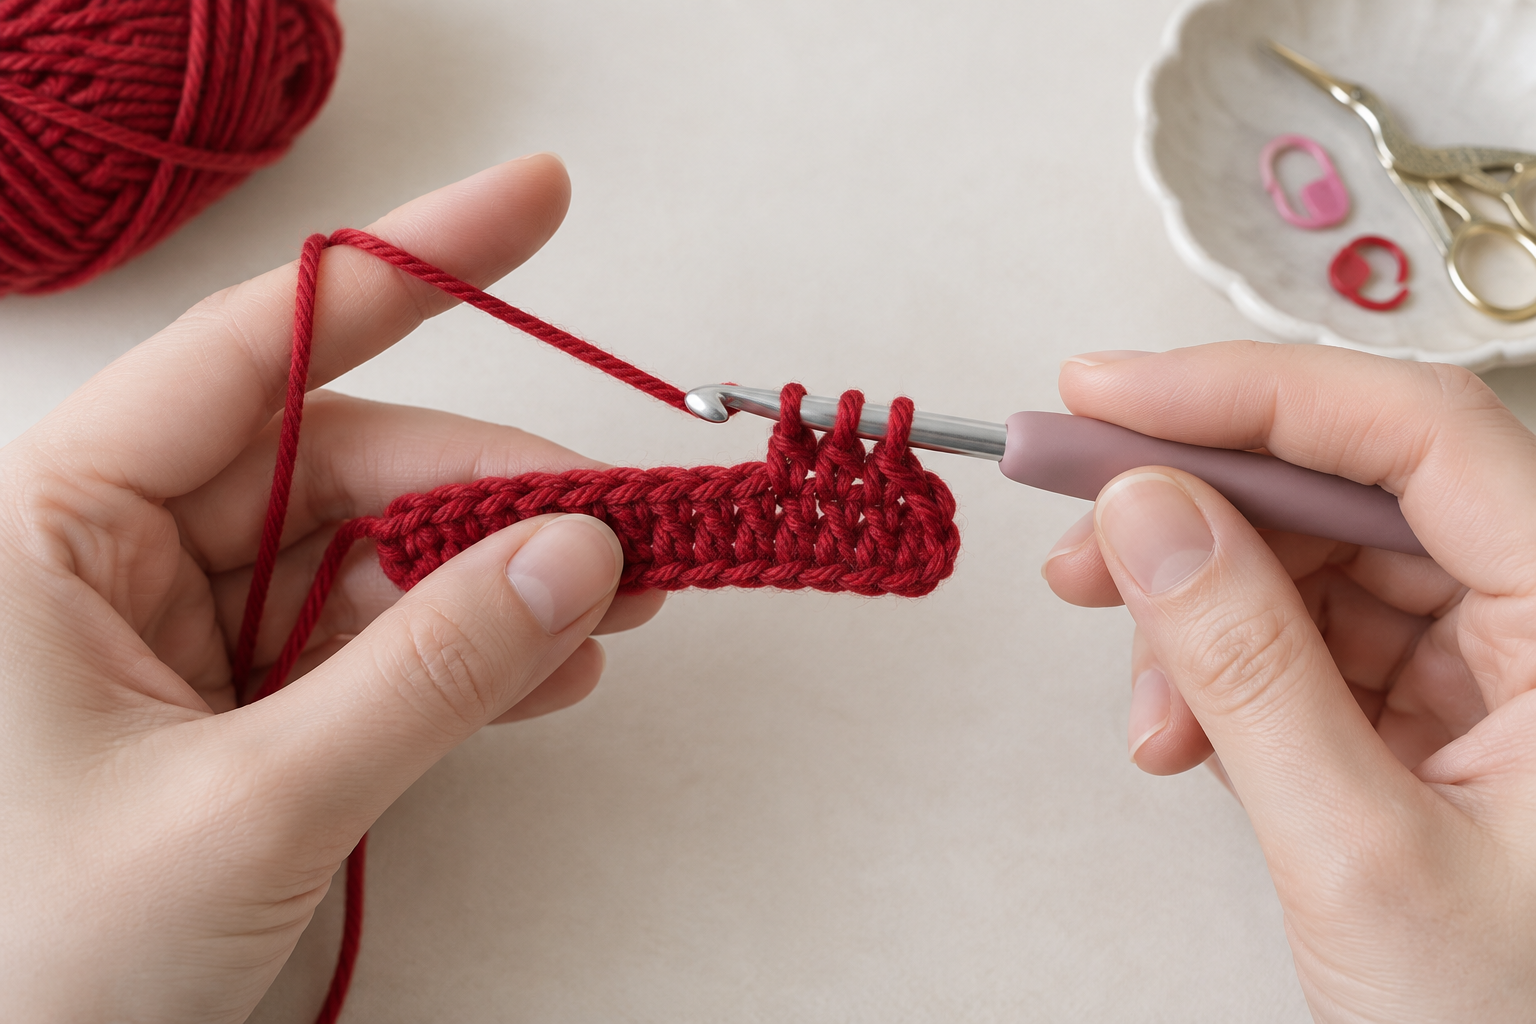
For a neat edge, place the final hdc of every row into the last real stitch, just before the turning chain. Count after Rows 2 and 8: you should still have 49 stitches. If the strip grows wider, you are probably working into the ch-2; if it narrows, the last stitch is being missed. Undoing one row now is faster than trying to disguise a slanted bow later. Fasten off after Row 8, leaving a 30 in / 75 cm tail. This long tail is intentional: it will secure the folds and spare you an extra join.
Checkpoint: lay the strip across a gift box. It does not have to span the whole lid, but it should look generous rather than ribbon-thin. If you used very thick yarn, make only six rows; if you used thin yarn, add two rows. Keep the number of stitches across the same so the folding instructions still work.
Step 2: Fold the body into balanced loops
Place the strip right side down. Bring the left short end inward so it rests at the center of the strip, then bring the right short end inward so it overlaps the first end by about ½ in / 1 cm. You now have a left loop, a narrow center layer, and a right loop. Pinch all layers exactly in the middle. Place a stitch marker on each side of this pinch. The markers make it possible to release your hands and check the loops before sewing.
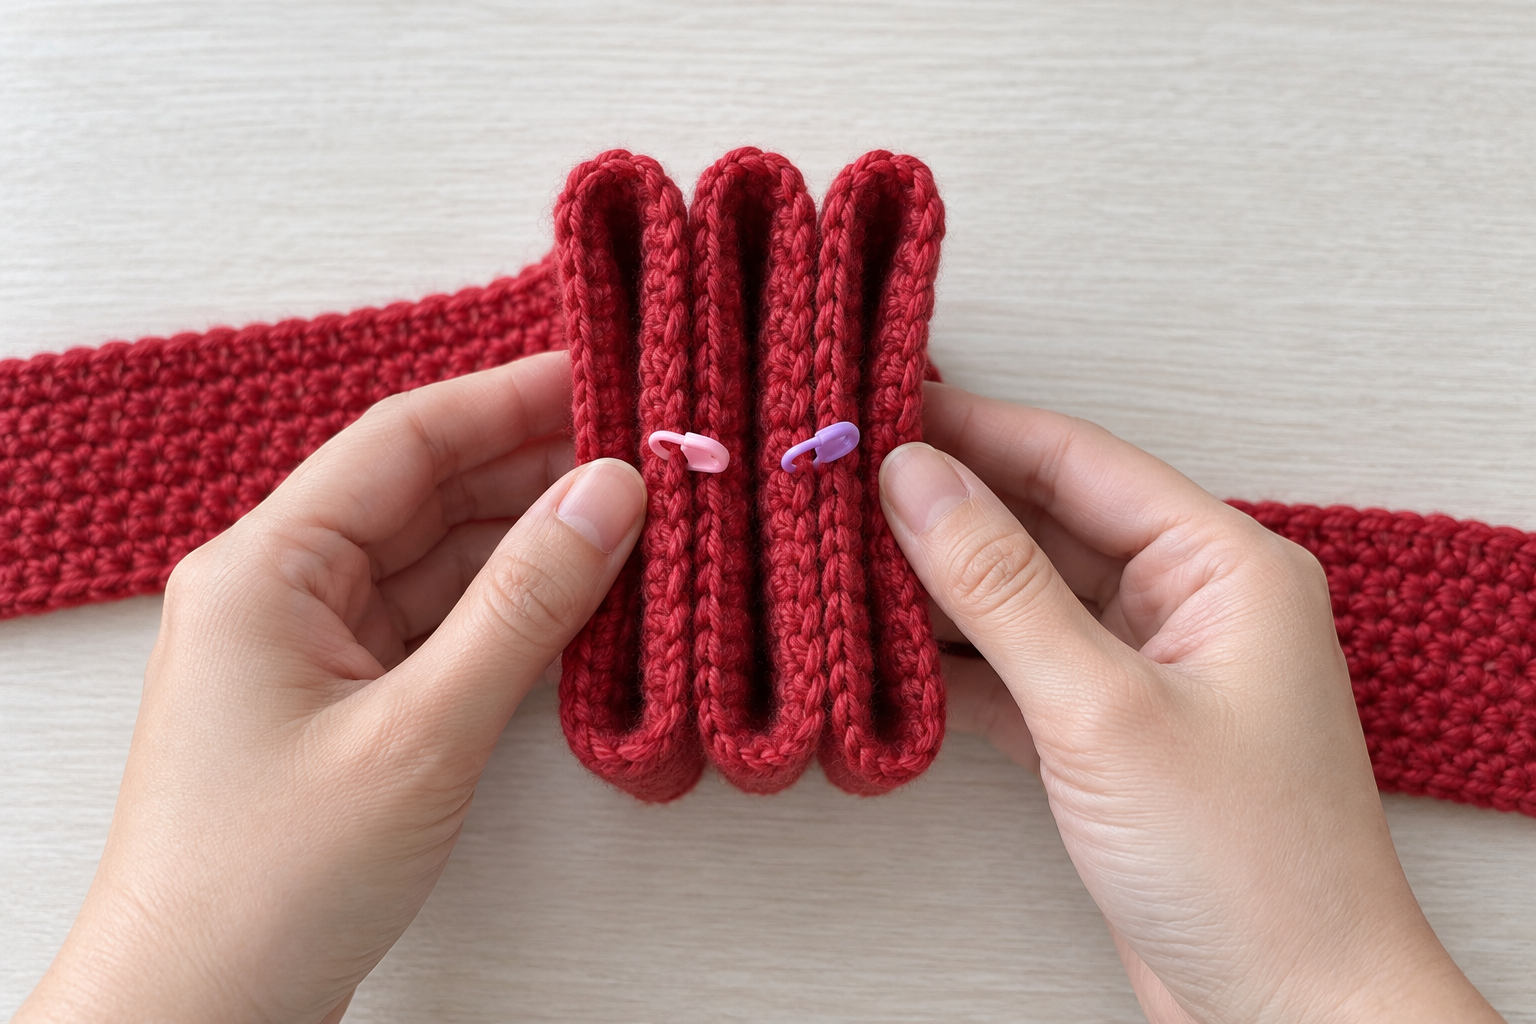
Look at the bow from directly above. The two outer loops should be equal in width, not merely equal in length. If the left loop looks wider, slide the overlap slightly right before you stitch. This is the best moment to make a visual correction because nothing is fixed yet. Beginners often pull the loops tight while checking them; instead, let the crochet rest naturally. A relaxed bow reads full and soft once it is attached to a package.
Step 3: Secure the pinched center
Thread the long yarn tail onto the needle. Hold the marked center tightly, then pass the needle through every folded layer from back to front. Go across the center five times, changing direction slightly with each pass so the yarn grips a small rectangle rather than one thin line. Pull firmly enough that the loops puff out, but stop before the center becomes a hard knot. Tie the tail once around the wrapped center on the back and weave it through several stitches. Leave a 5 in / 13 cm tail for attaching a bow tail later.
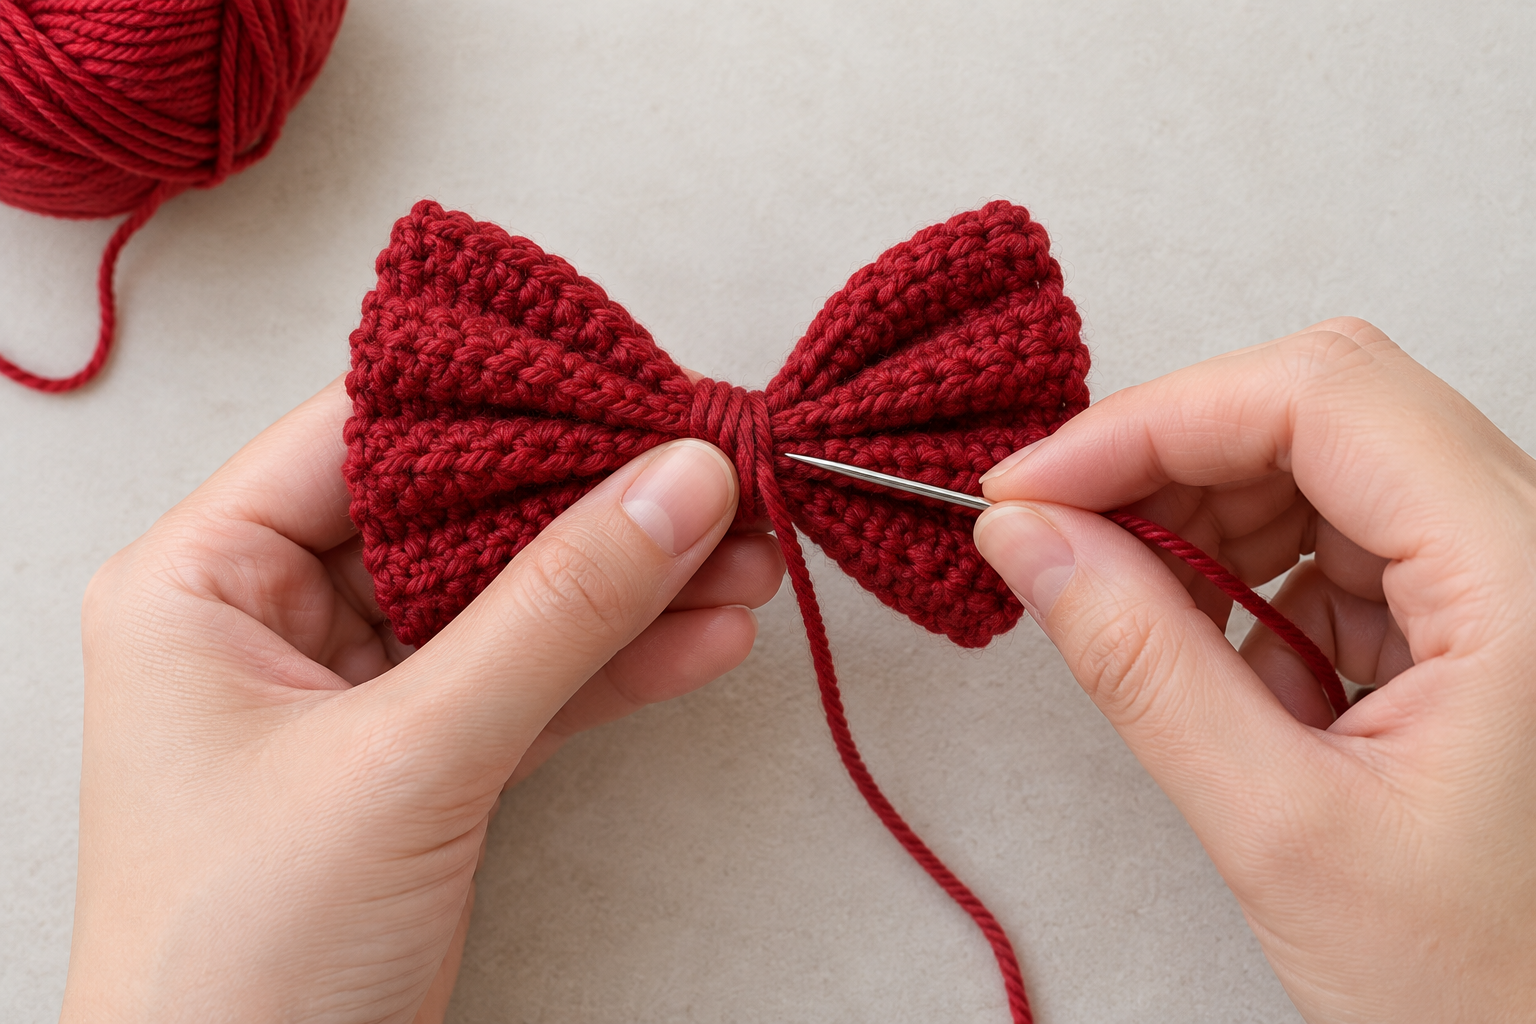
Mini scenario: if one loop collapses after you release it, the center wraps are probably too tight or the fold was uneven. Cut only the securing yarn, not the crochet fabric, open the folds, and reset the markers. This repair is normal. The body strip remains intact, so you have not lost the project.
Step 4: Crochet two shaped tails
Make two. Ch 17. Starting in the third chain from the hook, work 15 hdc. Ch 2 and turn. Rows 2–3: 15 hdc, ch 2, turn. Row 4: hdc2tog, 11 hdc, hdc2tog: 13 stitches. Ch 1 and work sc evenly around the tail, putting 3 sc in each lower corner. Fasten off, leaving a 10 in / 25 cm tail for sewing. The decrease gives the tail a subtle taper without leaving an awkward sharp point.
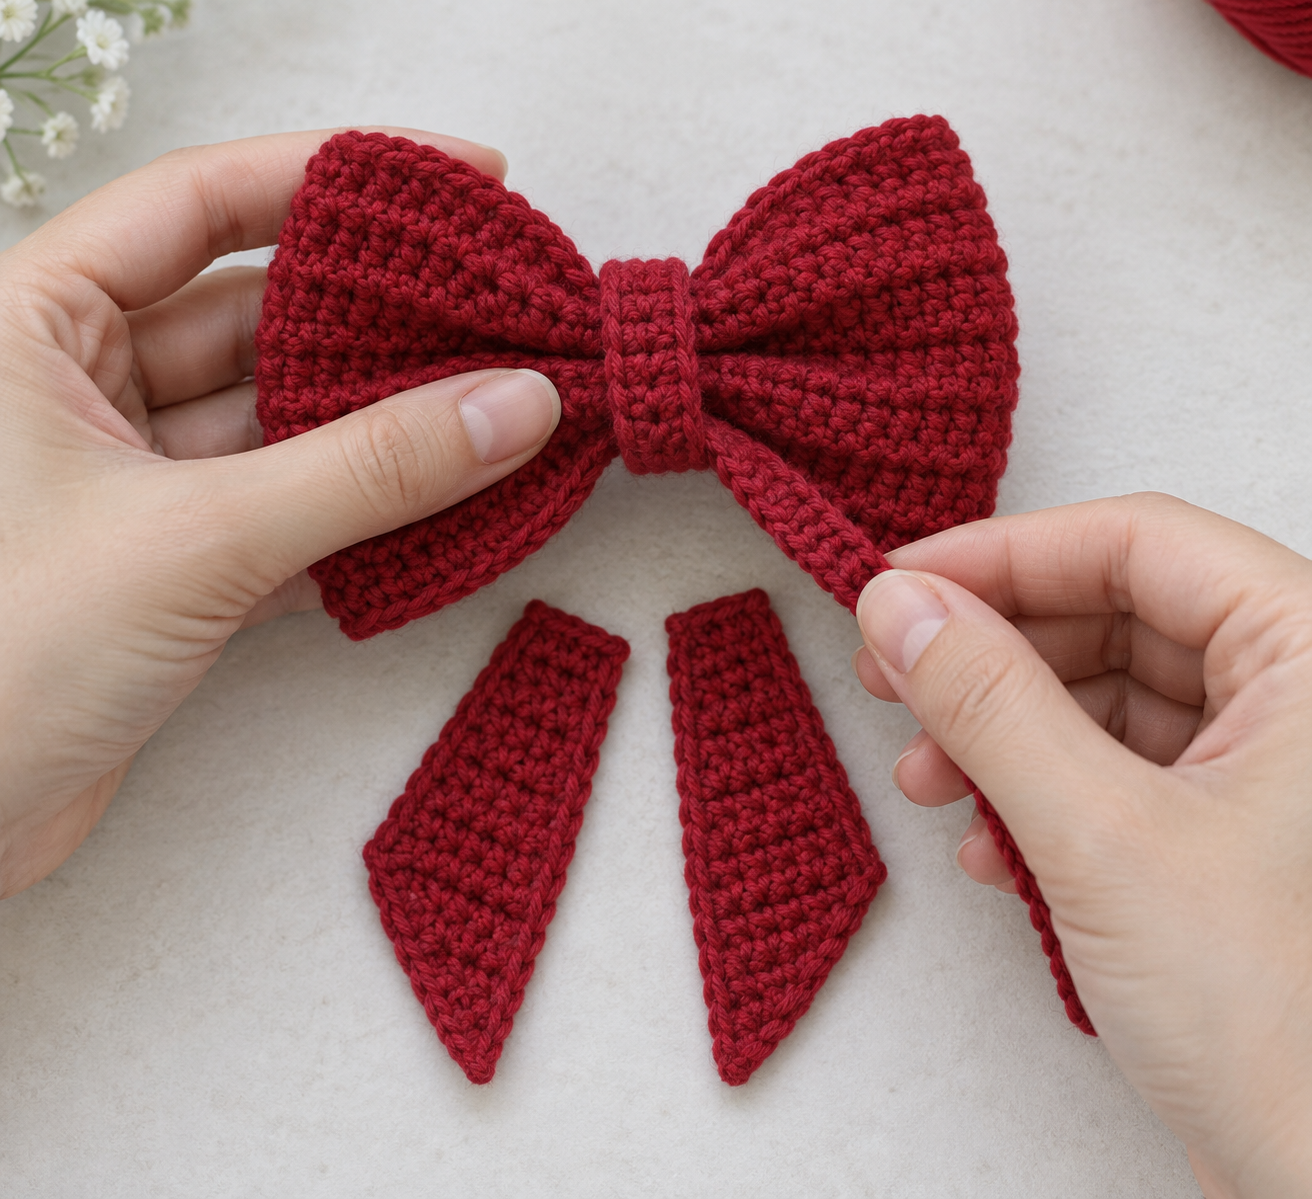
Place both tails under the bow center with their wide edges hidden beneath the loops and their tapered ends hanging down. Angle them a little away from one another instead of parallel. Sew each wide end to the back of the center with two or three small stitches. Turn the bow over and tug gently on each tail. It should move a little but not pull out from the center.
Step 5: Make and wrap the center band
Ch 9. Starting in the third chain from the hook, work 7 hdc. Ch 2, turn; work 7 hdc for Rows 2–4. Fasten off with a 12 in / 30 cm tail. Wrap this short strip horizontally around the stitched center so its ends meet on the back. It should cover the securing wraps but not squeeze the loops flat. Sew the two ends together invisibly on the back, then weave in the yarn ends through the center layers.
Expected result: the center band is smooth and proportionate, the loops sit at the same height, and both tails begin beneath it. If the band twists, remove it and wrap from the opposite direction; a flat center is worth the extra minute. If it is loose, take one small stitch through the back layers rather than winding it tighter.
Step 6: Attach, test, and reuse your bow
For a package topper, weave a 24 in / 60 cm yarn tie through the back of the center band, wrap it around the box, and knot it underneath. Alternatively, use a small square of removable gift tape behind the center. Avoid permanent glue: the entire value of this project is that the bow can be used again. Fluff the loops with your fingers, then check the box from the front and side. The loops should sit above the lid while the tails fall over its front face.
For a hair clip, wreath, or basket handle, stitch the back of the center band to the base instead of using the yarn tie. The center band is the load-bearing area; do not sew through the delicate middle of a loop. This small placement choice keeps the bow from sagging or becoming misshapen.
Technique Lab: what this bow teaches
This project is a lesson in flat-to-dimensional construction. The half double crochet strip is deliberately simple, leaving your attention free for three transferable skills: keeping a row count steady, assessing symmetry before committing to a seam, and using a wrapped band to conceal a structural join. These ideas return in bag handles, headbands, fabric flowers, and amigurumi accessories. Notice that the center is sewn before the decorative band is added. Structural work first, decorative work second is a useful rule in crochet finishing.
You can scale the bow responsibly. For a larger version, add ten chains and two rows to the body strip, then lengthen the tails by four chains. Do not enlarge only the loops while keeping the center band tiny; the center needs enough width to keep the larger folds stable. Make a note of your yarn and hook combination after this first bow. It becomes your personal repeatable recipe for future handmade gifts.
Troubleshooting
- My body strip is curling: the foundation chain is too tight. Restart with a larger hook for the chain only, then return to the project hook.
- One loop is larger: reopen the center wrap and reset the two short ends at the midpoint; do not try to fix it by pulling one side.
- The bow is floppy: use a smaller hook next time or add one more hdc row to make the strip firmer.
- The tails twist: sew only along their hidden top edges and keep the rest free; stitches too far down the tails cause twisting.
- The center band rides upward: secure it with one discreet stitch through the back center, not through the front loops.
Frequently asked questions
Can I make this without the two tails?
Yes. The two-loop bow works on its own for a hair accessory or a small ornament. Keep the center band because it protects the structural stitching.
Which yarn gives the crispest result?
Smooth cotton or a cotton-blend yarn usually gives the crispest edges. Acrylic is softer and more forgiving, while chenille is too bulky for a clean center wrap.
Can I wash the bow?
Follow the yarn label. Hand washing is safest. Reshape the loops while damp and dry the bow flat so the center stays centered.
Finish with confidence
You have made a reusable crochet bow from three understandable parts and learned how to turn a simple strip into a dimensional accessory. Before gifting it, perform one last check: lift the bow by its center tie, press the package lid lightly, and make sure the loops recover their shape. Save this lesson for Christmas crochet projects and return to it whenever a present needs a handmade finish that lasts beyond the wrapping paper.
More in Crochet Projects & Patterns
How to Crochet a Gift Card Holder: An Easy Handmade Gift for Beginners
How to Crochet a Reusable Gift Bow: Easy Christmas Package Topper
How to Crochet a Flower Bookmark: An Easy Handmade Gift for Beginners