How to Crochet a Flower Bookmark: An Easy Handmade Gift for Beginners

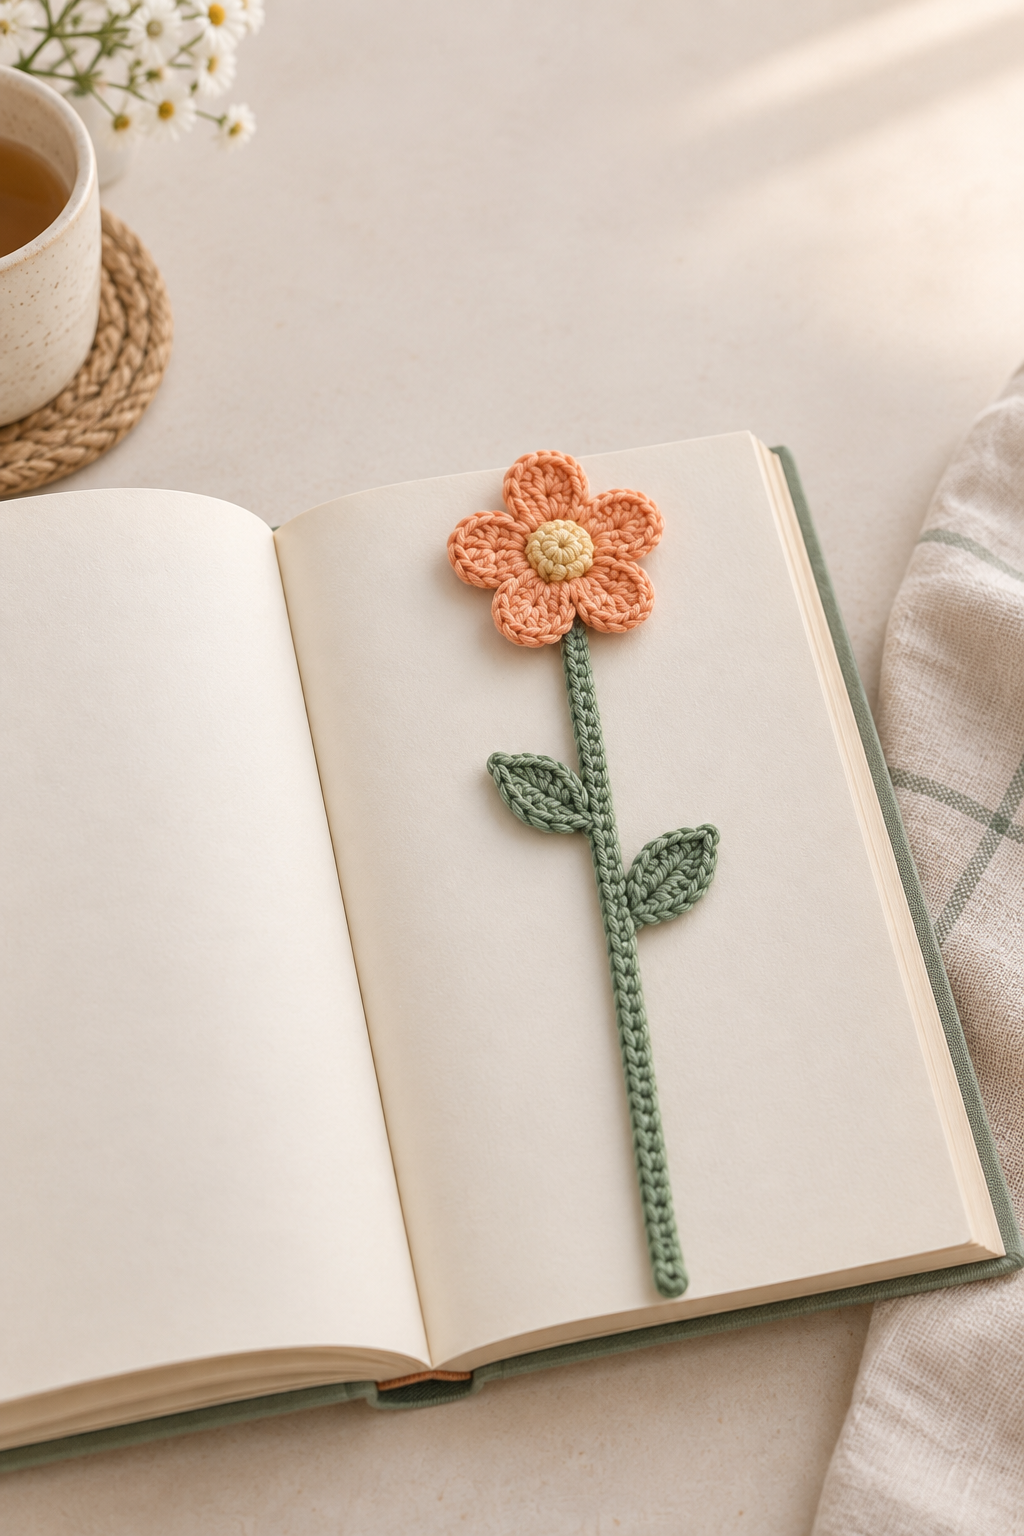
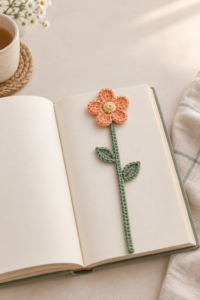
A flower bookmark is a small crochet project that gives you something useful almost immediately: a gentle marker for your current page, a handmade extra tucked inside a card, or a quick gift for a reader. This original version is intentionally flat, so it will not create an uncomfortable bump in a book. You will crochet one slender green stem, add two leaves directly onto its edge, then make a simple five-petal flower at the top. The stitches are beginner-friendly, but the project teaches several useful habits—keeping a long chain relaxed, attaching a motif in the correct place, and checking that a decorative piece is truly functional before you call it finished.
Quick facts
- Level: beginner
- Finished size: about 10–11 in / 25–28 cm long
- Construction: a single crocheted stem, two attached leaves, and a small separate flower
- Time: about 90 minutes
- Terminology: US crochet terms
Materials, abbreviations, and the plan
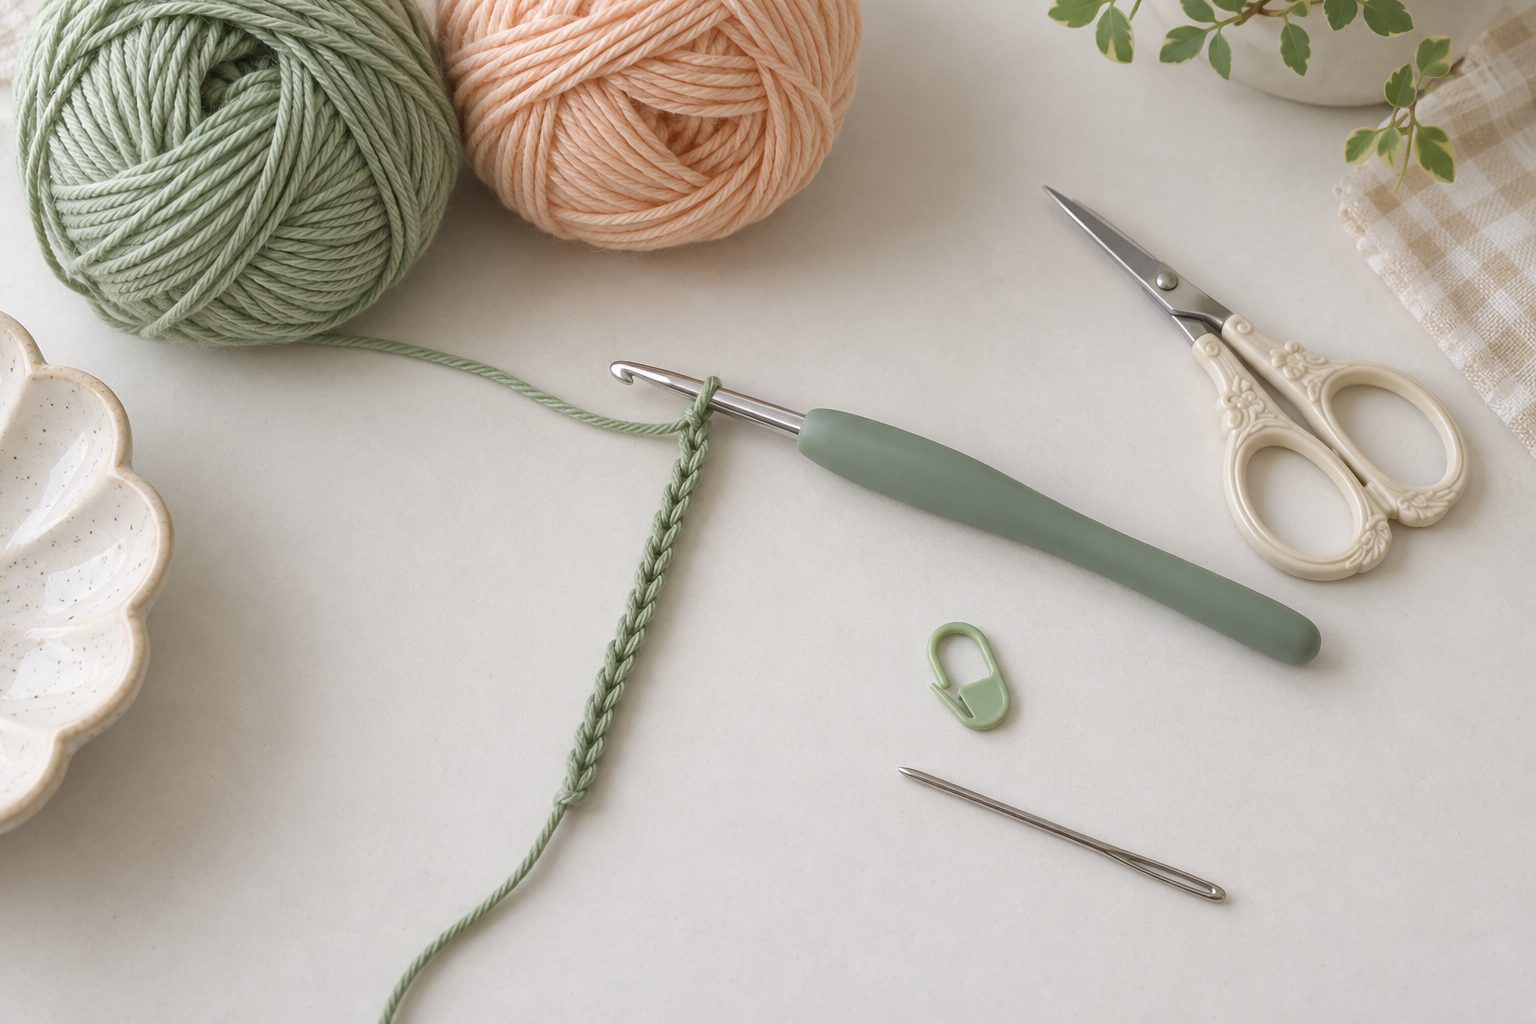
Choose smooth cotton, bamboo, or a cotton-blend yarn in two colors: about 15 g sage green for the stem and leaves and 10 g apricot, pink, yellow, or another flower color. You also need a 3.5 mm hook, yarn needle, scissors, and a locking stitch marker. A smooth yarn makes this lesson much easier to read; fluffy yarn hides the chain loops that tell you where to place the hook.
ch means chain, sc means single crochet, hdc means half double crochet, dc means double crochet, and sl st means slip stitch. We will chain the length of the stem, work one row of single crochet back along that chain, place two leaves on the side, make a small flower, join it to the top, and weave every end flat. The order matters: the stem gives the leaves and flower a stable place to attach.
Step 1: Crochet a flat, flexible stem
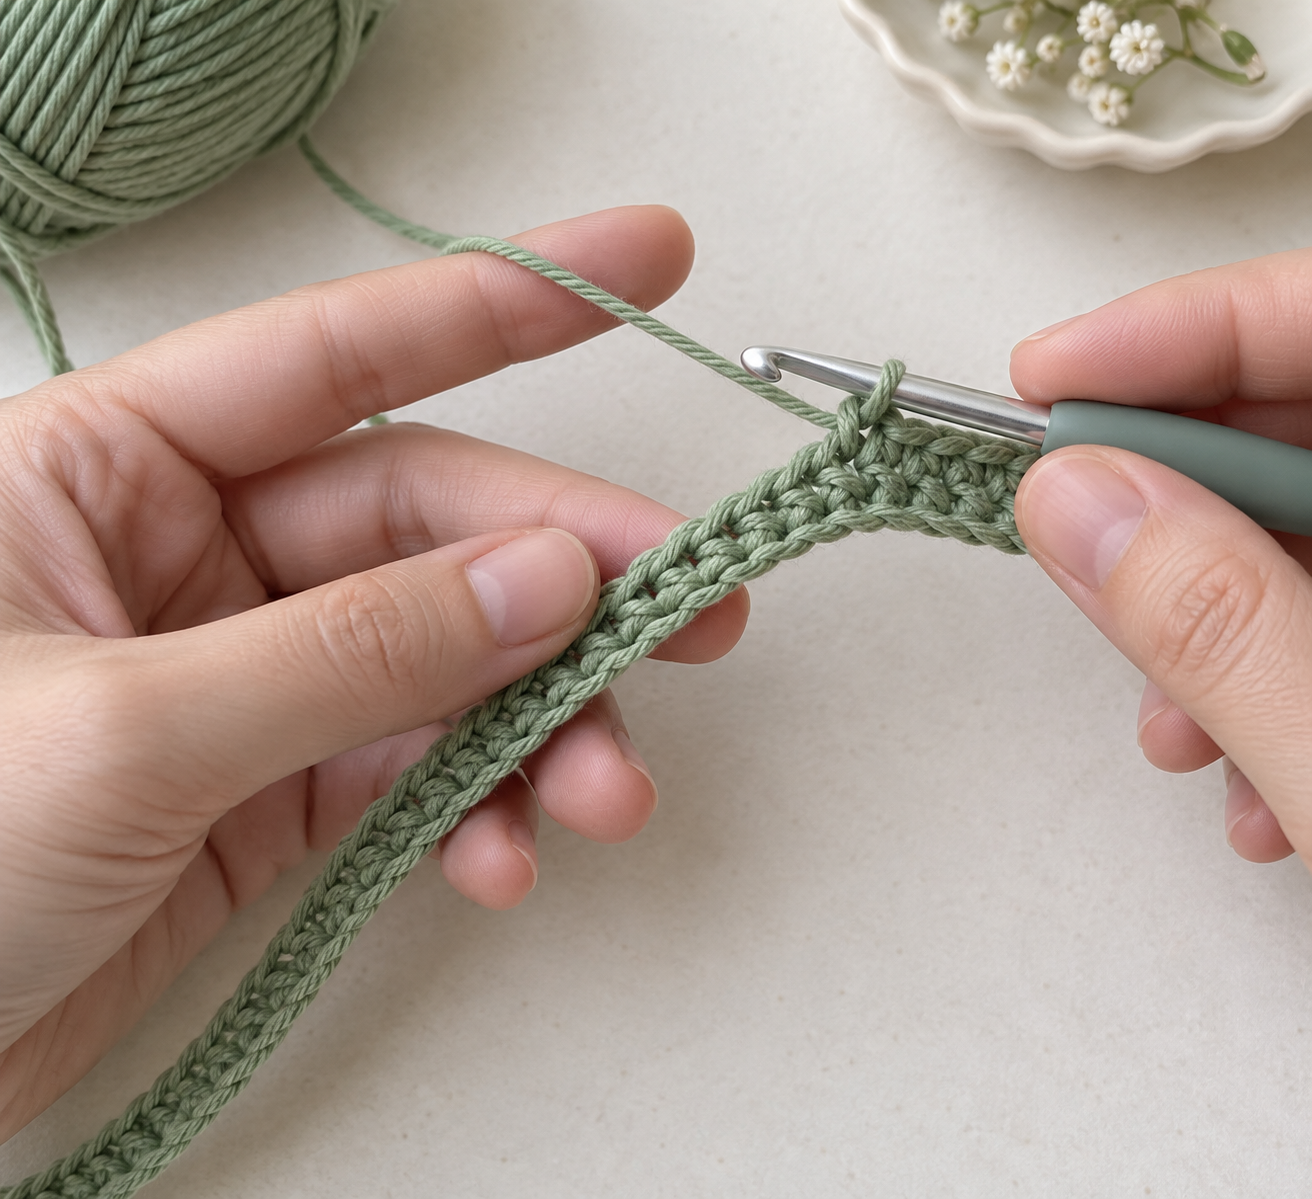
With green yarn, ch 81. Starting in the second chain from the hook, work 1 sc in every chain across: 80 sc. Do not turn for another row. Fasten off, leaving a 6 in / 15 cm tail at each end. This single row is deliberately narrow. A bulky two- or three-row stem can strain the pages of a paperback book, while a one-row stem is flexible and easy to flatten.
Lay the stem beside an average book before continuing. It should extend beyond the page by about 1 in / 2.5 cm at the top and bottom. If you prefer a bookmark for a taller hardback, make the starting chain longer in increments of ten. If yours is meant for a small paperback, remove ten chains. The exact length can change; what matters is that the flower stays outside the top of the book and the lower end does not drag beyond the bottom edge.
Checkpoint: count the stitches once. You should have 80 sc. If the stem bends dramatically to one side, it is usually a tension issue rather than a bad stitch count. Gently pull it lengthwise between your fingers. If it does not relax, restart with looser chains rather than trying to steam-stretch a narrow bookmark.
Step 2: Attach the first leaf
Choose the side of the stem that you want to face the reader. Count 22 stitches down from the top flower end and join green yarn in the side edge of that stitch. Ch 7. Starting in the second chain from the hook, work 1 sc, 1 hdc, 2 dc, 1 hdc, and 1 sc. Sl st into the same stem stitch where the leaf began. The different stitch heights make a small pointed oval: short stitches at the base and tip, taller stitches through the middle.
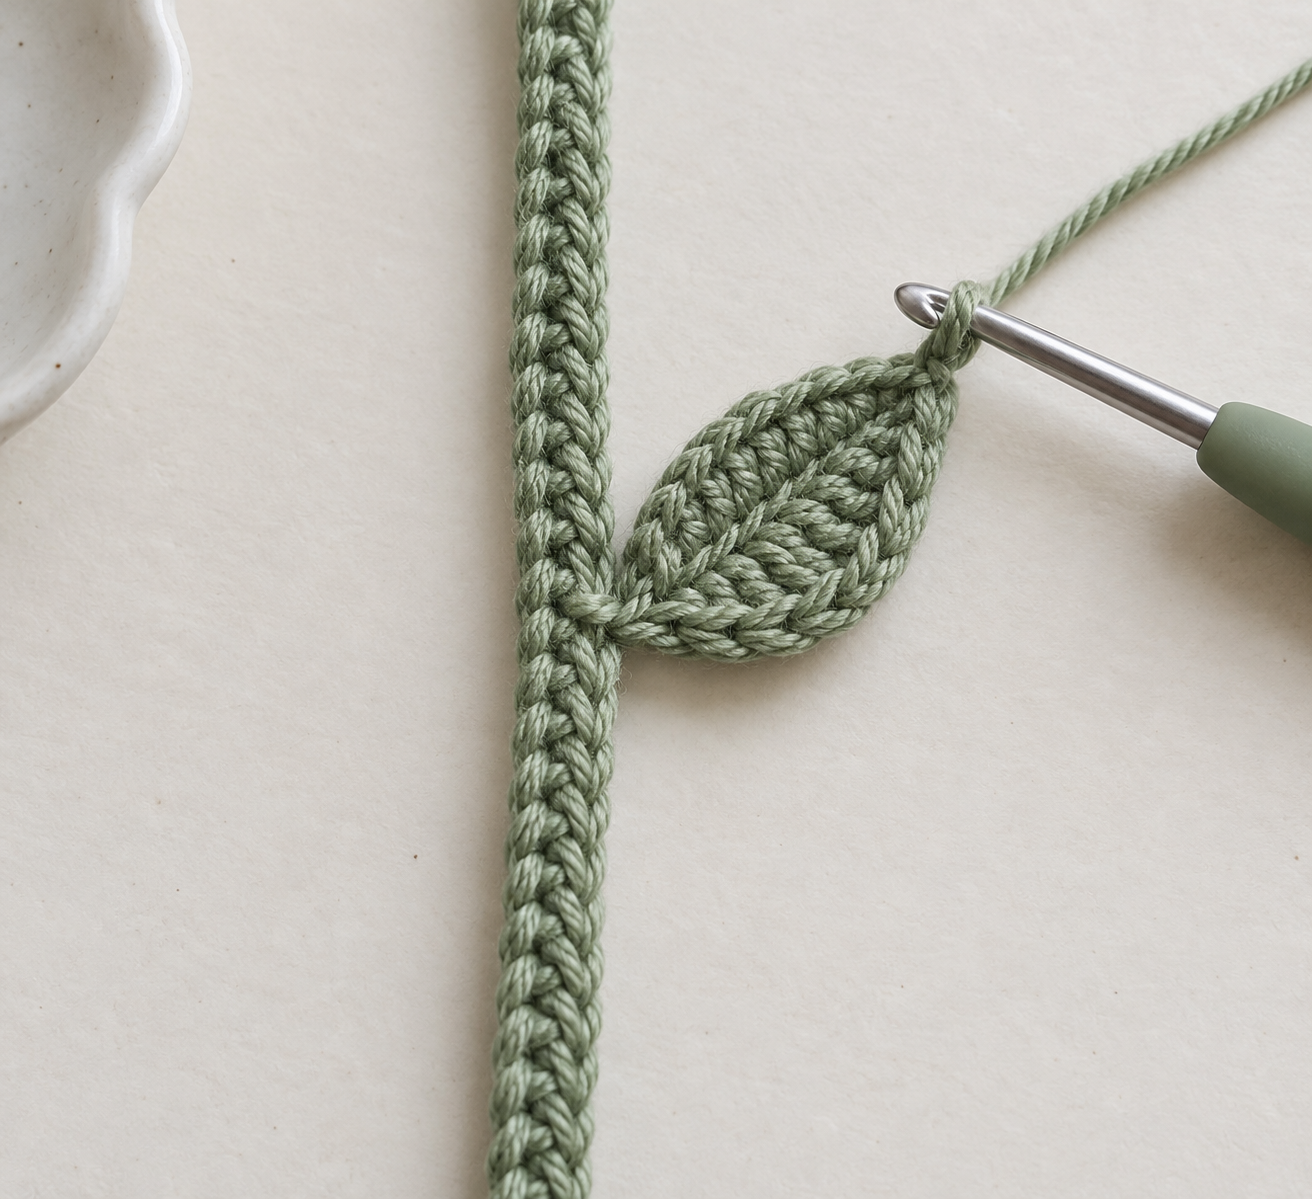
Do not pull the slip stitch tight. It joins the leaf without making the base pinch. Hold the bookmark in the air by the flower end: the leaf should sit sideways, not fold over the stem. If it points downward, you may have joined into the front of the stem rather than its side edge. Undo only the leaf, choose the side edge one stitch higher, and make it again. This is a useful lesson in placement: a correct stitch can still look wrong when it is attached in the wrong direction.
Step 3: Add the second leaf for balance
Count 20 stitches below the first leaf. Join green yarn on the opposite side edge of the stem and repeat the same leaf sequence: ch 7; sc, hdc, dc, dc, hdc, sc along the chain; sl st back into the attachment point. Placing the leaves on opposite sides keeps the bookmark flat and makes the stem look like a small growing plant rather than a decorative cord.
Expected result: when the stem lies on the table, the leaves should form a gentle zigzag. They do not need to be mirror images, but their tips should be roughly equally far from the stem. If one leaf is much larger, check whether you accidentally used two dc stitches where the other leaf used one. Consistent stitch sequence, not guesswork, is what gives handmade details a calm look.
Step 4: Crochet the flower center and five petals
With the flower color, ch 4 and join with a sl st to the first chain to form a tiny ring. Ch 1 and work 5 sc into the ring. Join with a sl st to the first sc. Each petal will be worked in one of those five stitches. For Petal 1, sl st into the next sc, ch 2, work 2 dc into that same sc, ch 2, then sl st into the next sc. Repeat this petal sequence four more times. You will have five rounded petals with a small open center.
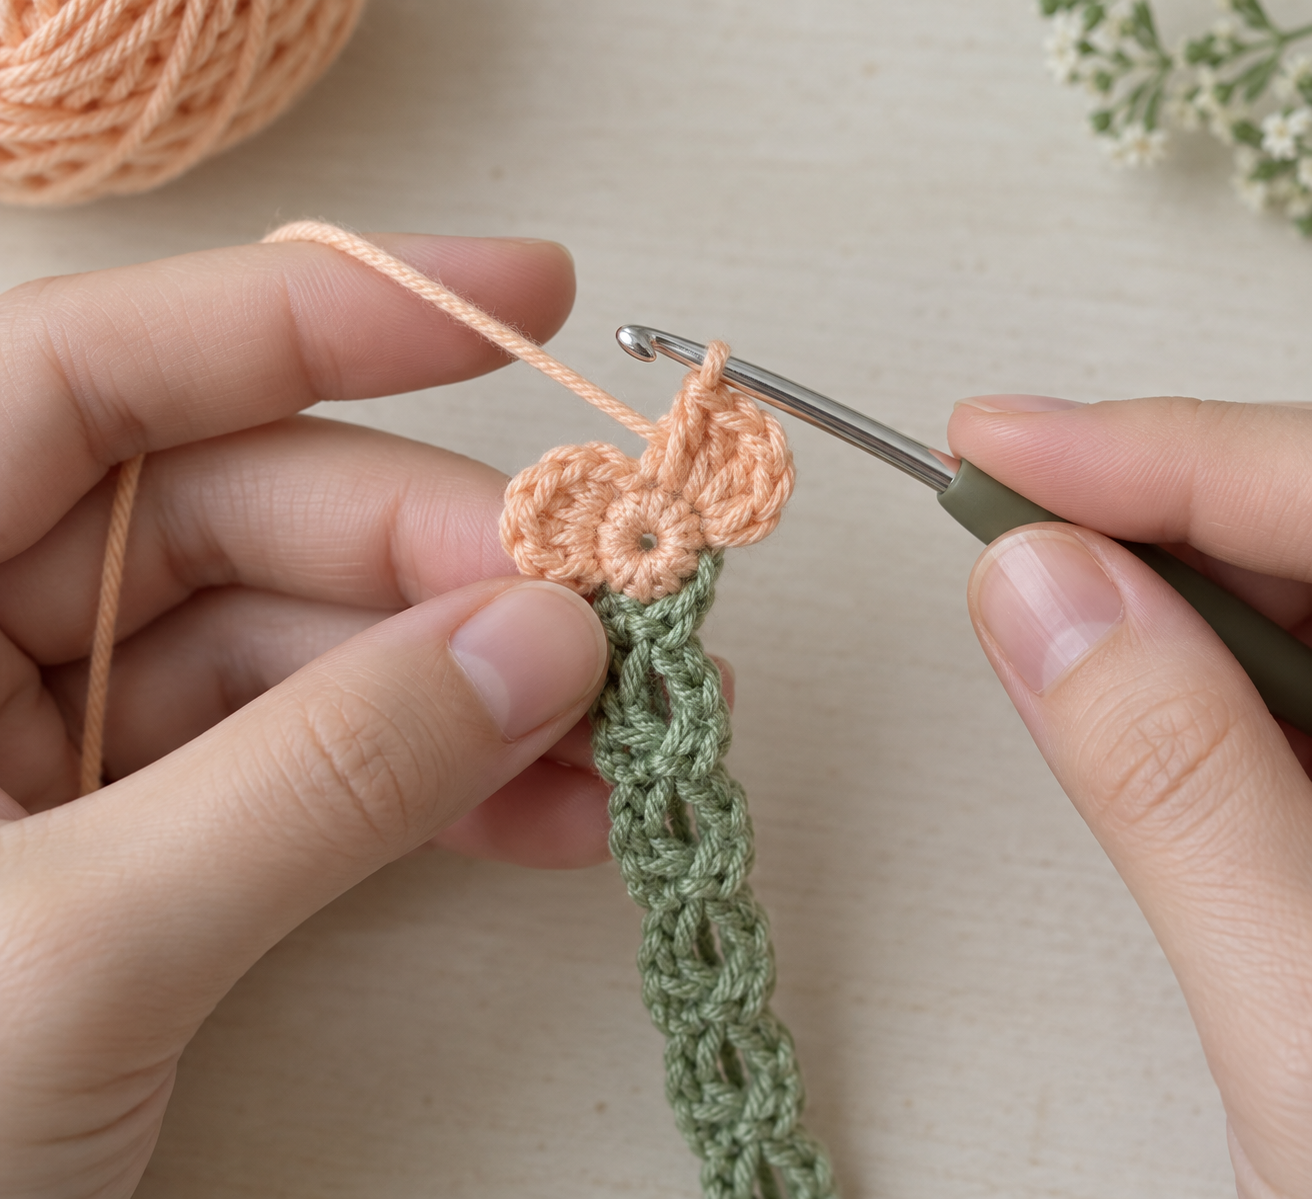
After the fifth petal, fasten off with a 10 in / 25 cm tail. Flatten the flower on the table before attaching it. If one petal twists behind another, pull it forward with the hook tip; do not tug the center. The petals are soft and can be shaped with your fingers. A real flower is not perfectly symmetrical, but a bookmark flower needs to remain flat enough to sit comfortably over a page.
Step 5: Join, finish, and test the bookmark
Lay the flower over the top end of the green stem with the flower center at the very tip. Thread the long flower tail onto the needle. Take three or four tiny stitches through the back of the flower center and the final green stem stitch. Keep the stitches centered; sewing through a petal can pull that petal down and make the flower lean. Weave the tail through the green stem for at least 2 in / 5 cm, changing direction once, then trim it close. Weave every green tail into the stem in the same way.
Place the bookmark in a book, close the cover, then reopen it. The stem should stay in the page without leaving a large gap in the binding; the flower should peek above the top edge; and the leaves should be outside the page area or lie flat within it. If the flower droops, add one reinforcing stitch through its center and the top of the stem. If the stem twists, gently wet-block it: mist it lightly, press it straight under a towel, and let it dry completely.
Technique Lab: why a flat design matters
When crochet becomes something used with paper, proportion matters differently than it does for a toy or bag. Thick yarn and raised motifs can dent pages or make a book refuse to close. This bookmark uses a one-row stem, side-attached leaves, and a flower that remains outside the page, so its decorative height is not trapped between sheets of paper. The same thinking helps when you make gift tags, appliqués, or refrigerator magnets: first decide where the object will be pressed, pulled, or seen, then choose a construction that works there.
Want to personalize the design? Keep the stem and leaves green, then change the flower color for each recipient. For a larger bloom, add one more dc to each petal, but test it on a book before making several. If a flower becomes wider than the book, it may catch when the cover is moved. Small design changes are best tested in the finished use, not only on the table.
Troubleshooting
- The stem curls: the foundation chain was tighter than the single crochet row. Use a larger hook for the chain next time or begin again with looser tension.
- The leaf folds over: the joining slip stitch is too tight or is placed through the wrong edge. Redo the leaf into the side edge of the stem.
- The flower has fewer than five petals: recount the five center single crochet stitches before beginning the petals.
- The flower leans: add one small centered sewing stitch through the flower center, never through the outer edge of a petal.
- The bookmark is too short: add ten chains to the original foundation chain for the next version; adding length after the leaves are attached creates a visible join.
Frequently asked questions
Can I use acrylic yarn?
Yes, especially for a decorative bookmark. Smooth cotton is usually firmer and flatter, but a non-fuzzy acrylic works well if you keep your tension even.
Can I make the leaves after I attach the flower?
You can, but adding the leaves first makes it easier to judge the balance of the stem and prevents the flower from getting in the way of your hook.
Is this suitable for a child’s book?
It is a lovely reading gift for an older child, but do not use it as a toy or leave it with a child who might put yarn pieces in their mouth.
A small project worth giving
You have made a useful crochet flower bookmark from a flat stem, two directional leaves, and a five-petal flower. Before you gift it, test it in a real book one final time and check that every yarn end is woven in securely. Save this tutorial for handmade teacher gifts, book-club surprises, or a quick quiet project, then return to Mini Fun Box for another small crochet idea when you want to turn basic stitches into something someone can use every day.
More in Crochet Projects & Patterns
How to Crochet a Gift Card Holder: An Easy Handmade Gift for Beginners
How to Crochet a Reusable Gift Bow: Easy Christmas Package Topper
How to Crochet a Flower Bookmark: An Easy Handmade Gift for Beginners