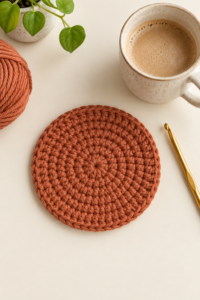
How to Crochet a Flat Circle That Stays Flat: Beginner Single Crochet Tutorial

A flat crochet circle is one of the most useful little shapes you can learn. It becomes a coaster, the base of a basket, the crown of a hat, a bag bottom, a flower center, or the starting point for many amigurumi pieces. In this lesson, you will make a smooth single crochet circle that lies flat on the table instead of curling into a bowl or rippling around the edge.
We will work slowly enough to understand why the circle grows. Once that click happens, you will be able to read your own work, correct it early, and confidently adapt the idea to future projects.
Quick facts
- Skill level: Beginner
- Stitch family: US single crochet
- Practice piece: a small flat circle / coaster base
- Construction: worked in joined rounds
- Key idea: add six evenly distributed stitches in every round
Materials
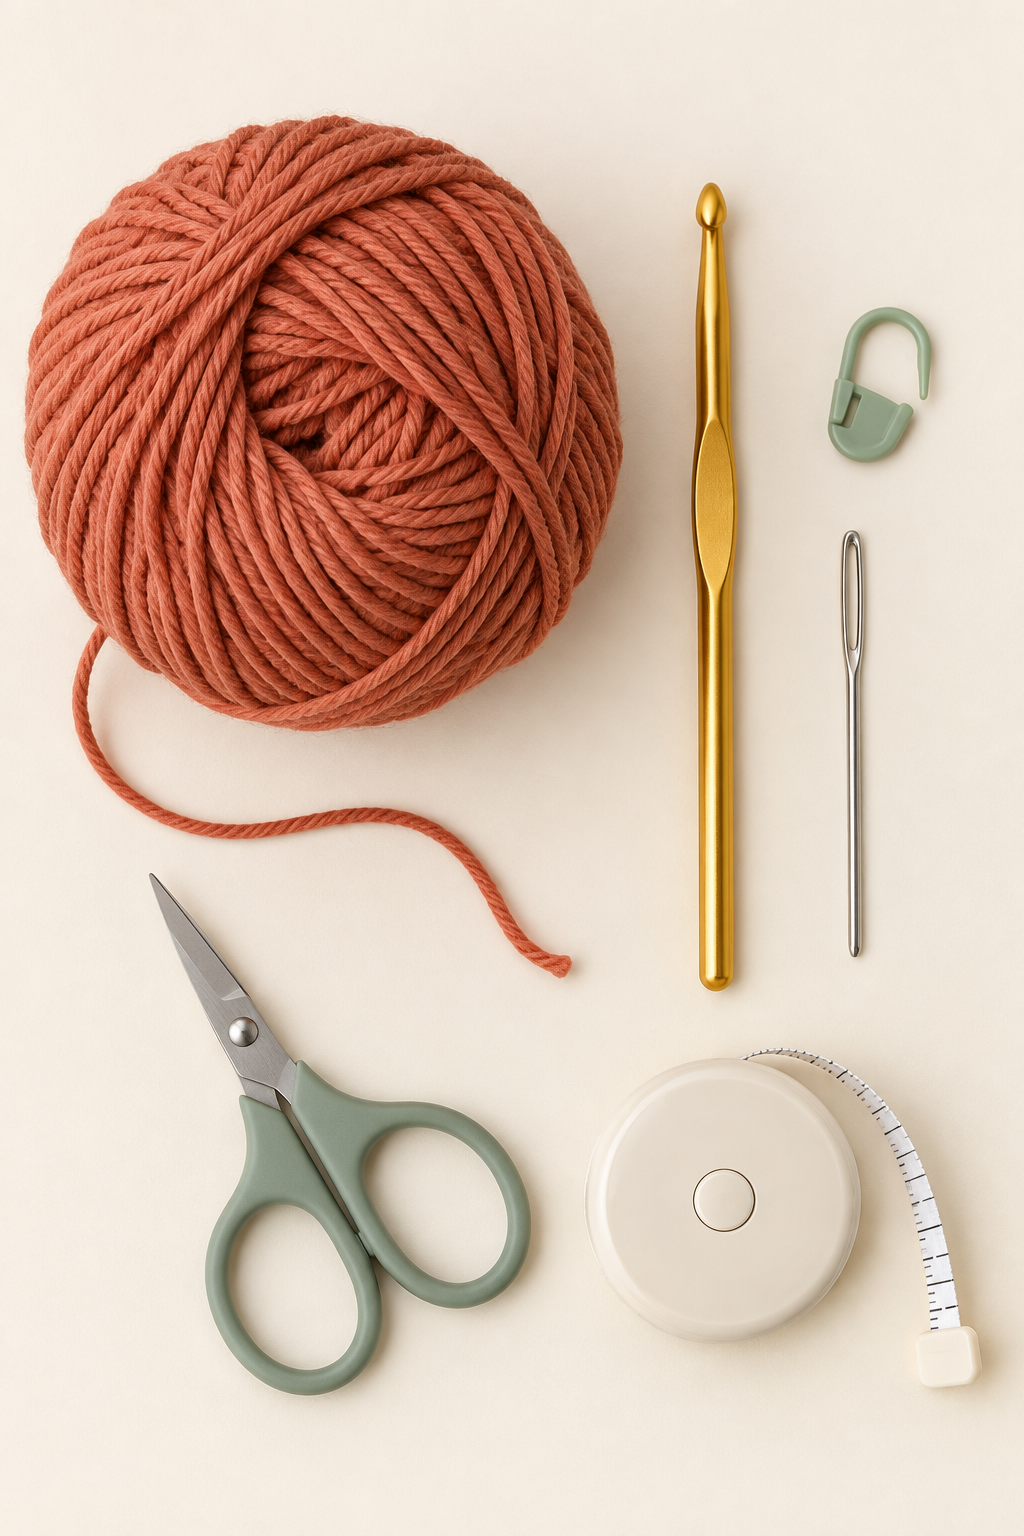
- Smooth, light-coloured yarn in a medium weight. A yarn with clear stitches is kinder to beginner eyes than fuzzy or very dark yarn.
- A hook size recommended on your yarn label. For a firm coaster, you may choose a hook 0.5 mm smaller after practising.
- One locking stitch marker or a small scrap of contrasting yarn.
- Scissors and a tapestry needle for finishing.
- An optional tape measure and a clean flat surface for checking the shape.
Abbreviations and the pattern language
- ch = chain
- sc = single crochet (US terminology)
- sl st = slip stitch
- st / sts = stitch / stitches
- inc = increase: work 2 sc into the same stitch
- MR = magic ring
Parentheses tell you what to repeat. For example, (sc, inc) × 6 means: make one single crochet in the next stitch, then make two single crochets in the following stitch; repeat that small sequence six times. The number at the end of each round is your stitch total, not a new instruction.
Why a crochet circle stays flat
A circle needs extra fabric as it grows outward. With single crochet, a practical starting rule is six stitches in the center and six increases in every following round. Round 2 doubles each center stitch. After that, the plain stitches between increases gradually become farther apart. This gives the fabric enough room to spread without becoming ruffled.
Your personal tension still matters. Think of the written counts as a reliable map, then let the fabric tell you whether it needs an adjustment. A relaxed circle that lies flat is the goal; perfection in a single round is not.
Before you start: three habits that prevent mistakes
- Put the marker in the first real single crochet of each round, not in the joining chain.
- Count at the end of every round while the piece is small. It takes seconds now and saves a full restart later.
- Place the circle on the table after each increase round. Do not wait until it is large enough to hide a problem.
Step-by-step: crochet a flat single crochet circle
Step 1: Make the center ring
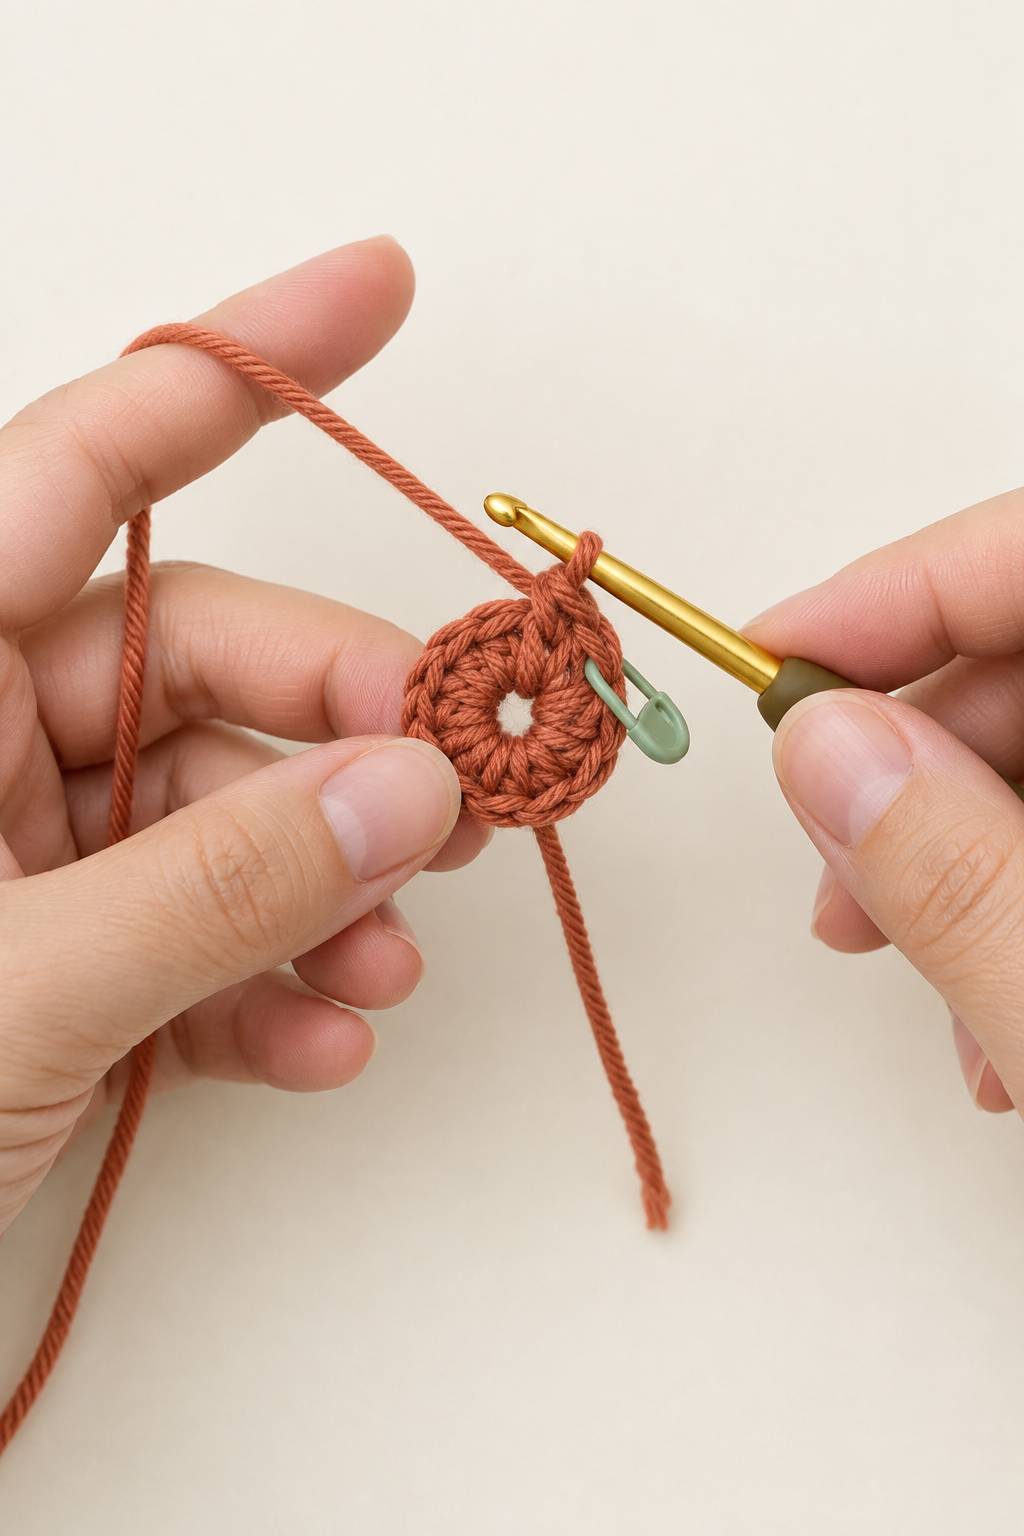
Make a magic ring. Work 6 sc into the ring. Pull the yarn tail gently until the center hole closes, then join to the first single crochet with a slip stitch. Chain 1 to begin the next round; this turning chain does not count as a stitch.
What you should see: a tiny six-spoked center with a closed or nearly closed hole. If it is wrong: if the ring pinches shut before you finish, loosen the loop and remake it a little larger. If your center still has a gap after pulling the tail, pull firmly again before weaving the tail in.
Step 2: Double the first round
Round 2: work inc in each stitch around. Join with a slip stitch. You now have 12 sts.
Each increase means two separate single crochet stitches share one entry point. Use your thumb to hold the little circle steady, and make sure both stitches go under the same top “V.” This is the round where a marker is especially helpful because the join can resemble a stitch.
Checkpoint: your work should look like a small, flat coin. If it has already formed a shallow cup, your stitches may be too tight; relax the loop on your hook before each pull-through.
Step 3: Begin spacing the increases
Round 3: (sc, inc) × 6. Join. You now have 18 sts.
Here is the important rhythm: one ordinary stitch, then an increase. The ordinary stitch makes distance between the growth points. It is tempting to work quickly, but stop after each increase and notice the pair of stitches sitting in one base stitch. That small observation trains your eyes to recognise increases in any future pattern.
Step 4: Let the circle widen evenly
Round 4: (2 sc, inc) × 6. Join. You now have 24 sts.
Lay the piece down. A flat circle may show gentle corners at this stage; that is normal. You are checking for an obvious bowl shape or a frilly edge, not judging every tiny bump. If you accidentally missed an increase, count now and undo only as far as needed.
Step 5: Keep the same growth rule
Round 5: (3 sc, inc) × 6. Join. You now have 30 sts.
Notice the pattern: each new round gains one more plain single crochet before the increase. This is not a list to memorize blindly. It is the way a flat single crochet circle creates a little more circumference every time it grows.
Step 6: Stagger the increases for a rounder outline
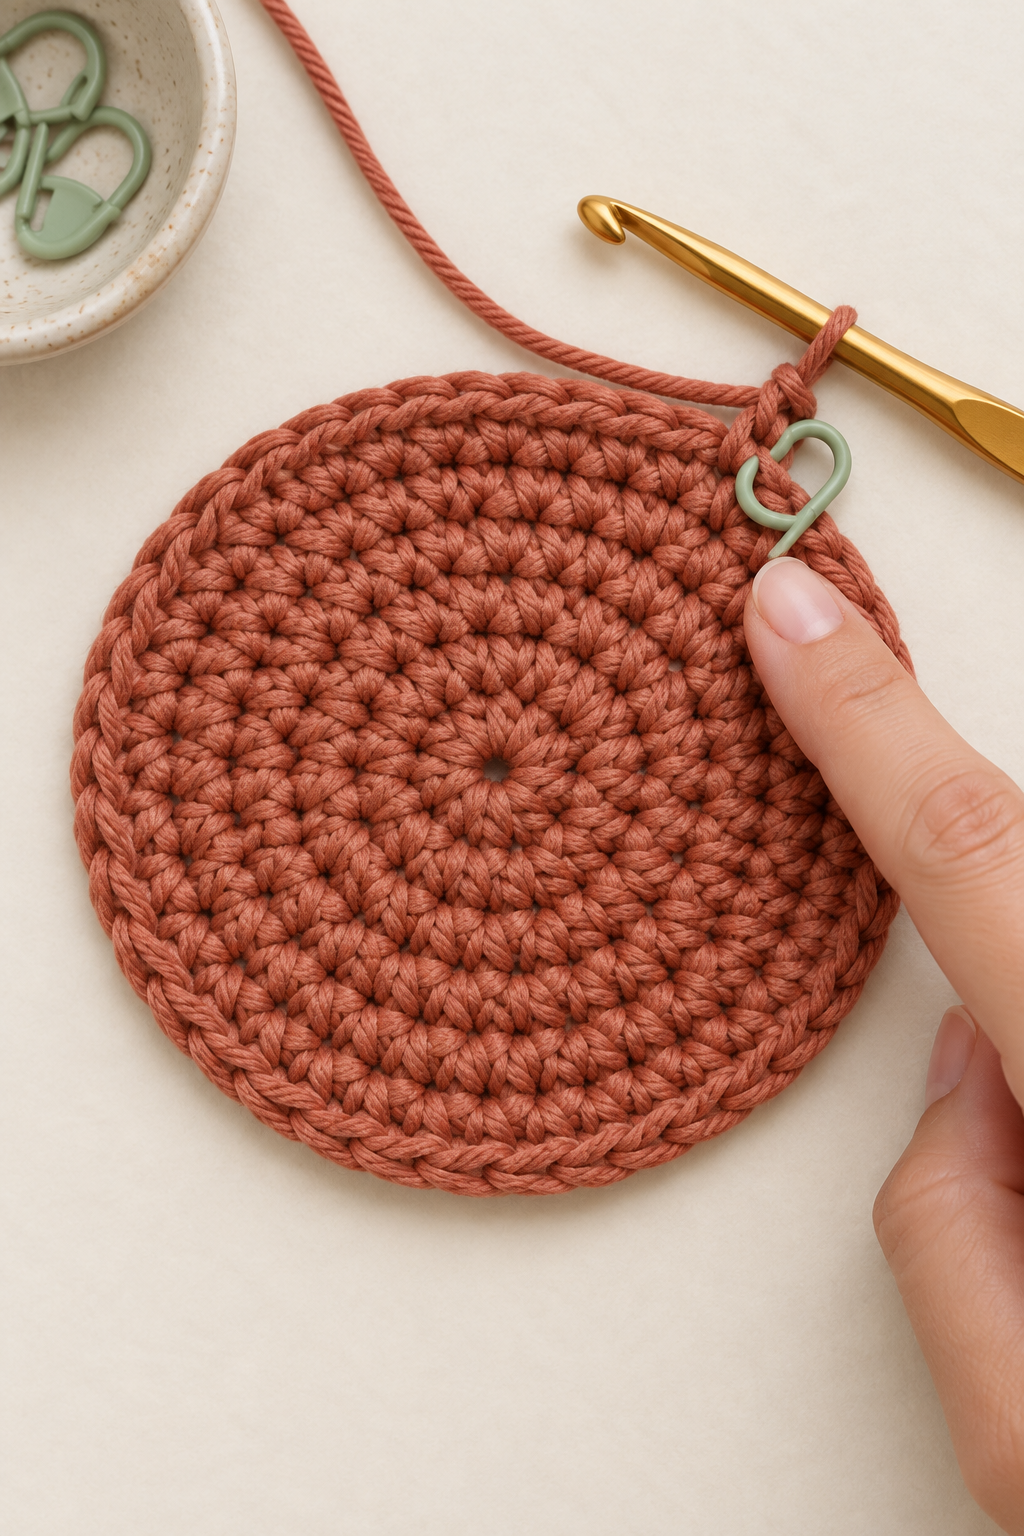
Round 6: work sc, inc, (4 sc, inc) × 5, 3 sc. Join. You now have 36 sts.
This is the same six-increase rule, but the increases have been shifted rather than stacked directly above last round’s increases. Start with one single crochet, make an increase, then work five repeats of four single crochets and an increase; finish with three single crochets. Place your marker in the first actual stitch after the join.
What you should see: a circle that looks less hexagonal around the edge. If it is wrong: do not add a seventh increase to “make it look round.” Count first. The round must end at 36 stitches.
Step 7: Choose your practice size
For a slightly larger circle, continue with Round 7: (5 sc, inc) × 6 = 42 sts and Round 8: (6 sc, inc) × 6 = 48 sts. You can shift the beginning of a round in the same way as Round 6 whenever you want to break up visible increase lines.
Stop when the circle reaches the size you need. A coaster often needs more rounds than a practice disk, while a hat crown may need to keep growing until it reaches a measured diameter. The construction changes only when the project tells you to stop increasing.
Step 8: Finish neatly
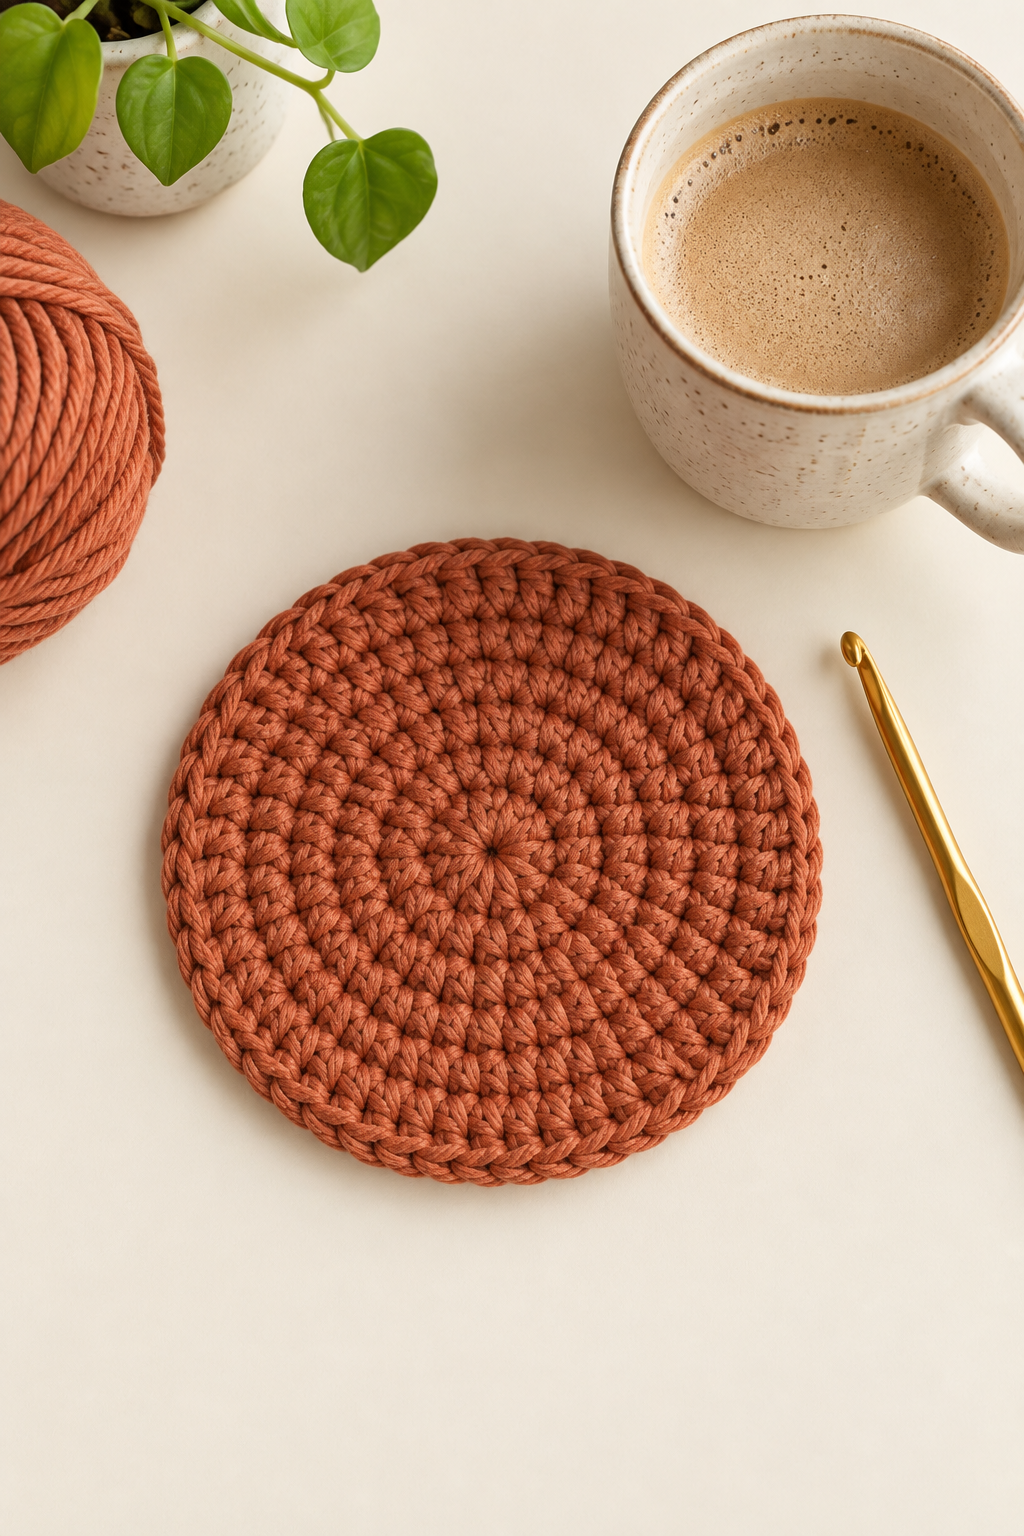
Cut the yarn, leaving a 5-inch tail. Pull the tail through the final loop to fasten off. Thread it onto a tapestry needle and weave it through several stitch backs on the wrong side, changing direction once before trimming. Do not pull the tail so tightly that the edge puckers.
Final checkpoint: set the circle on a table. It should rest flat by itself. A light mist and gentle blocking can improve the finish, but blocking should refine a correct circle—not force a badly shaped one to behave.
Technique Lab: make the rule work for you
Tension is part of the pattern. If every stitch is pulled very tight, six increases may not supply enough width and the circle cups. If your stitches are unusually loose, the same count may produce waves. Practise making the loop on your hook just large enough to slide comfortably along the shaft, rather than tightening it at the throat of the hook.
Stitch height changes the math. This tutorial uses single crochet, a short stitch. Taller stitches need more room as the circle expands, so their increase formulas differ. Do not transfer the six-starting-stitch rule automatically to half double, double, or treble crochet; use the instructions written for that stitch height.
Joined rounds versus spirals. Joining makes a tidy, visible seam and is easy to count. A continuous spiral has no join and is common in amigurumi, but the first and last stitches can be easier to lose. The increase principle is identical; only the way you mark and end rounds changes.
Use a marker as information, not decoration. Move it every round. It records exactly where you began and tells you whether your stitch count has drifted. If you ever reach the marker too early or too late, stop and count before continuing.
Troubleshooting a crochet circle
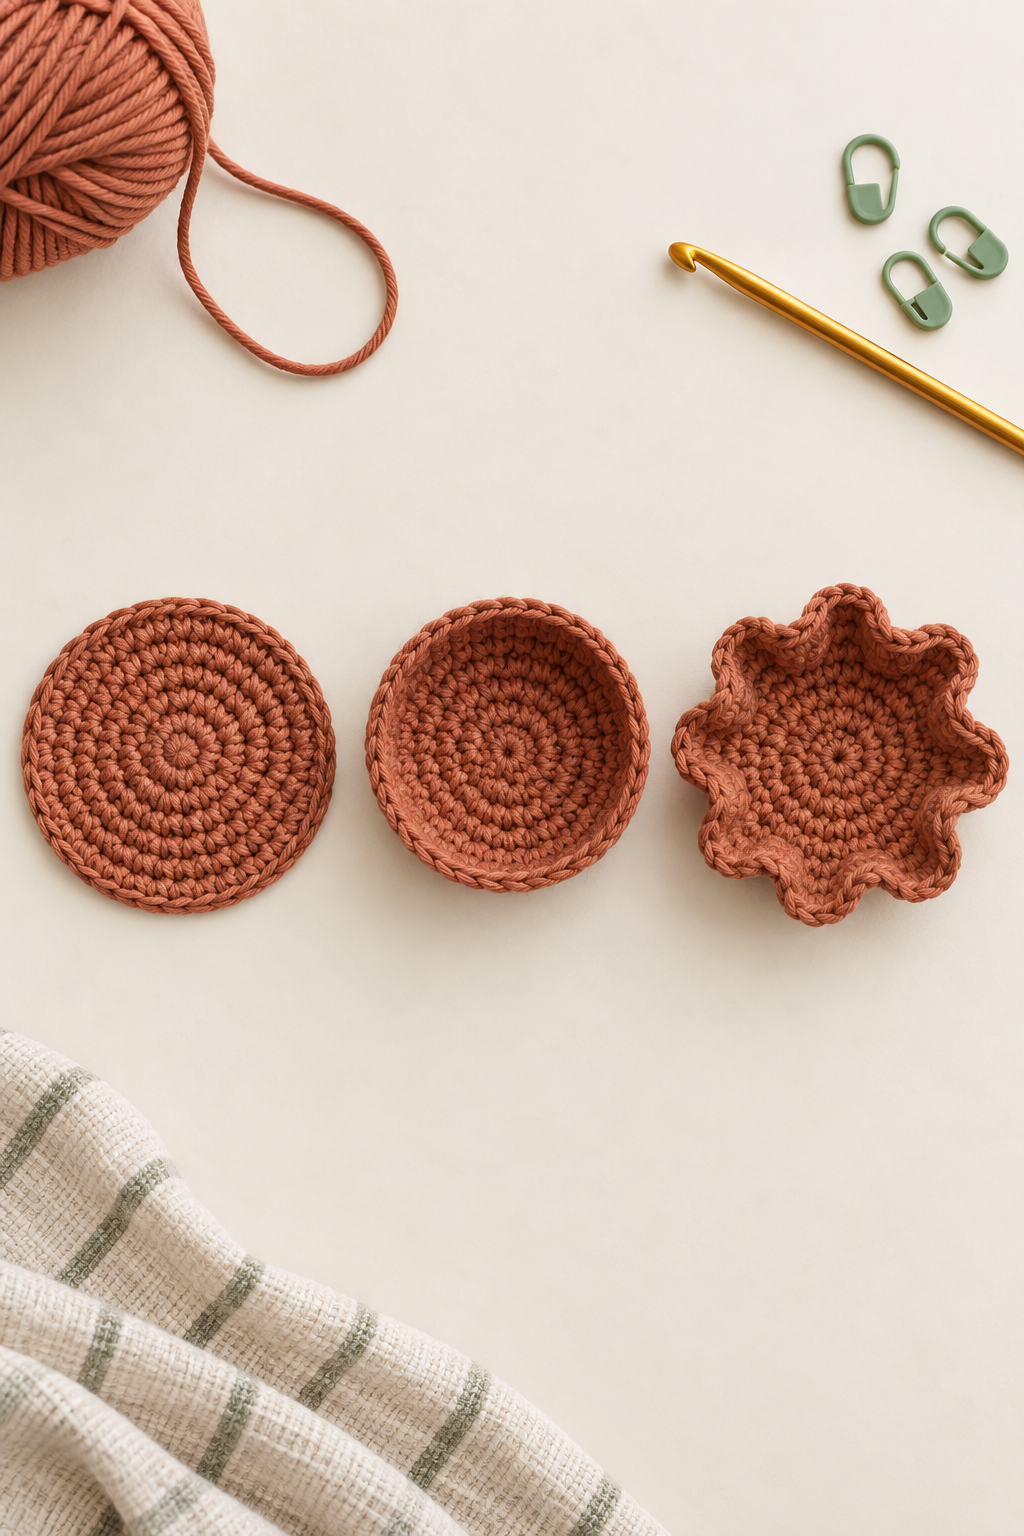
- My circle turns into a bowl. You likely missed an increase, worked too tightly, or used a hook that is too small for your yarn. Verify the stitch total first. If the count is correct, remake one round with looser hands before changing hook size.
- My circle ruffles or waves. It has more fabric than it needs. Look for an accidental extra increase or a stitch worked into the joining chain. If the count is correct, your tension may be very loose; try a slightly smaller hook only after completing a practice sample.
- It looks like a hexagon. The increases are probably lining up in six vertical columns. The circle is still structurally sound. Use a shifted increase round, like Round 6, to soften those lines.
- I cannot find the first stitch. The chain 1 and the slip-stitch join can imitate a stitch. Use a removable marker in the first real single crochet every round, then count the top V’s around the edge.
- The center hole reopens. Pull the magic-ring tail firmly before you weave it in. For a heavily used coaster, weave the tail around the center stitches in a second direction for extra security.
Frequently asked questions
Do I have to use a magic ring?
No. You can chain 2 and work the first six single crochet stitches into the second chain from the hook. A magic ring simply gives you a more adjustable, closable center.
Why do I get six increases in every round?
For a single crochet circle started with six stitches, those six added stitches provide the extra circumference needed in each round. They are distributed farther apart as the circle grows.
Can I turn this into a coaster?
Yes. Continue until the diameter suits your cup, then add one round of slip stitches or single crochet for a simple edge. Use absorbent cotton yarn if the coaster will hold cold drinks.
Should I count the chain 1 as a stitch?
Not in this tutorial. Treat it only as a height helper. Keeping it out of the count makes the join easier to identify.
Where to take this next
Keep this first flat circle where you can see it. It is a useful tension record: later, compare a new sample to it before starting a hat, bag, amigurumi base, or round motif. Save this lesson for the next time a circle starts curling or waving; learning to diagnose the fabric is far more valuable than simply memorizing a round count.
Once your circle lies flat, you have learned a building block that appears throughout crochet. Your next project may look completely different, but the calm habits—mark, count, check, and correct early—will come with you.
More in Stitches & Techniques
How to Crochet the Moss Stitch: A Complete Beginner Guide to Even, Woven Fabric
How to Change Colors in Crochet: A Clear Beginner Guide to Neat Edges