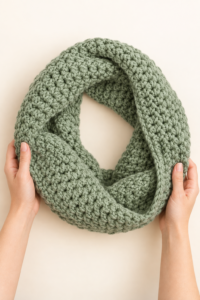
How to Crochet an Easy Chunky Infinity Scarf: Beginner Step-by-Step Tutorial
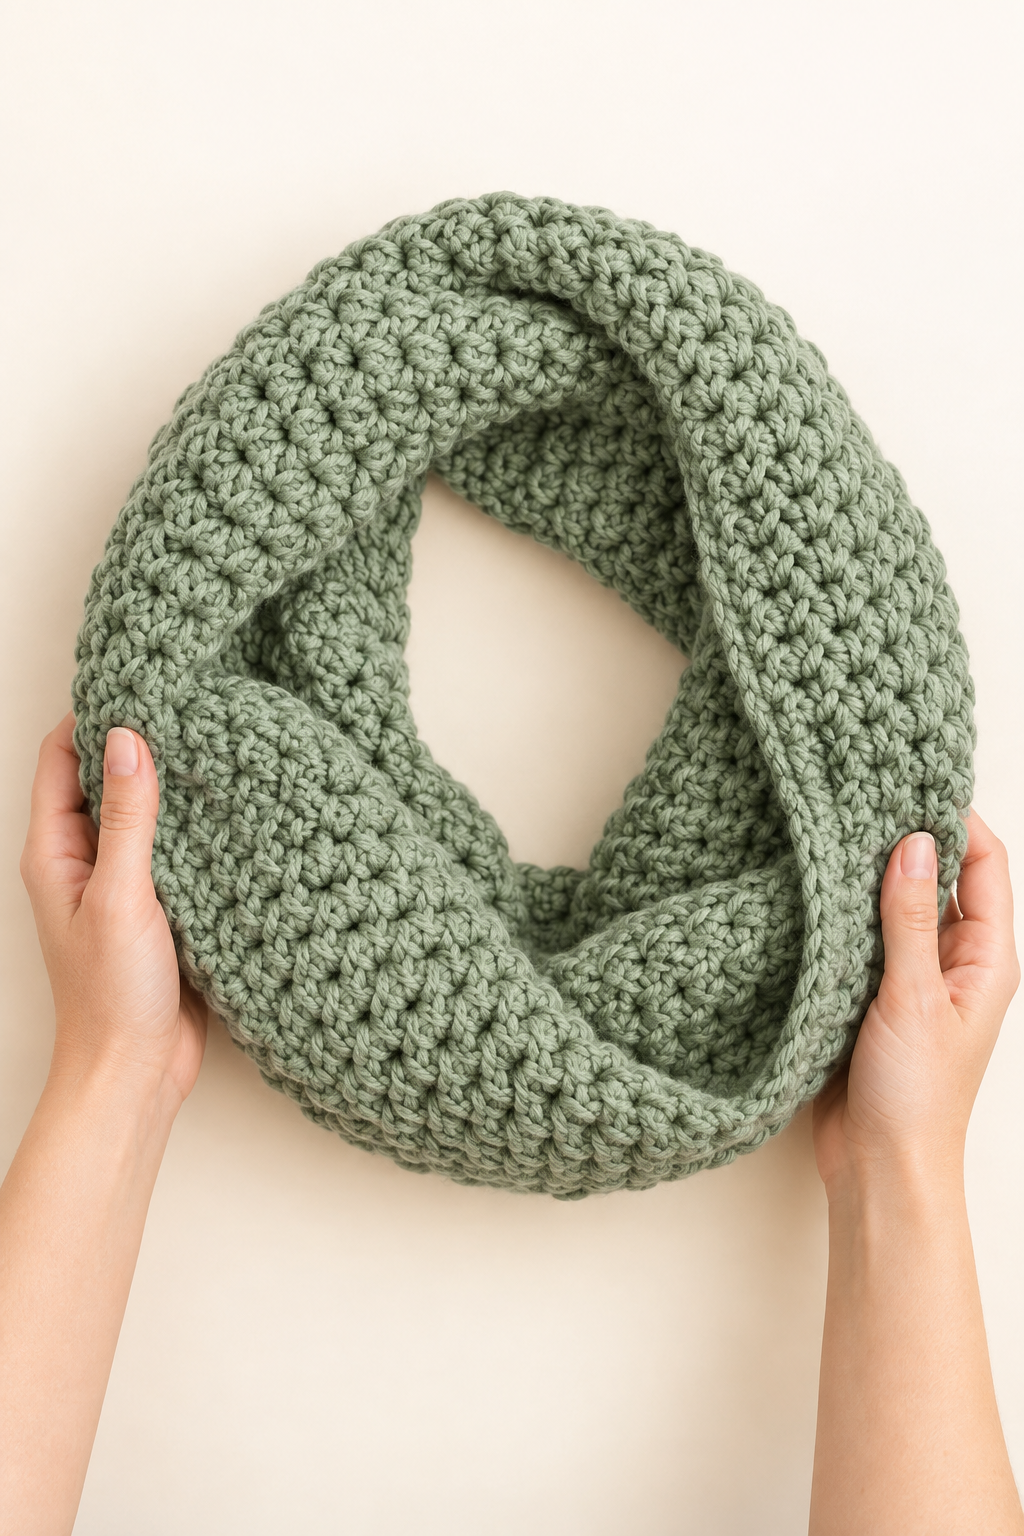
A chunky crochet infinity scarf is one of those projects that teaches useful skills while giving you something you can wear immediately. You make one long rectangle, keep the edges even, then seam the short ends together to create a soft loop. The stitch is half double crochet, which builds quickly and creates a warm, flexible texture without looking overly bulky.
This original Mini Fun Box pattern is written for a comfortable adult scarf that can be wrapped once or twice, depending on how closely you like to wear it. Because yarn thickness and tension vary, the measurements are more important than blindly chasing a row number. The goal is a rectangle that feels generous around the neck but is not so heavy that it pulls down a coat collar.
Save this tutorial before you start. The stitch-count notes, edge checks, and finishing steps are designed to help you solve the small problems that often make a first scarf look uneven.
Quick facts
- Skill level: beginner
- Terminology: US crochet terms
- Construction: a flat rectangle, joined at the short ends
- Finished target: about 58–62 in / 147–157 cm around and 9–10 in / 23–25 cm wide
- Core stitch: half double crochet (hdc)
Before you start: make a three-point project note
Professional-style patterns are easier to follow when the maker can check progress instead of relying on memory. Before you crochet, write these three checkpoints on a sticky note or in your phone: 23 stitches across, 9–10 in / 23–25 cm wide, and 58–62 in / 147–157 cm long before seaming. They are your map for this scarf.
- After Row 1: count 23 half double crochet stitches. This is the count to protect for the whole project.
- After four rows: lay the fabric flat and check its width. If it is much narrower than 9 in / 23 cm, relax your tension or move up one hook size; if it is much wider, try a smaller hook.
- Before the seam: measure the length with the scarf relaxed on a table, not stretched. This lets you choose a single, closer loop or a roomier scarf that can wrap twice.
This short planning habit is especially helpful for beginners: when something looks different from what you expected, you can identify whether the issue is stitch count, width, or length before it becomes a finishing problem.
Materials
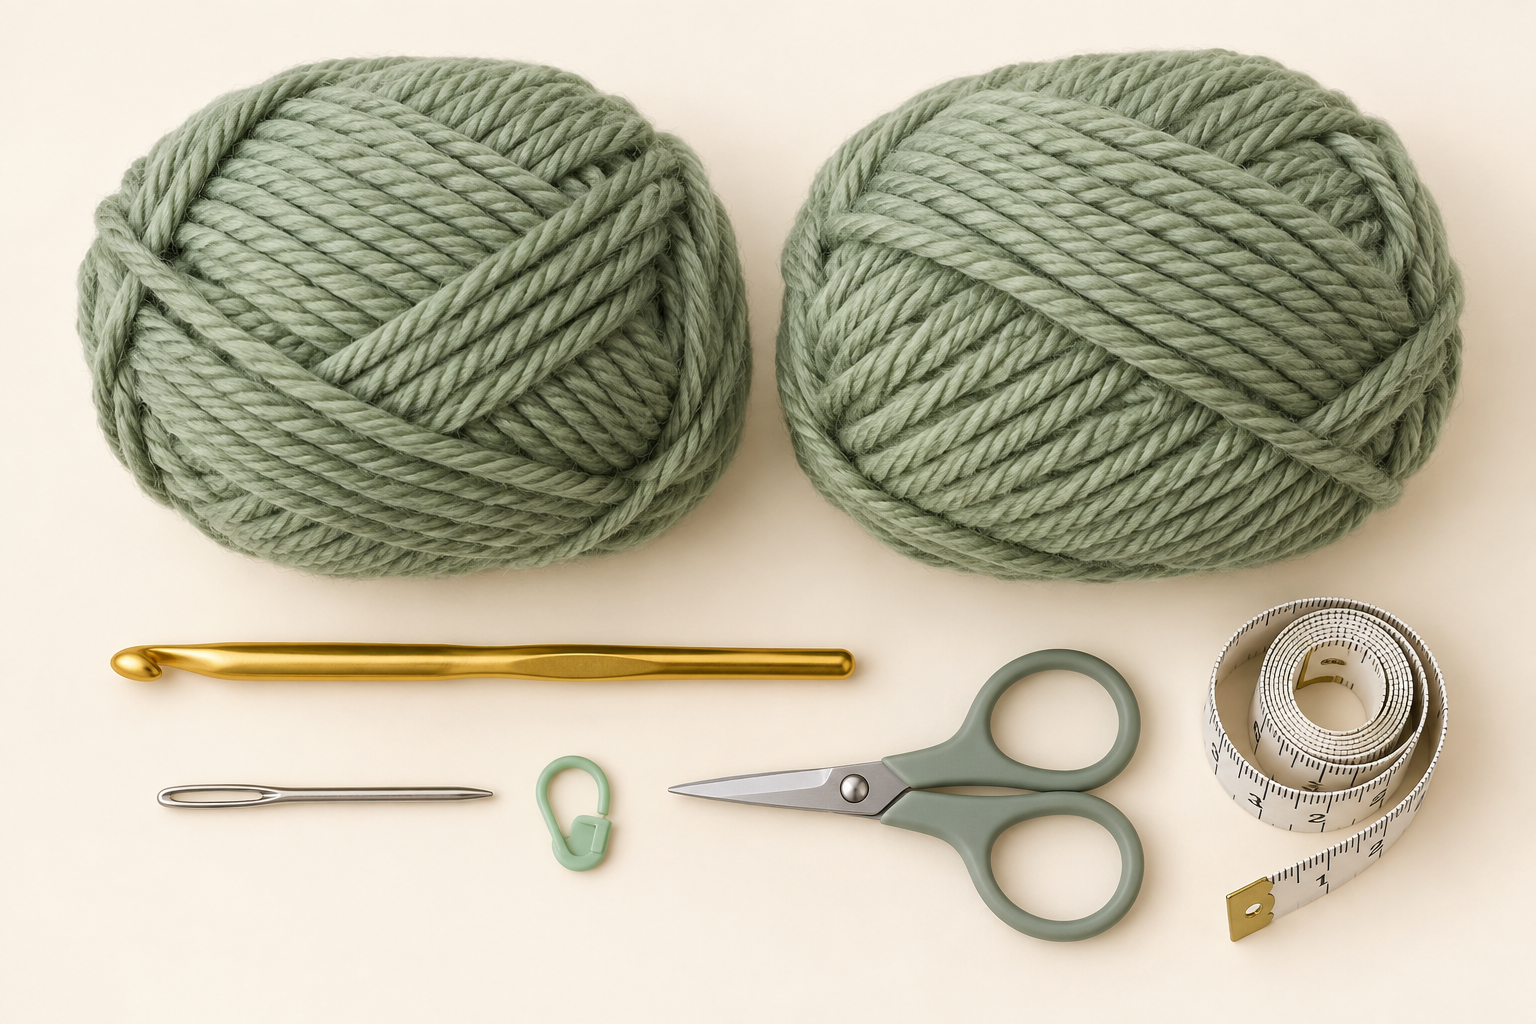
- Approximately 500–600 g of smooth bulky or chunky yarn. Check the label and buy enough of the same dye lot before beginning.
- An 8 mm crochet hook, or a hook size that gives a flexible fabric with your yarn.
- Blunt yarn needle.
- Scissors.
- Optional stitch markers.
- Tape measure.
Choose a yarn that feels good against the neck. A soft acrylic blend is easy-care; wool or a wool blend can feel warmer. Very fuzzy yarn can disguise the stitch tops and make seaming harder, especially for a first project. If you substitute a thinner yarn, make a swatch and increase the starting chain until the rectangle reaches your chosen width.
Abbreviations and stitch vocabulary
- ch = chain
- hdc = half double crochet
- st = stitch
- rep = repeat
A half double crochet starts with a yarn over. Insert the hook into the stitch, yarn over and pull up a loop, then yarn over once more and pull through all three loops on the hook. The finished stitch is taller than single crochet but shorter than double crochet. It gives the scarf a dense, warm surface that still bends easily.
Before you begin: decide the size by measurement
The written starting chain makes a scarf around 9–10 in / 23–25 cm wide with bulky yarn and an 8 mm hook. Chain loosely; a tight foundation edge can make one side of the finished scarf narrower than the rest. The rectangle is complete when it is approximately 58–62 in / 147–157 cm long before seaming.
If you want a narrow scarf, remove chains in groups of two and check the width after the first row. For a wider, more dramatic cowl, add chains in groups of two. For a shorter neck warmer, stop when the rectangle is around 42–48 in / 107–122 cm long. Write down the number of chains and rows you use so you can repeat the size later.
Pattern at a glance
| Part | Instruction | Expected count |
|---|---|---|
| Foundation | Ch 25 | 25 chains |
| Row 1 | Hdc in 3rd ch from hook and across | 23 hdc |
| Rows 2 onward | Ch 2, turn, hdc across | 23 hdc each row |
| Finish | Repeat until length is 58–62 in / 147–157 cm, then seam short ends | 23 stitches per short edge |
The turning chain 2 does not count as a stitch in this tutorial. That means the first real hdc of every row goes directly into the first stitch at the edge. Keep this rule consistent and your two long sides will stay much straighter.
Step 1: Make a relaxed foundation chain
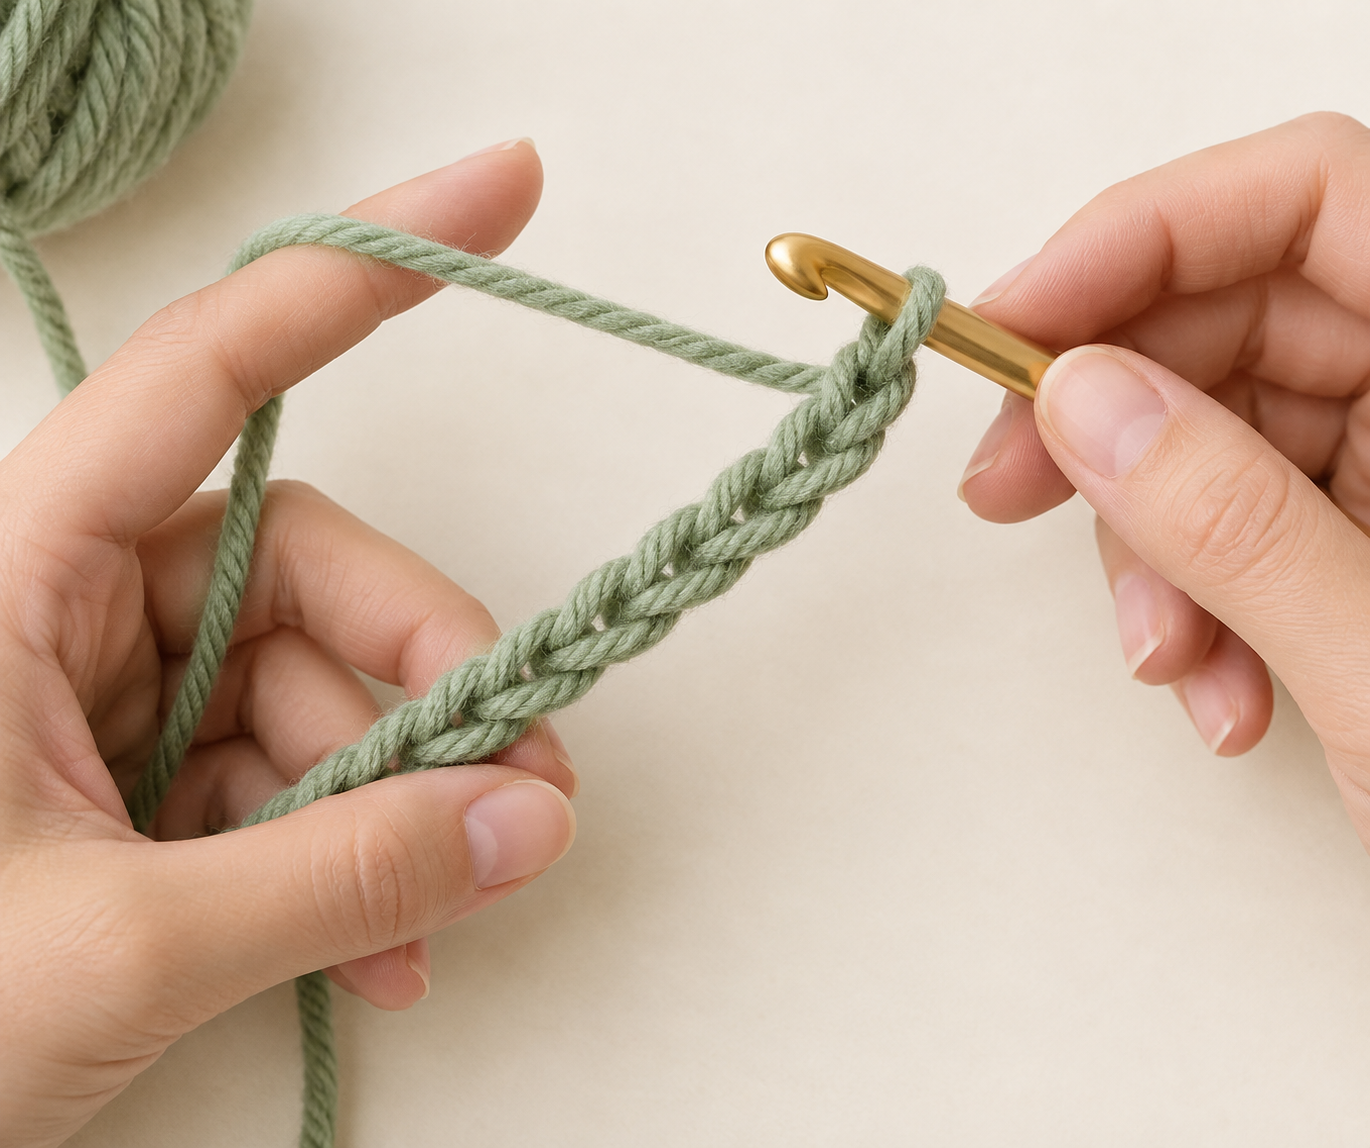
Make a slip knot and chain 25. Let the yarn slide over your tension finger instead of pinching each new chain tightly. Hold the newest chain close to the hook while you pull through; this gives control without compressing the loops.
What to look for: the foundation should lie in a gentle line and the V-shaped links should be easy to enter. If the chain curls into a stiff cord, start again with a looser hand or use a hook one size larger for the chain only. A flexible start keeps the lower edge of the scarf from tightening after it is worn.
Step 2: Work the first half double crochet row
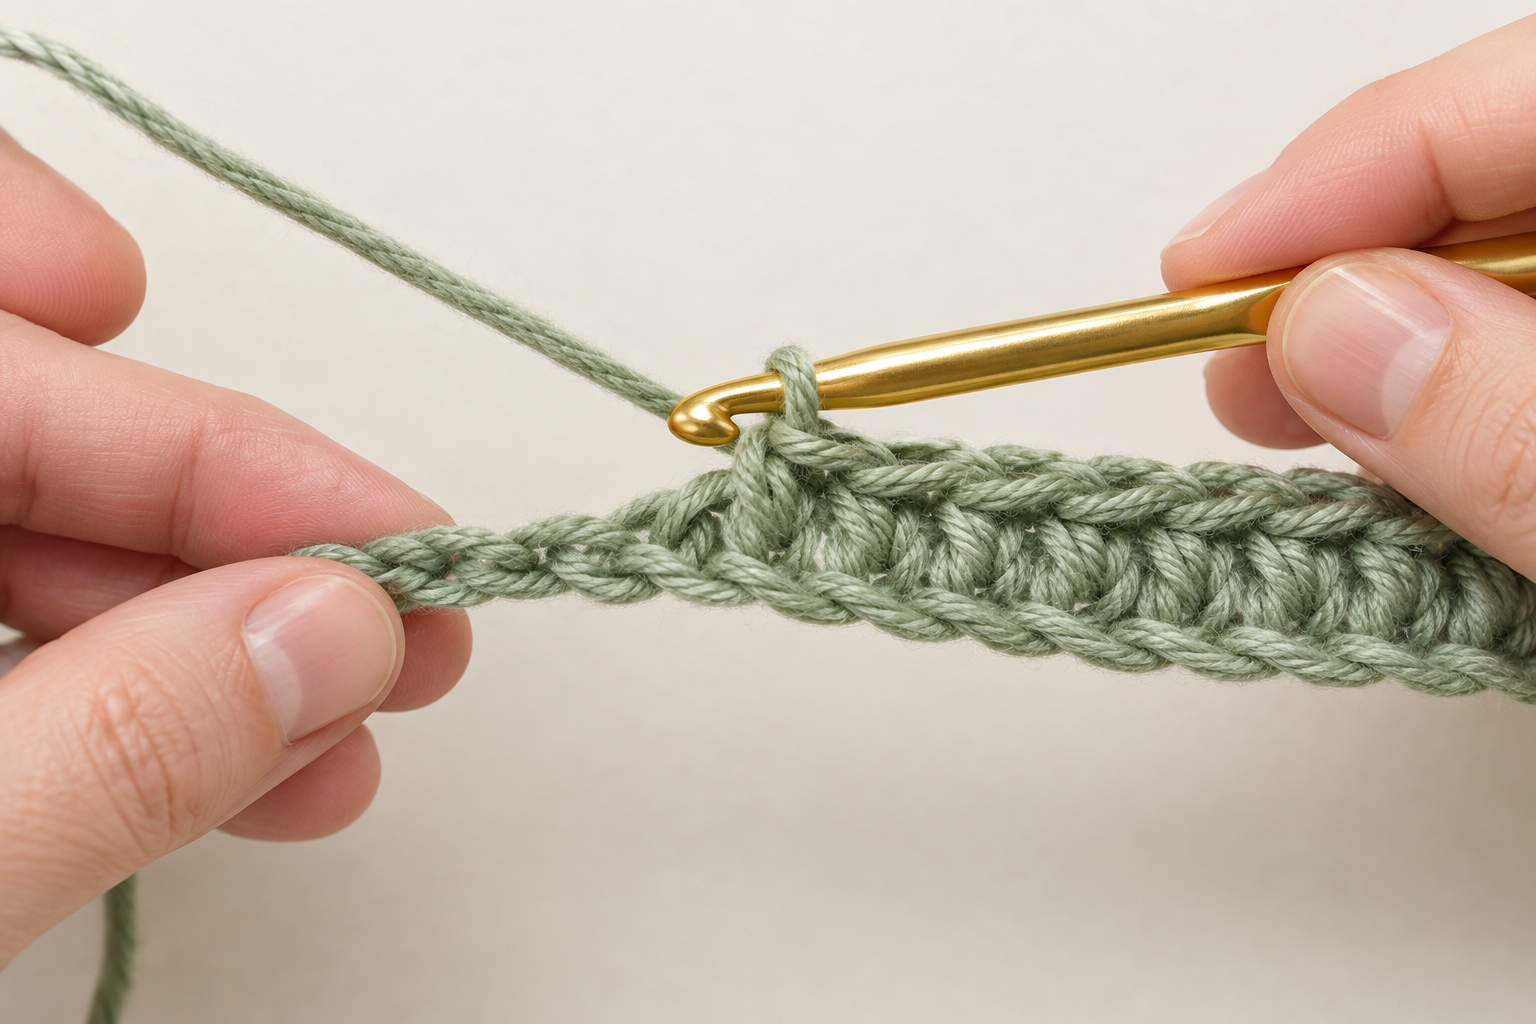
Yarn over. Skip the first two chains next to the hook, then work 1 hdc into the third chain from the hook. Continue with 1 hdc in every remaining chain. You should have 23 hdc stitches when you reach the end.
For each stitch: yarn over, insert the hook under the top loop of the next chain, yarn over and pull up a loop, yarn over again, then pull through all three loops. Do not tug the final pull-through tight. The loop should move smoothly along the shaft of the hook.
Checkpoint: count the raised stitch posts in your first row. You need 23. If you have 22, you probably skipped an extra chain at the beginning. If you have 24, you may have worked into the first chain that should have been skipped. Correcting this now is much easier than correcting it after several rows.
Step 3: Turn and build the scarf body
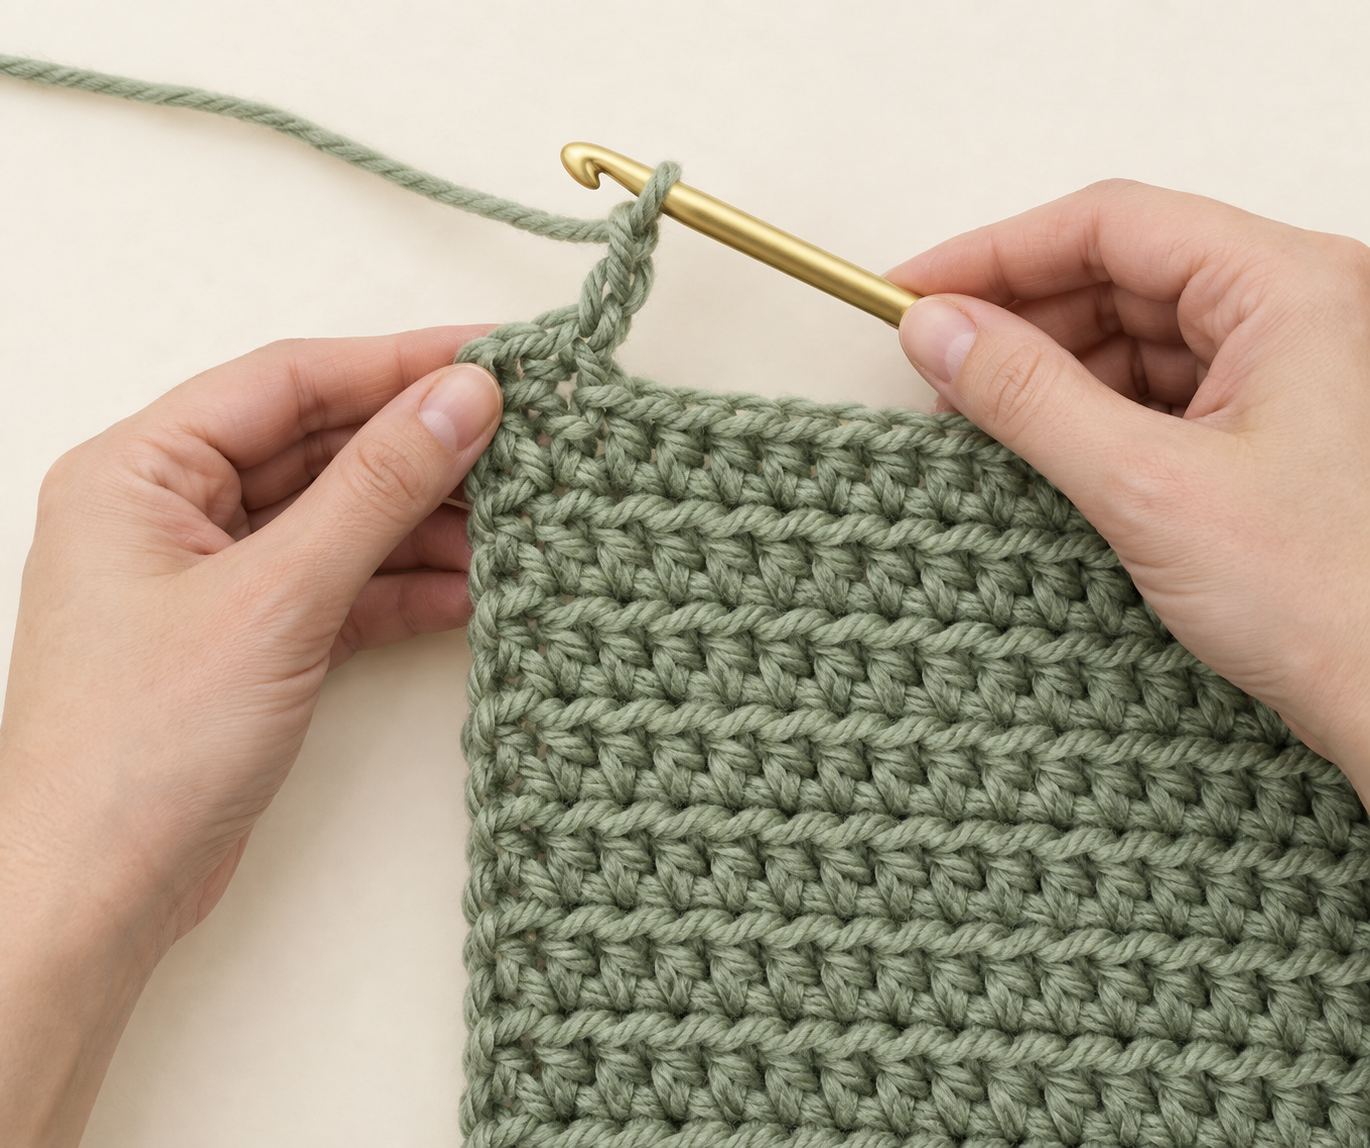
For row 2, chain 2 and turn the rectangle. The chain 2 gives the row height but does not count as a stitch. Yarn over and work the first hdc directly into the first real stitch—the V at the top of the last hdc from the previous row. Work 1 hdc in every stitch across. Count 23 stitches at the end.
Repeat the same row until the rectangle reaches 58–62 in / 147–157 cm long. The exact row count depends on yarn and tension, so measure every 10 rows rather than predicting the final count. Place a stitch marker through the first and last real stitch of a row if your edges are difficult to spot.
Every few rows, lay the scarf flat. The sides should run parallel, not gradually flare outward or curve inward. A small amount of natural movement is normal in soft yarn; a dramatic change means the stitch count has changed. Count a row before continuing rather than hoping the edge will correct itself later.
Step 4: Check length and prepare the ends
Stop crocheting once the rectangle reaches your target length. Leave a yarn tail about 20 in / 50 cm long for seaming, then fasten off. Lay the scarf right side up with the short ends facing each other. Match the first stitch of one end to the first stitch of the other end, then place a marker at each outer corner.
Before you sew, decide whether you want an untwisted loop or one simple twist. An untwisted loop lies flat and is easiest for a first project. A single twist makes the scarf sit in a more sculptural way when it is doubled. Never start the seam until you have checked the entire loop; twisting by accident is difficult to undo after several sewn stitches.
Step 5: Seam the short ends into an infinity scarf
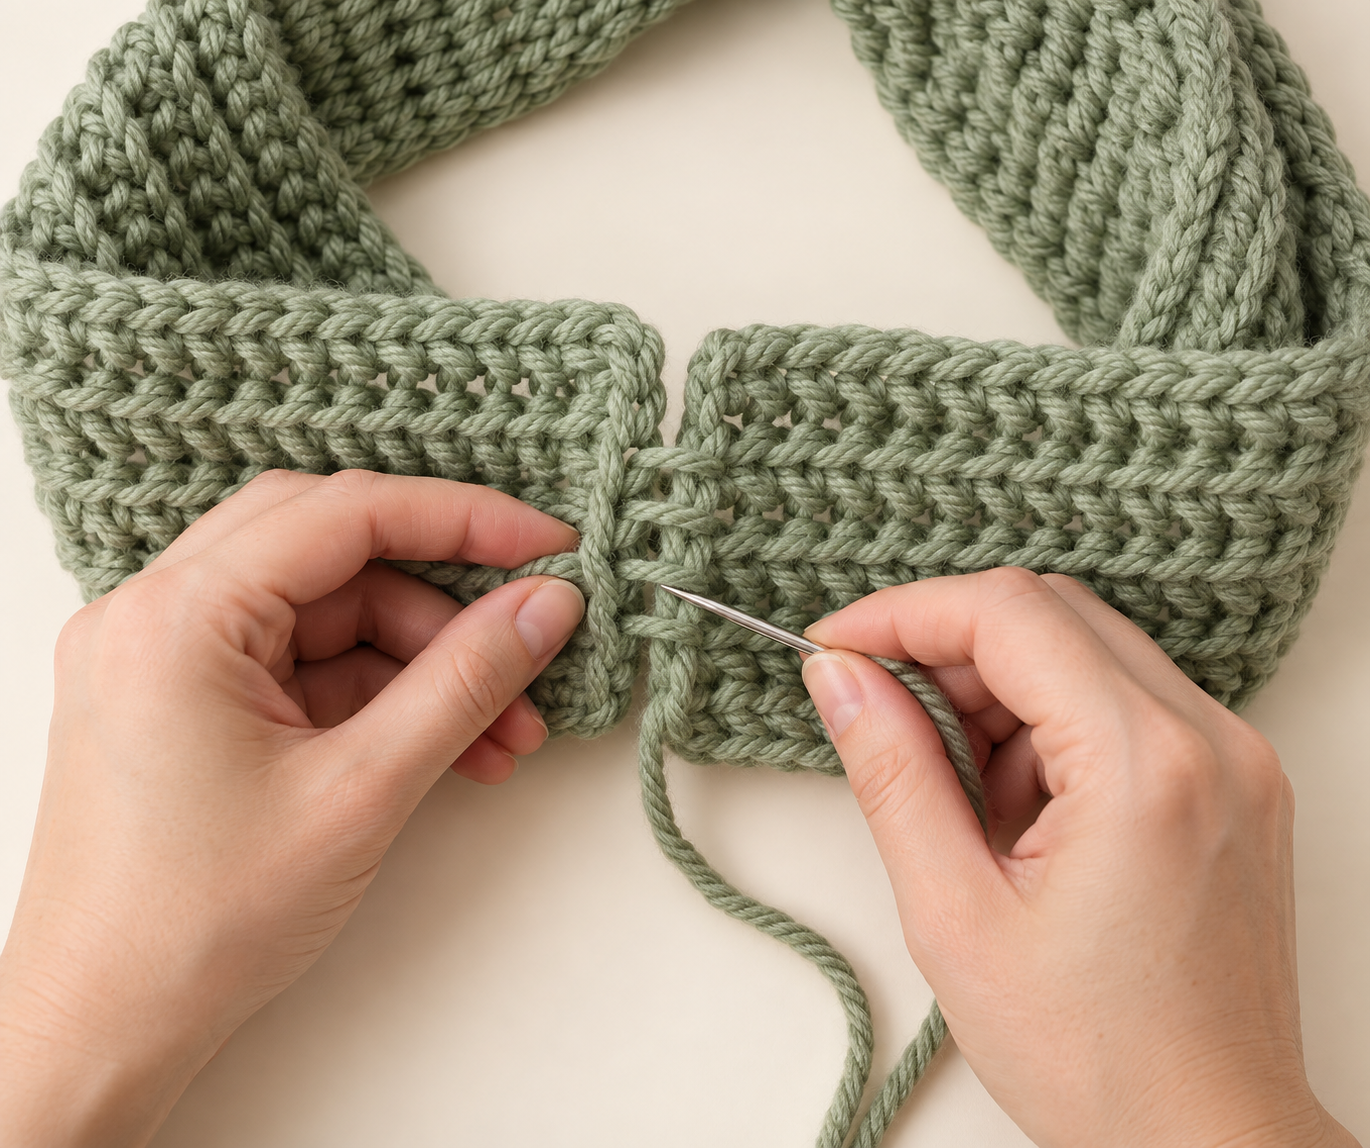
Thread the long tail onto a blunt yarn needle. With the wrong sides facing out, pass the needle through a matching edge loop on the first end, then through the matching edge loop on the second end. Continue from side to side. This is a simple overhand-style seam; keep each stitch small and even.
After every four or five stitches, pull the yarn just enough to bring the edges together. Do not pull so hard that the seam puckers or becomes narrower than the scarf. When you reach the opposite corner, weave the tail back through several stitches on the wrong side, change direction once, and trim it close to the fabric. Weave in the beginning tail in the same way.
Final check: turn the scarf right side out and run your fingers across the seam. It should lie flat and feel no thicker than the nearby rows. If it forms a stiff ridge, undo a small section and re-sew with gentler tension.
Technique Lab: small details that make the scarf look better
Find the first real stitch after turning
After you chain 2 and turn, the first real stitch is immediately below and slightly beside the base of the chain. It can hide under the turning chain. Work into that V, not into the chain space. If you miss it, the row loses one stitch; if you work into the chain as well, it gains one. Counting the first three rows builds the habit quickly.
Keep the two edges the same tension
Many beginners pull tighter at the final stitch of a row because it feels less supported. Before finishing the last hdc, allow the last loop to rest at the middle of the hook shaft. A relaxed final stitch helps the edge match the first stitch of the next row. If one edge has started to draw in, loosen only the edge stitches on your next row rather than loosening the whole scarf.
Use the V as your insertion map
On regular rows, the top of each hdc forms a V. Insert under both loops unless the instructions say otherwise. Working under only one loop by accident changes the texture and can create a ridge. If the top is hard to see in thick yarn, gently pull the fabric sideways between your thumb and finger; the V opens just enough to identify both loops.
Measure the fabric without stretching it
Lay the rectangle flat on a table and let it relax before measuring. Pulling it taut gives a false length and can make you stop too early. If you want a scarf that wraps twice, favour the upper end of the 58–62 in / 147–157 cm range. If you want a close neck warmer, use the shorter option and test the loop over your head before seaming.
Make the seam behave like a row of crochet
The best seam uses the same rhythm as the fabric: small, evenly spaced passes with moderate tension. Look at the seam from the right side after a few stitches. If the two edges are still level, continue. If one edge creeps ahead, remove the last two or three passes and realign the matching stitch tops before sewing farther.
Troubleshooting
My foundation edge is much tighter than the rest. Start again with a looser chain, or use a hook one size larger for the foundation chain and return to the original hook for row 1. Do not simply stretch the chain; it will pull back after wear.
My scarf keeps getting wider or narrower. Count the hdc stitches in several rows. The target is always 23. A changed count usually comes from missing the first stitch after turning or adding an extra stitch at the far edge.
My half double crochet looks uneven. Check the height of the loop before the final pull-through. Keep it consistent from stitch to stitch and avoid yanking the working yarn after each completed hdc.
The seam looks bulky. Use smaller, looser seam passes and make sure you joined only the short ends. A seam that is pulled tight or stitched through thick sections of the row will feel stiffer than the fabric.
Frequently asked questions
Can I use a different stitch?
Yes. Single crochet creates a denser, firmer scarf; double crochet creates a lighter, more open one. If you change stitches, make a small swatch first because the width and length will change.
Can I make it wider?
Yes. Add chains in pairs until the foundation reaches your desired width. Keep the same approach for every row: chain 2, then work into the first real stitch and maintain the same count.
How much yarn do I need?
Yarn requirements depend on fibre, yardage, thickness, and your tension. The stated 500–600 g is a planning estimate for a chunky adult scarf. Buy enough before beginning and keep any label details for matching future skeins.
Should I twist the loop before I seam it?
That is a style choice. Leave it flat for a classic infinity scarf or add one deliberate twist for a more sculptural drape. Check the full loop before stitching because an accidental twist is hard to fix later.
How do I wash it?
Follow the yarn label. Many acrylic blends can be gently machine washed; wool blends often need cool water and flat drying. Do not hang a wet chunky scarf, because the weight can stretch the fabric.
Final thoughts
This chunky infinity scarf teaches the building blocks behind many larger crochet projects: a flexible foundation chain, consistent turning, a steady stitch count, clean edges, and a seam that disappears into the fabric. Once you are happy with your first loop, try another in a different width, colour, or stitch texture. Save the tutorial and return to the Technique Lab whenever you want to make the edges and finish look even more polished.
More in Crochet Projects & Patterns
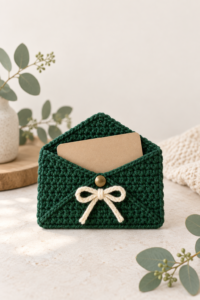
How to Crochet a Gift Card Holder: An Easy Handmade Gift for Beginners
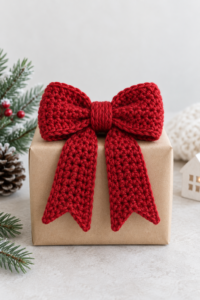
How to Crochet a Reusable Gift Bow: Easy Christmas Package Topper
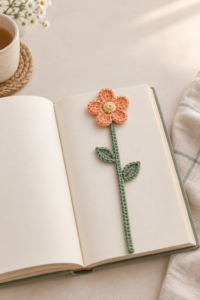
How to Crochet a Flower Bookmark: An Easy Handmade Gift for Beginners